Materials List:
4 pcs 90mm x 43mm x 840mm (Table Legs)
4 pcs 70mm x 43mm x 978mm pine
4 pcs 70mm x 43mm x 225mm pine
1 sheet of 15mm plywood 1000mm x 400mm
1 sheet of 15mm plywood 978mm x 400mm
16 pcs 80mm long torx screws
16 pcs 70mm long torx screws
18 pcs 40mm long torx scews
1 can of Brown acrylic spray paint
A small tin of varnish
Please note. Watch the Youtube build video to better understand this tutorial.
STEP 1:
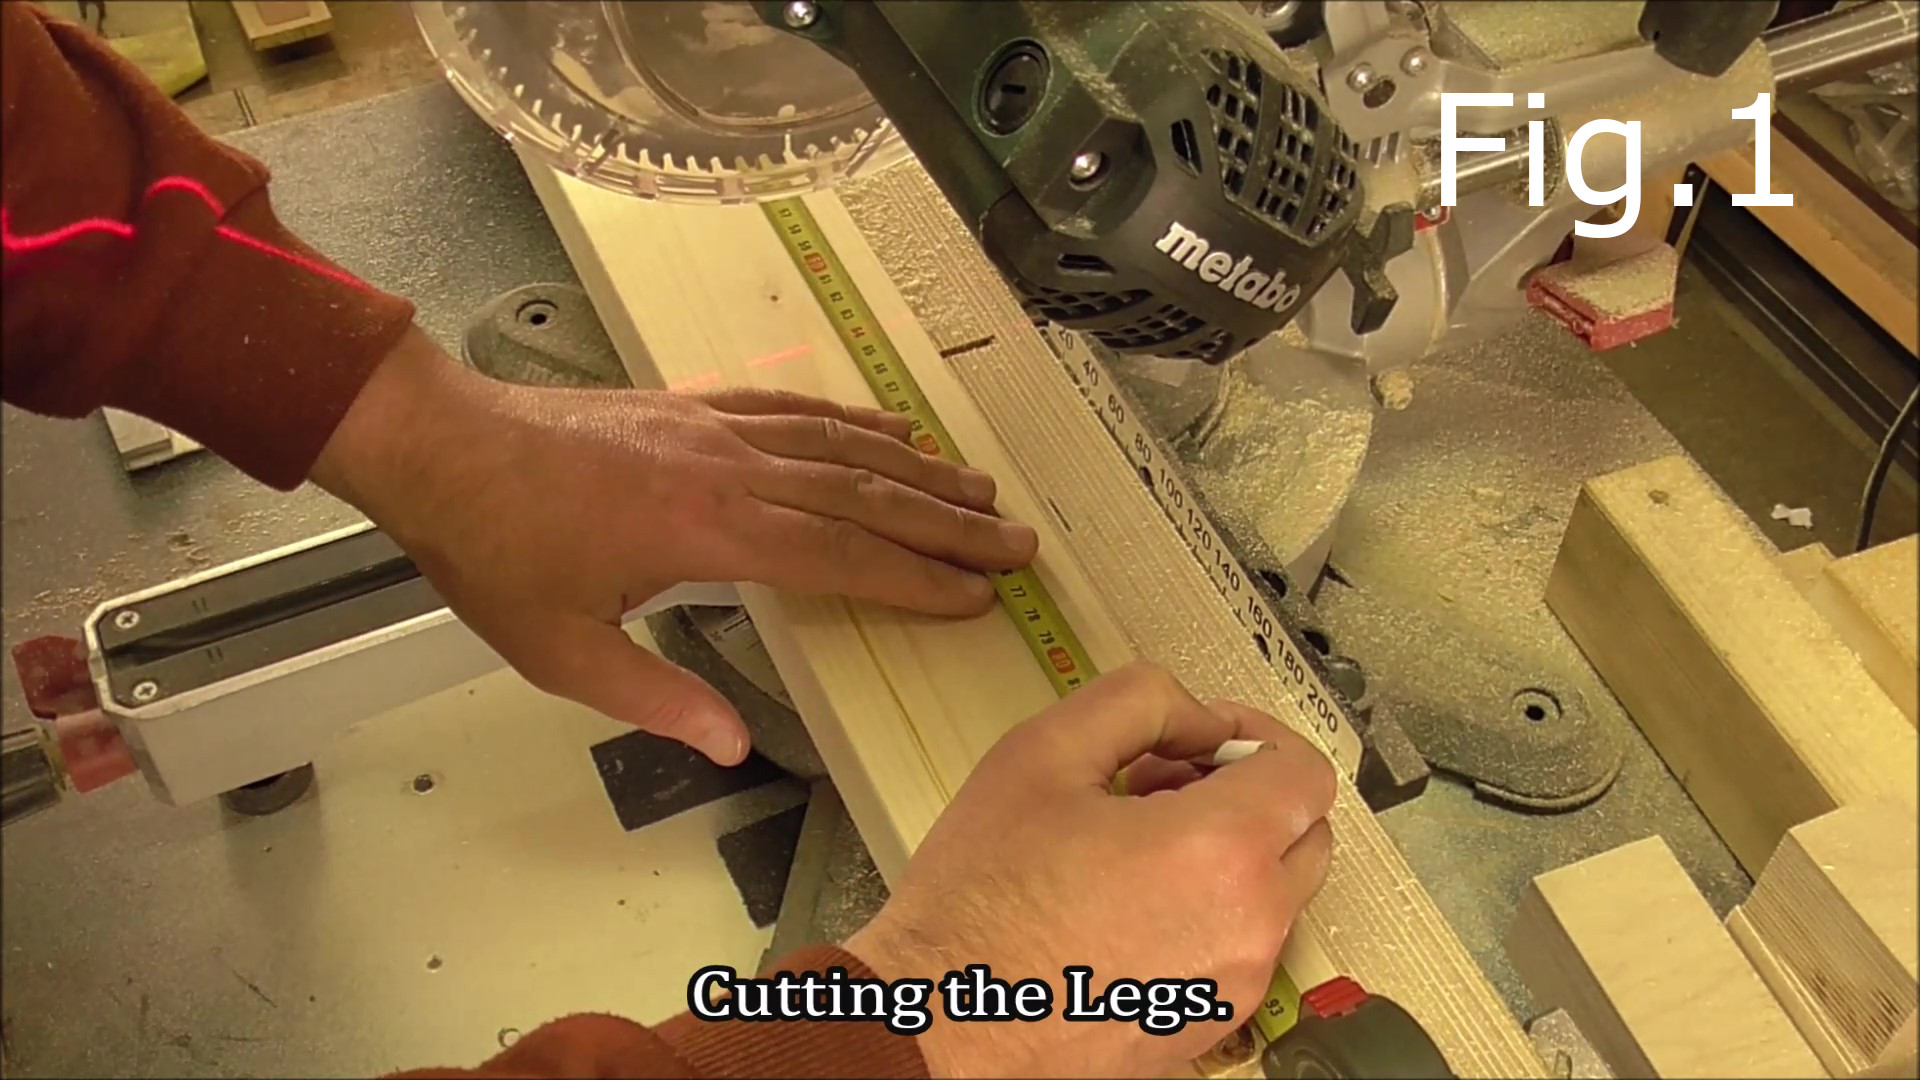
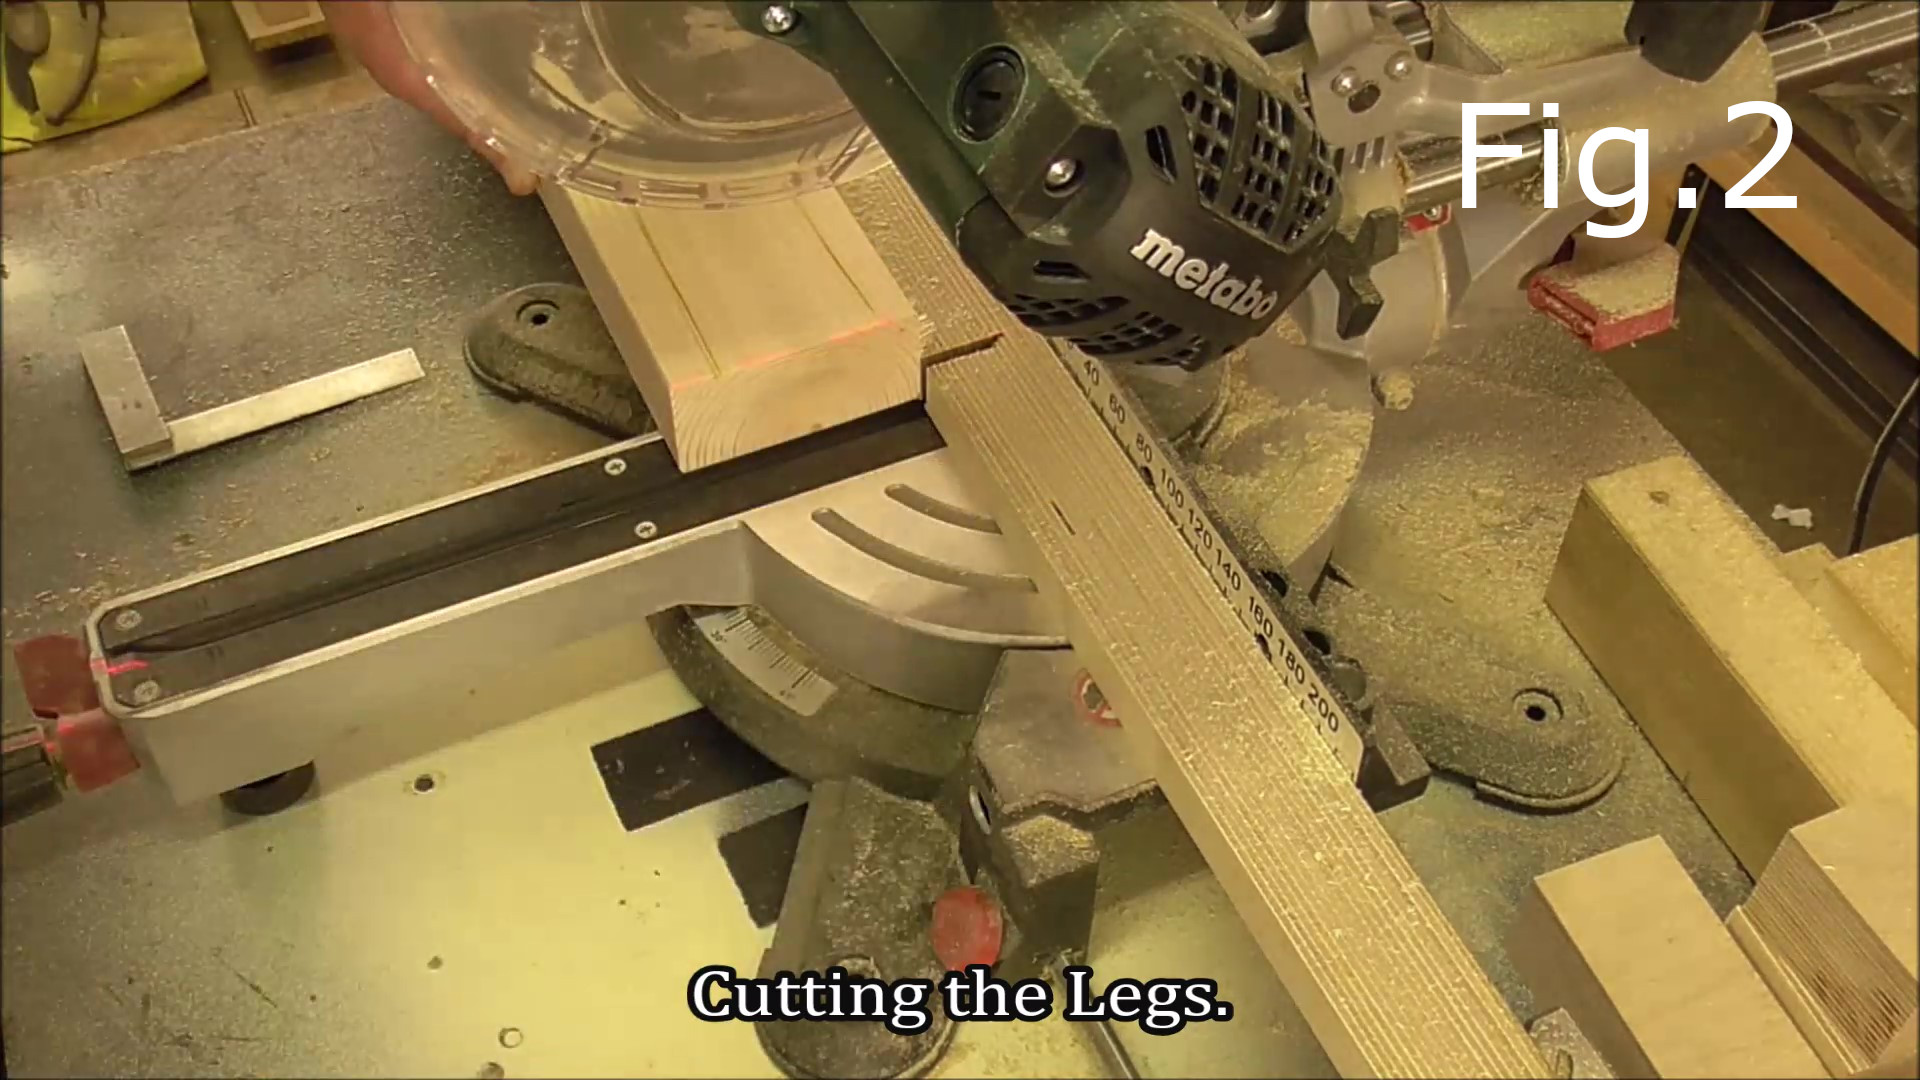
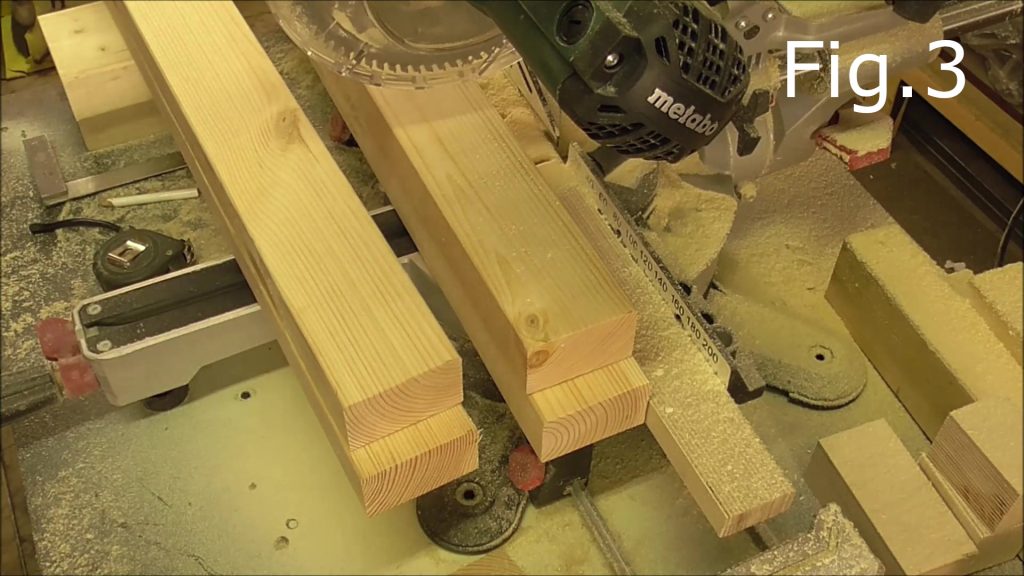
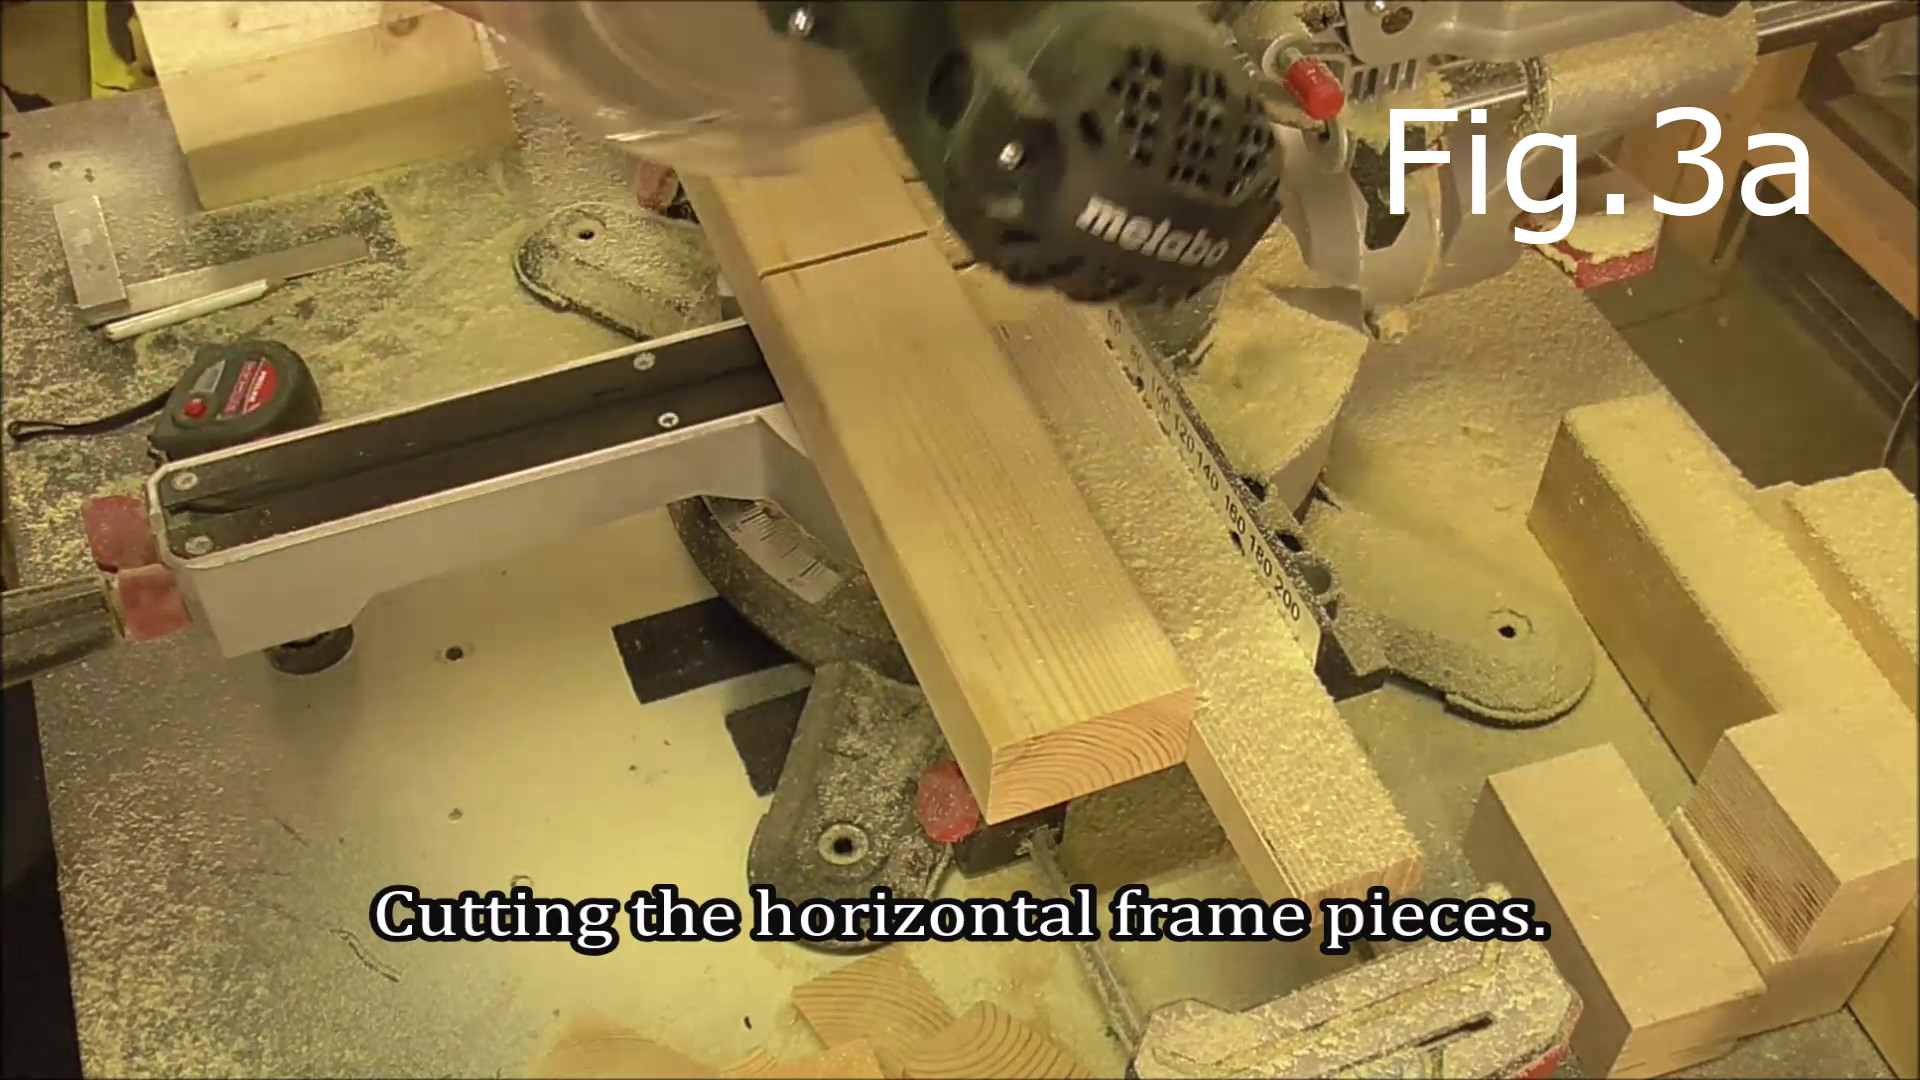
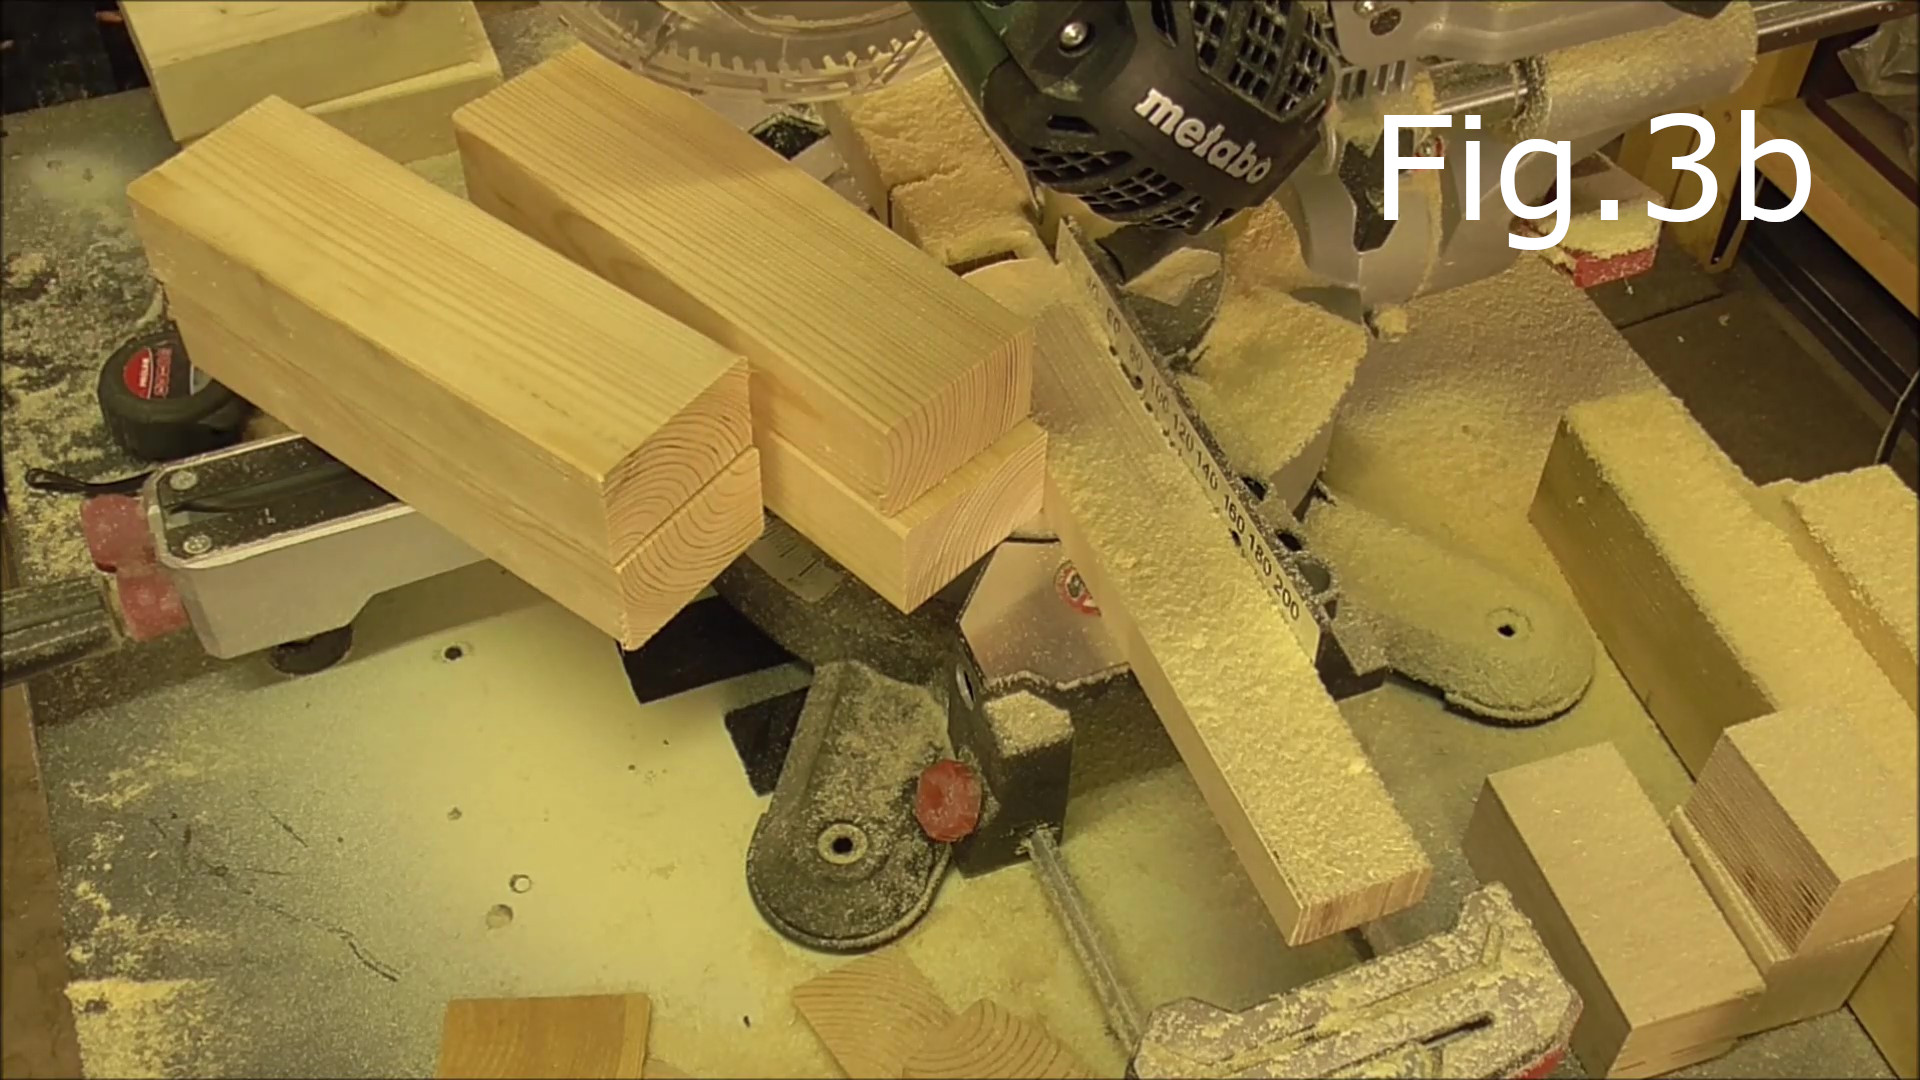
The first step is to cut all the materials listed in the materials list to size (Fig.1 – Fig.3b). Make sure to cut all the pieces at exactly 90 degrees to ensure everything is nice and square.
STEP 2:
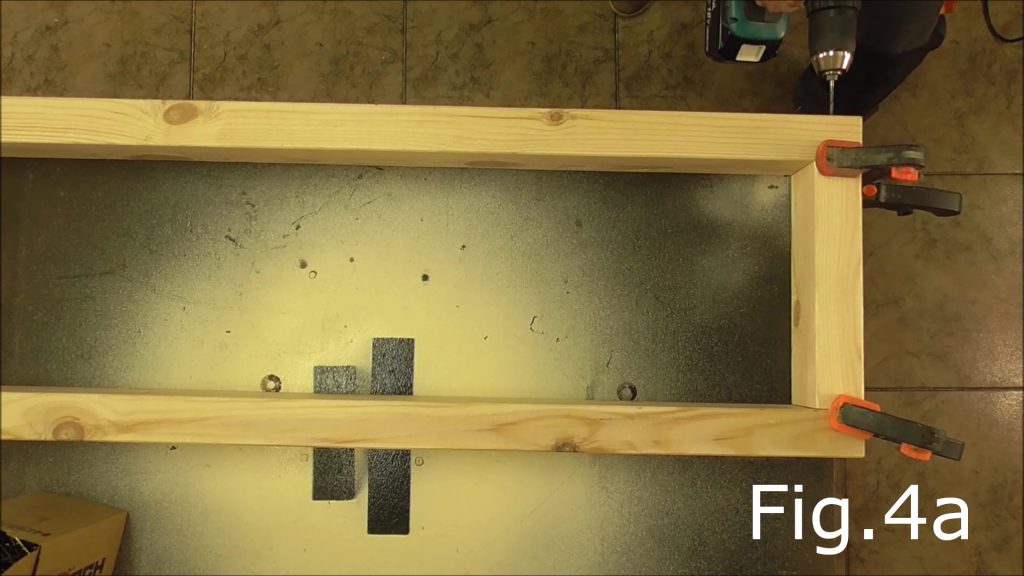
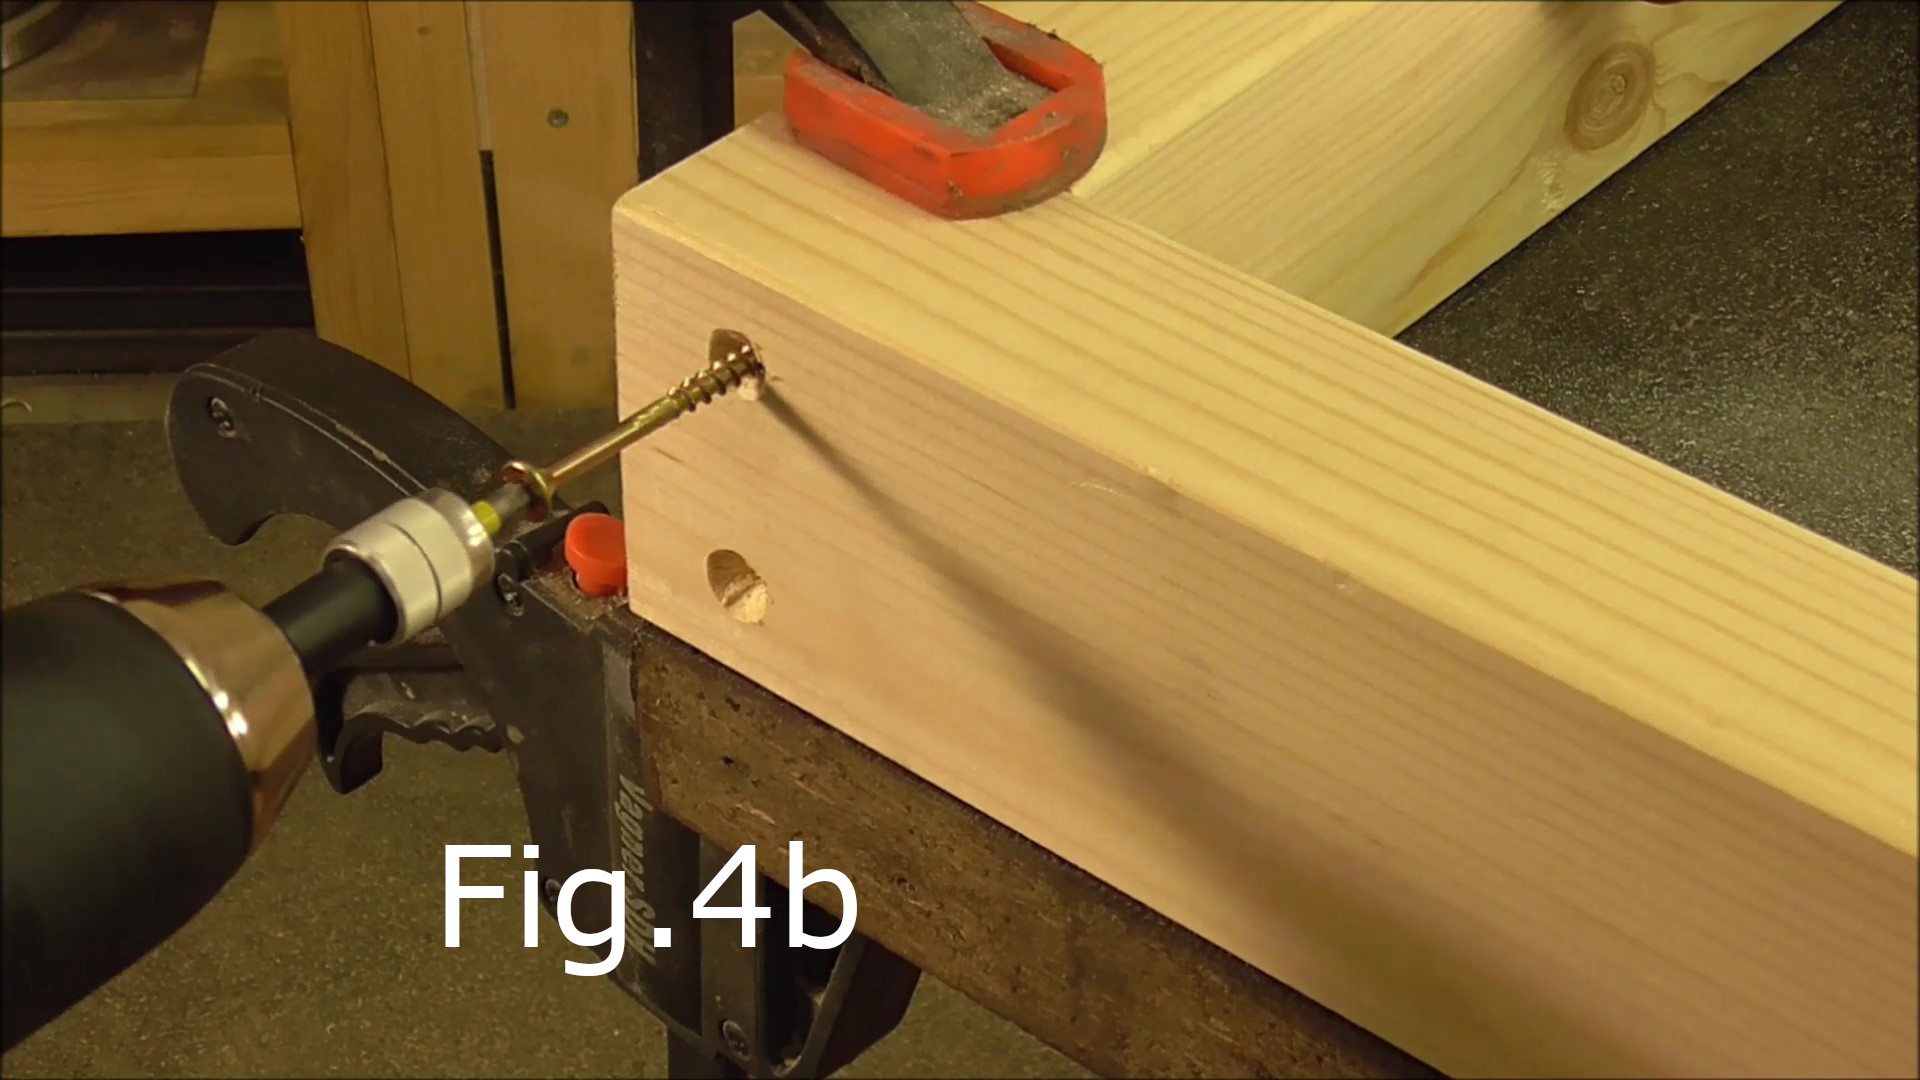
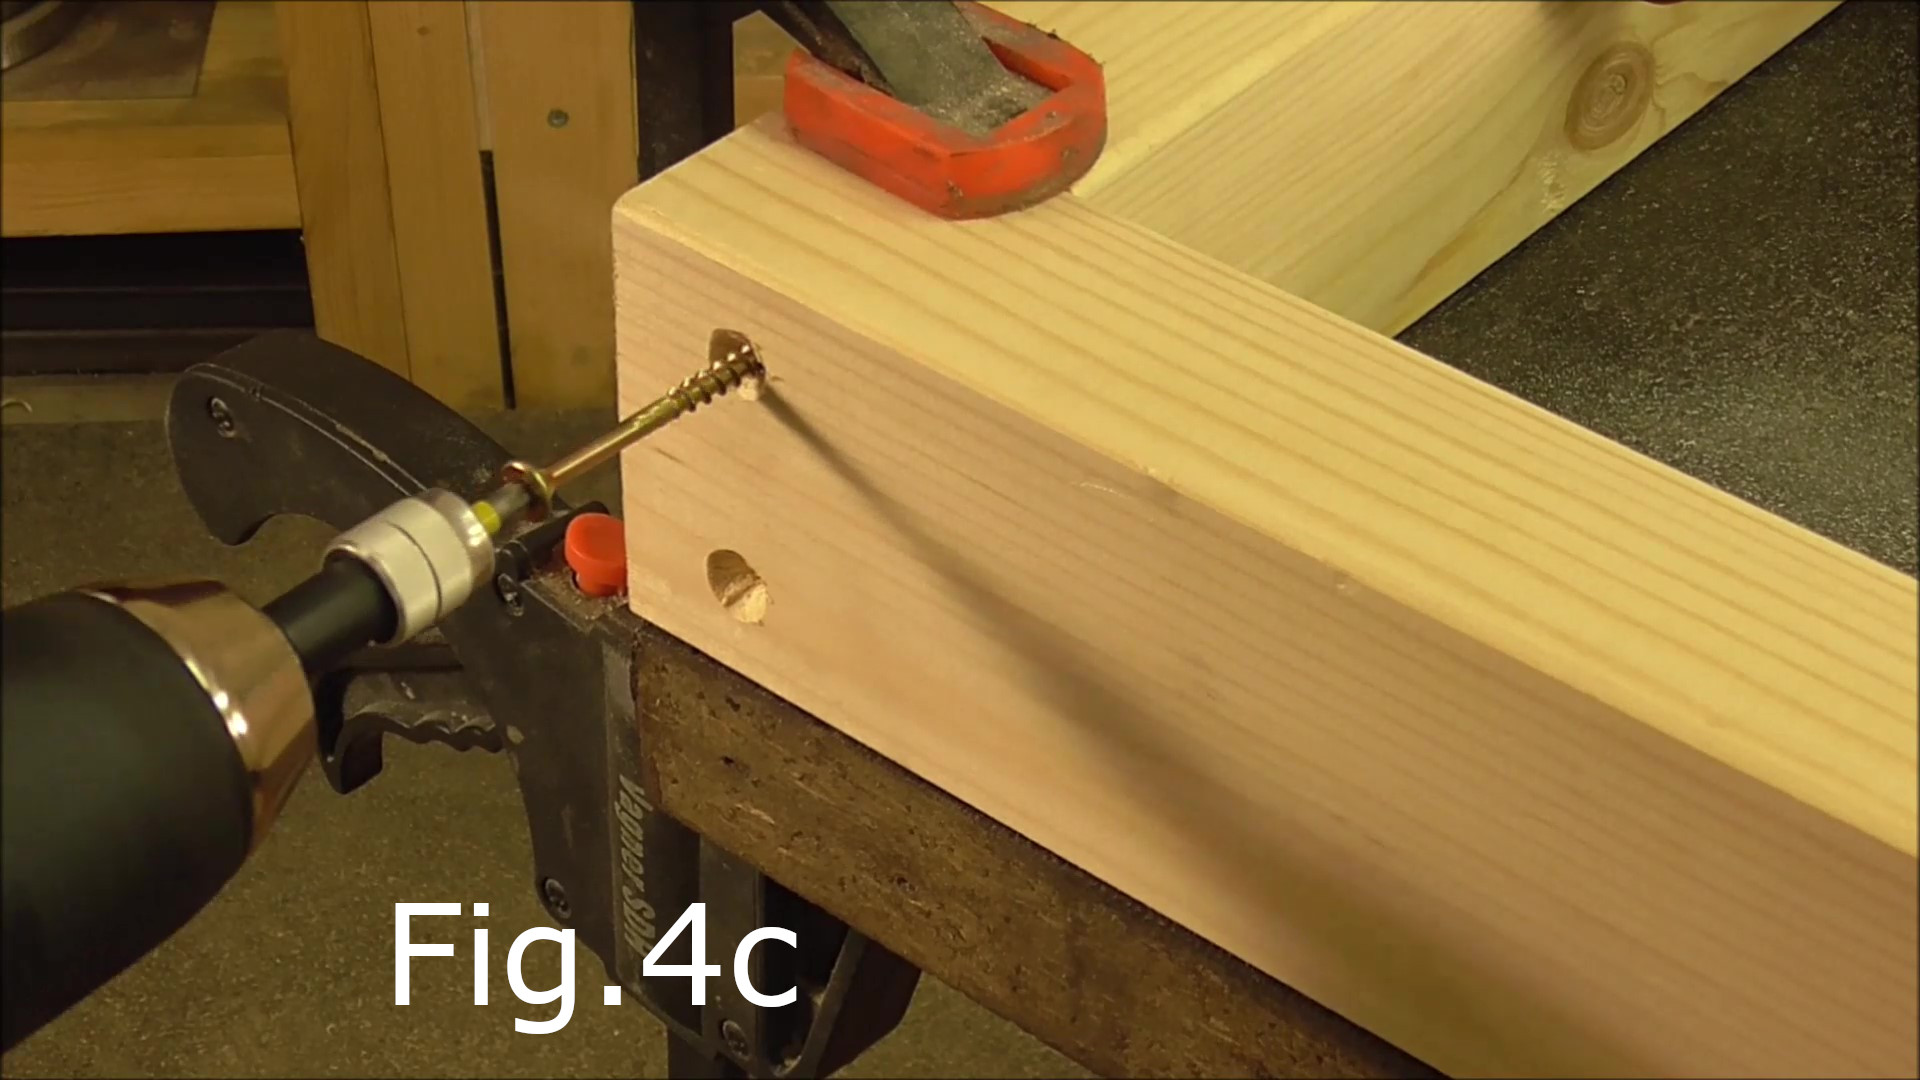
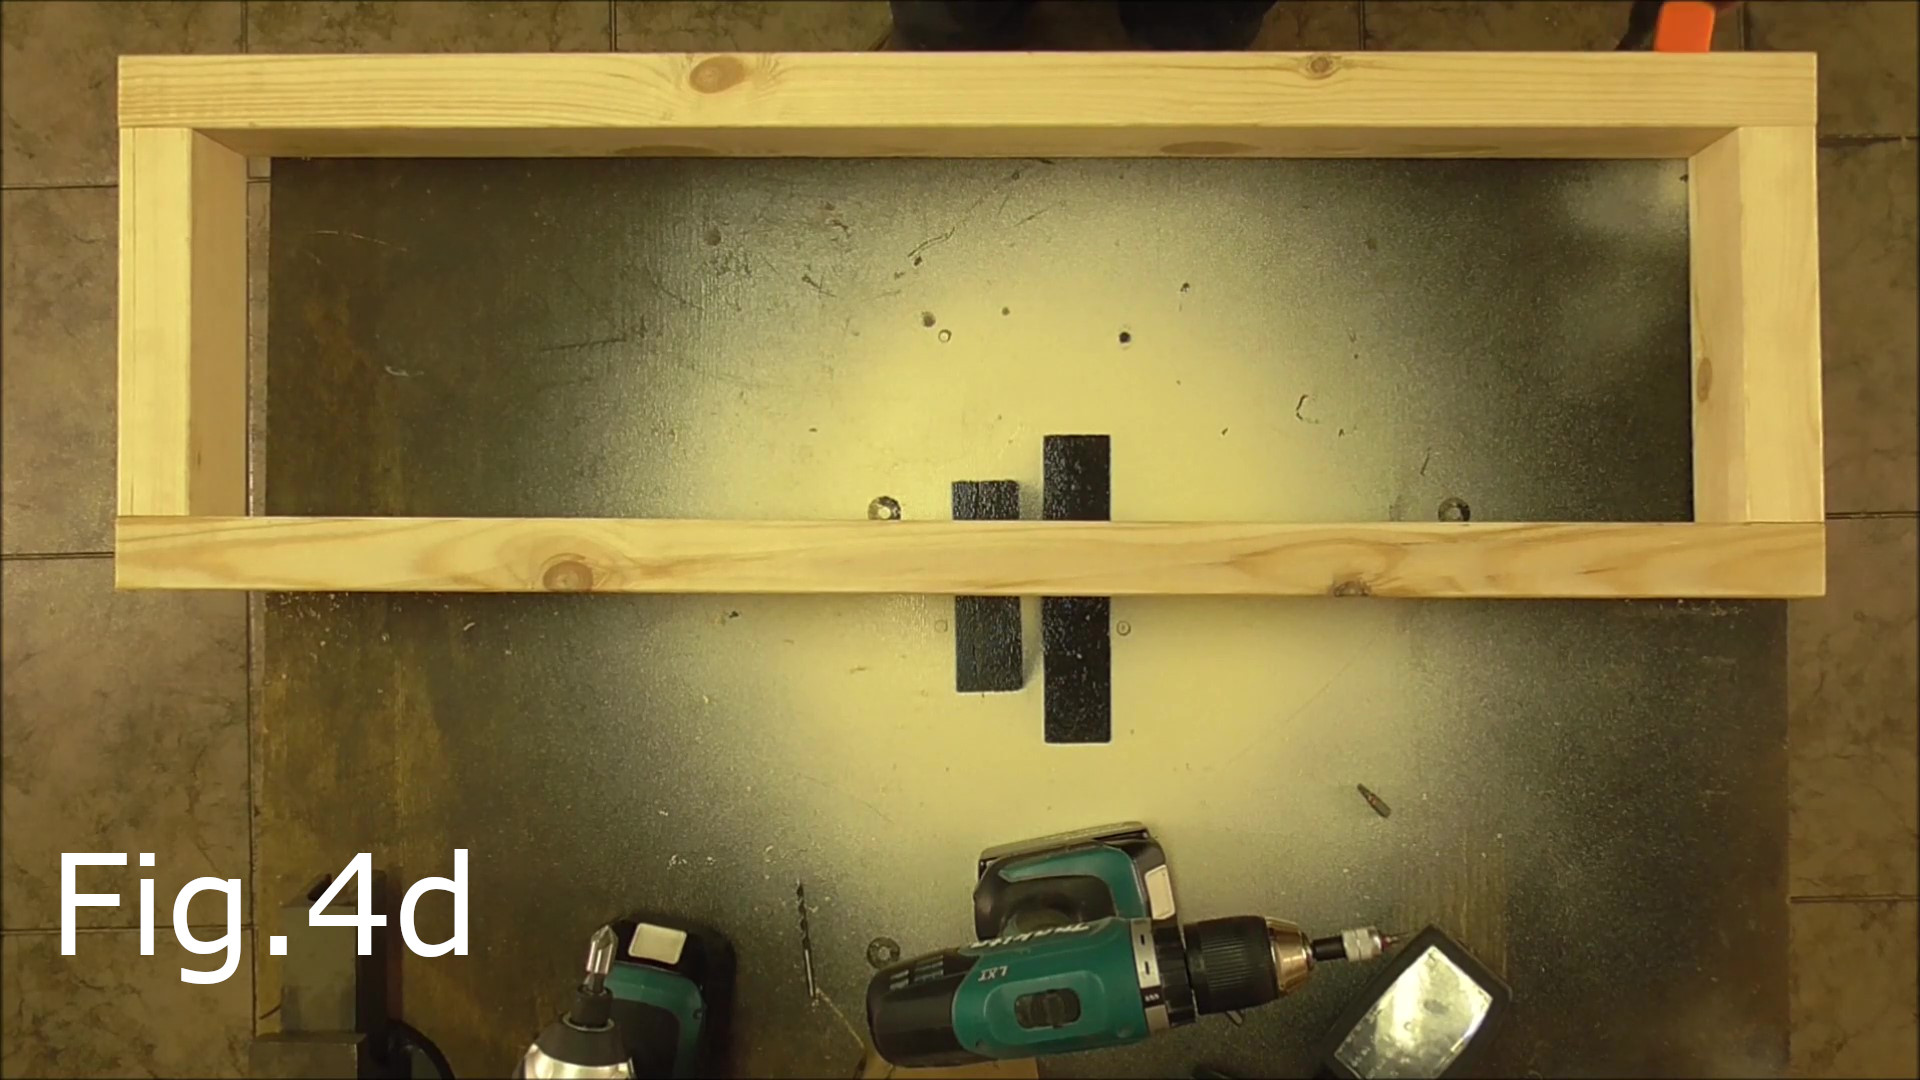
Next is to make the frames for the table top and shelf (Fig.4). Take two 70mm x 43mm x 225mm pine pieces and two of the 70mm x 43mm x 978mm pine pieces and clamp them together on an even surface (Fig.4). In the build video I used the square corner of a work table to align the pieces. Clamp the longer pieces to the ends of the 225mm pieces (Fig.4) so the internal width of the frame is 225mm. Once all four pieces are clamped together, drill and countersink two holes for screws at the ends of each of the 978mm pieces (Fig.4a & Fig.4b). Next use the 80mm screws in these holes (Fig.4c). The frame should look like Fig.4d. Now repeat this process to make the second frame.


STEP 3:
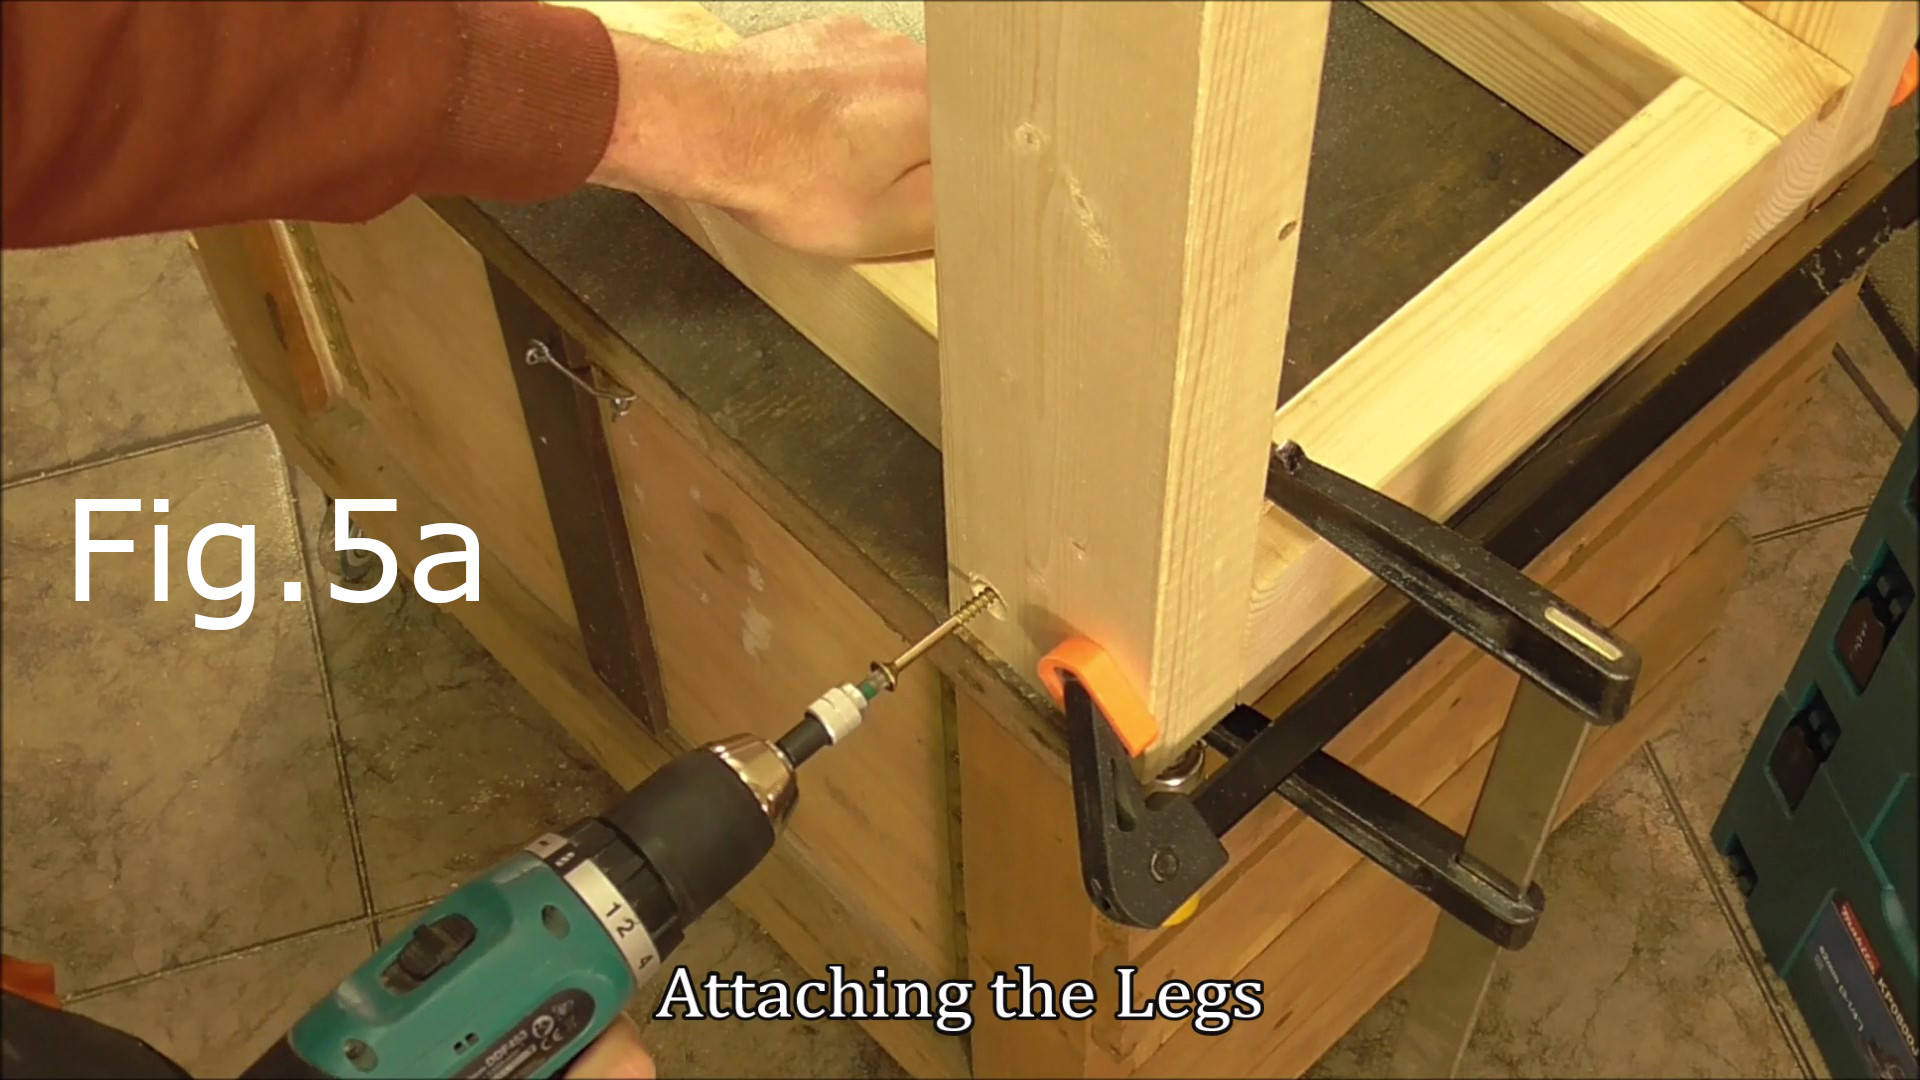
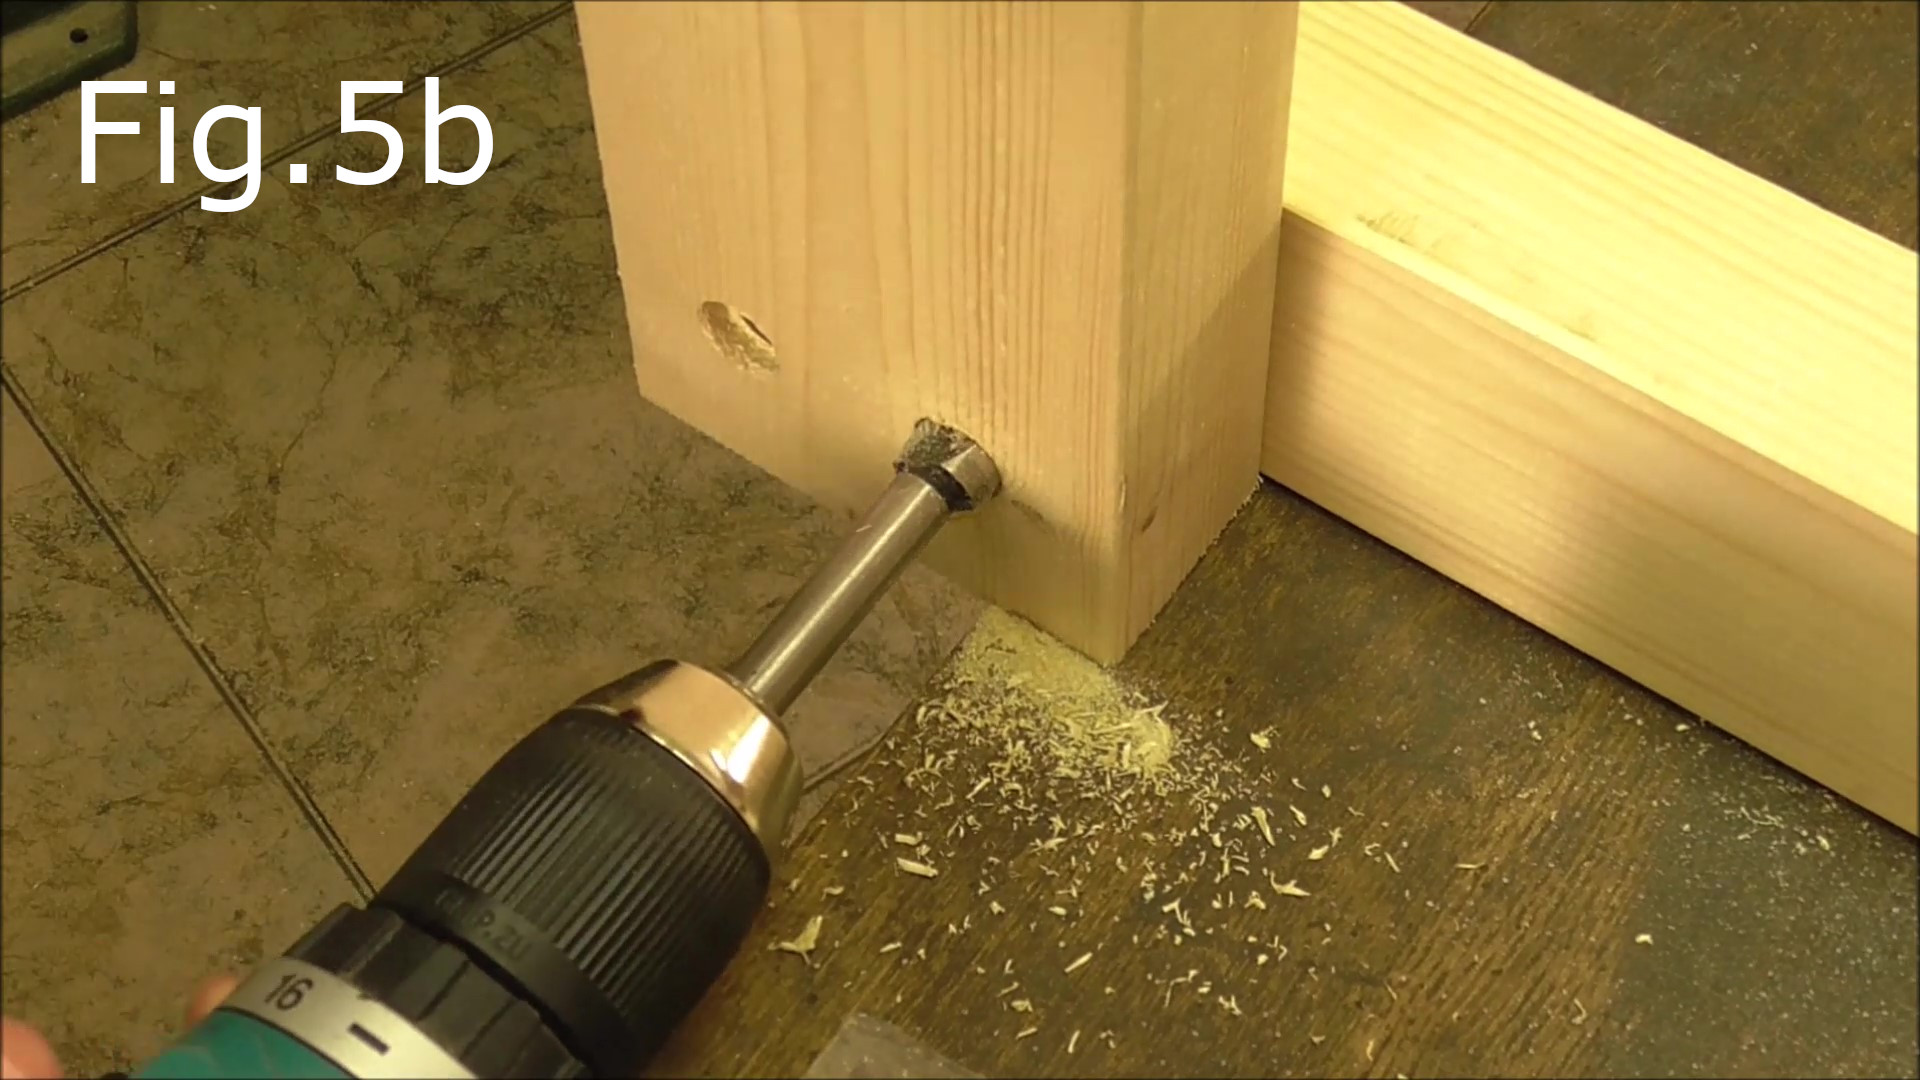
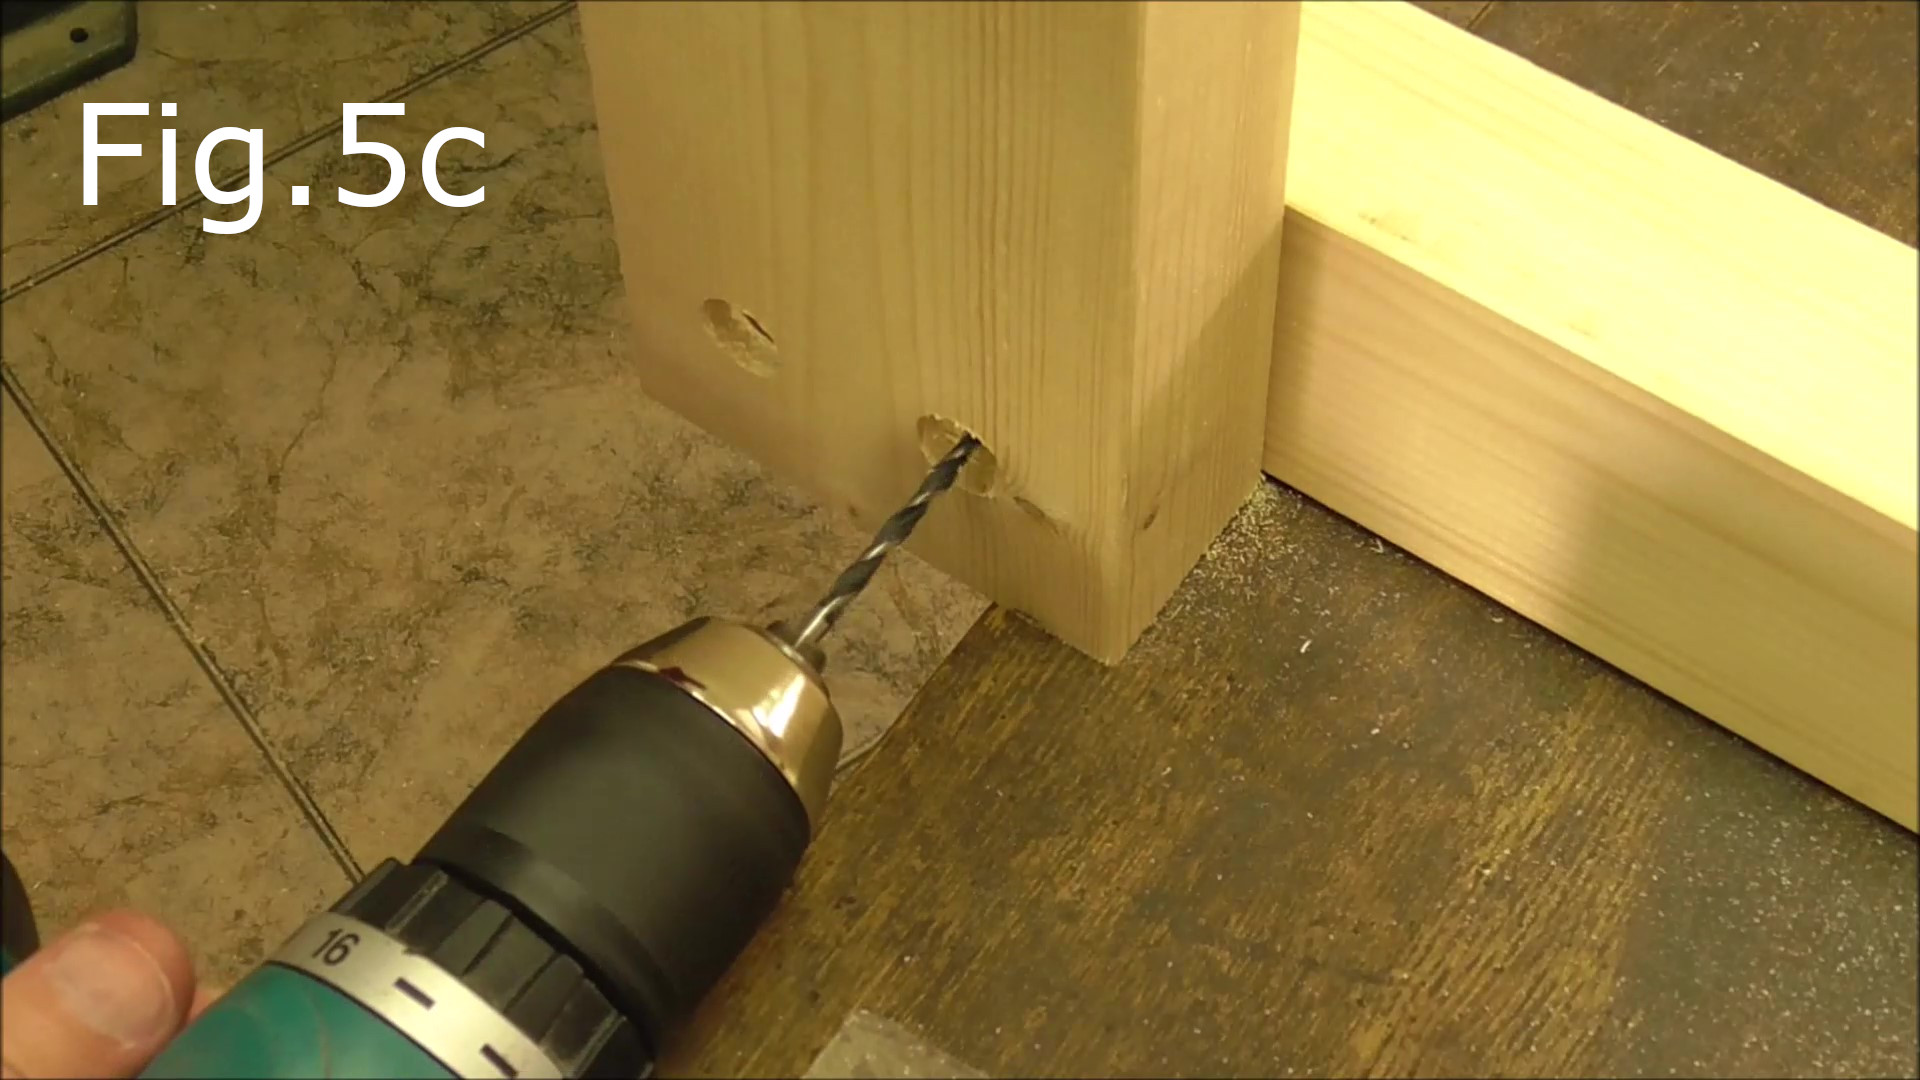
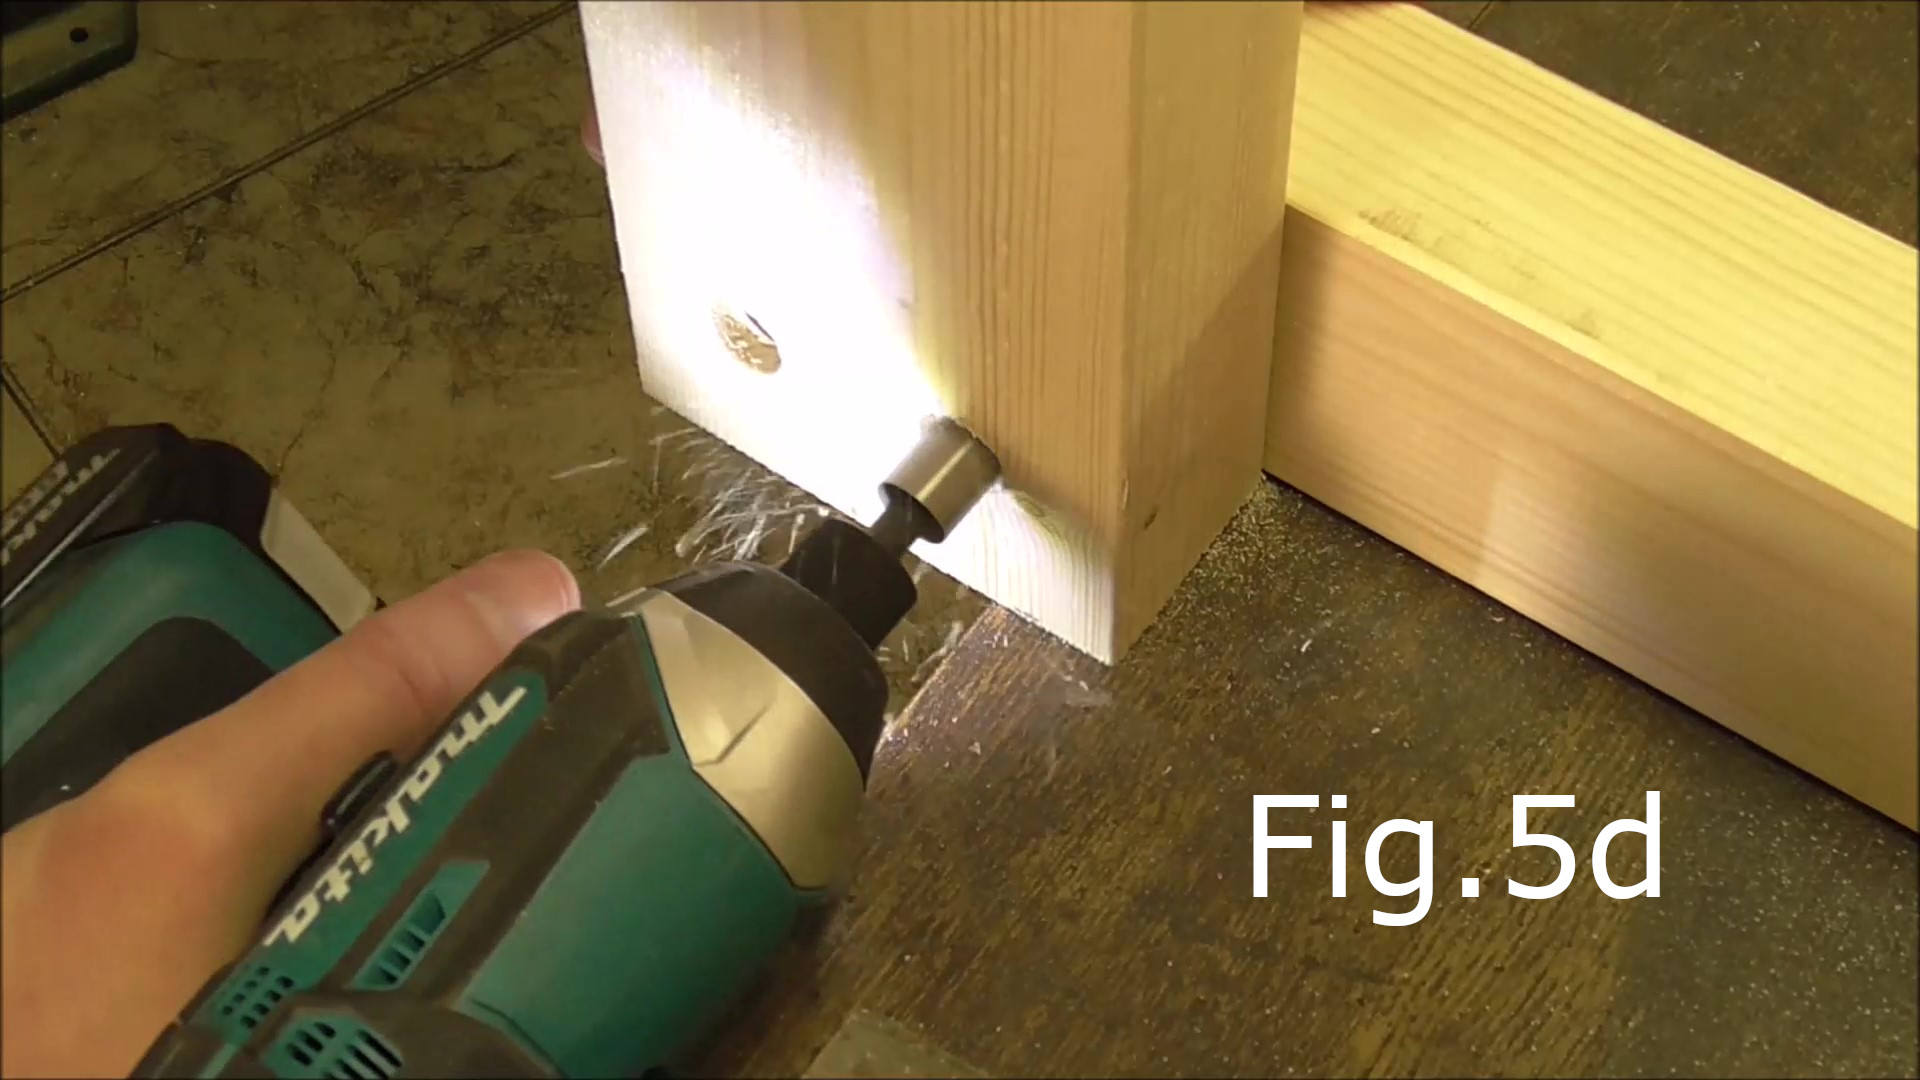
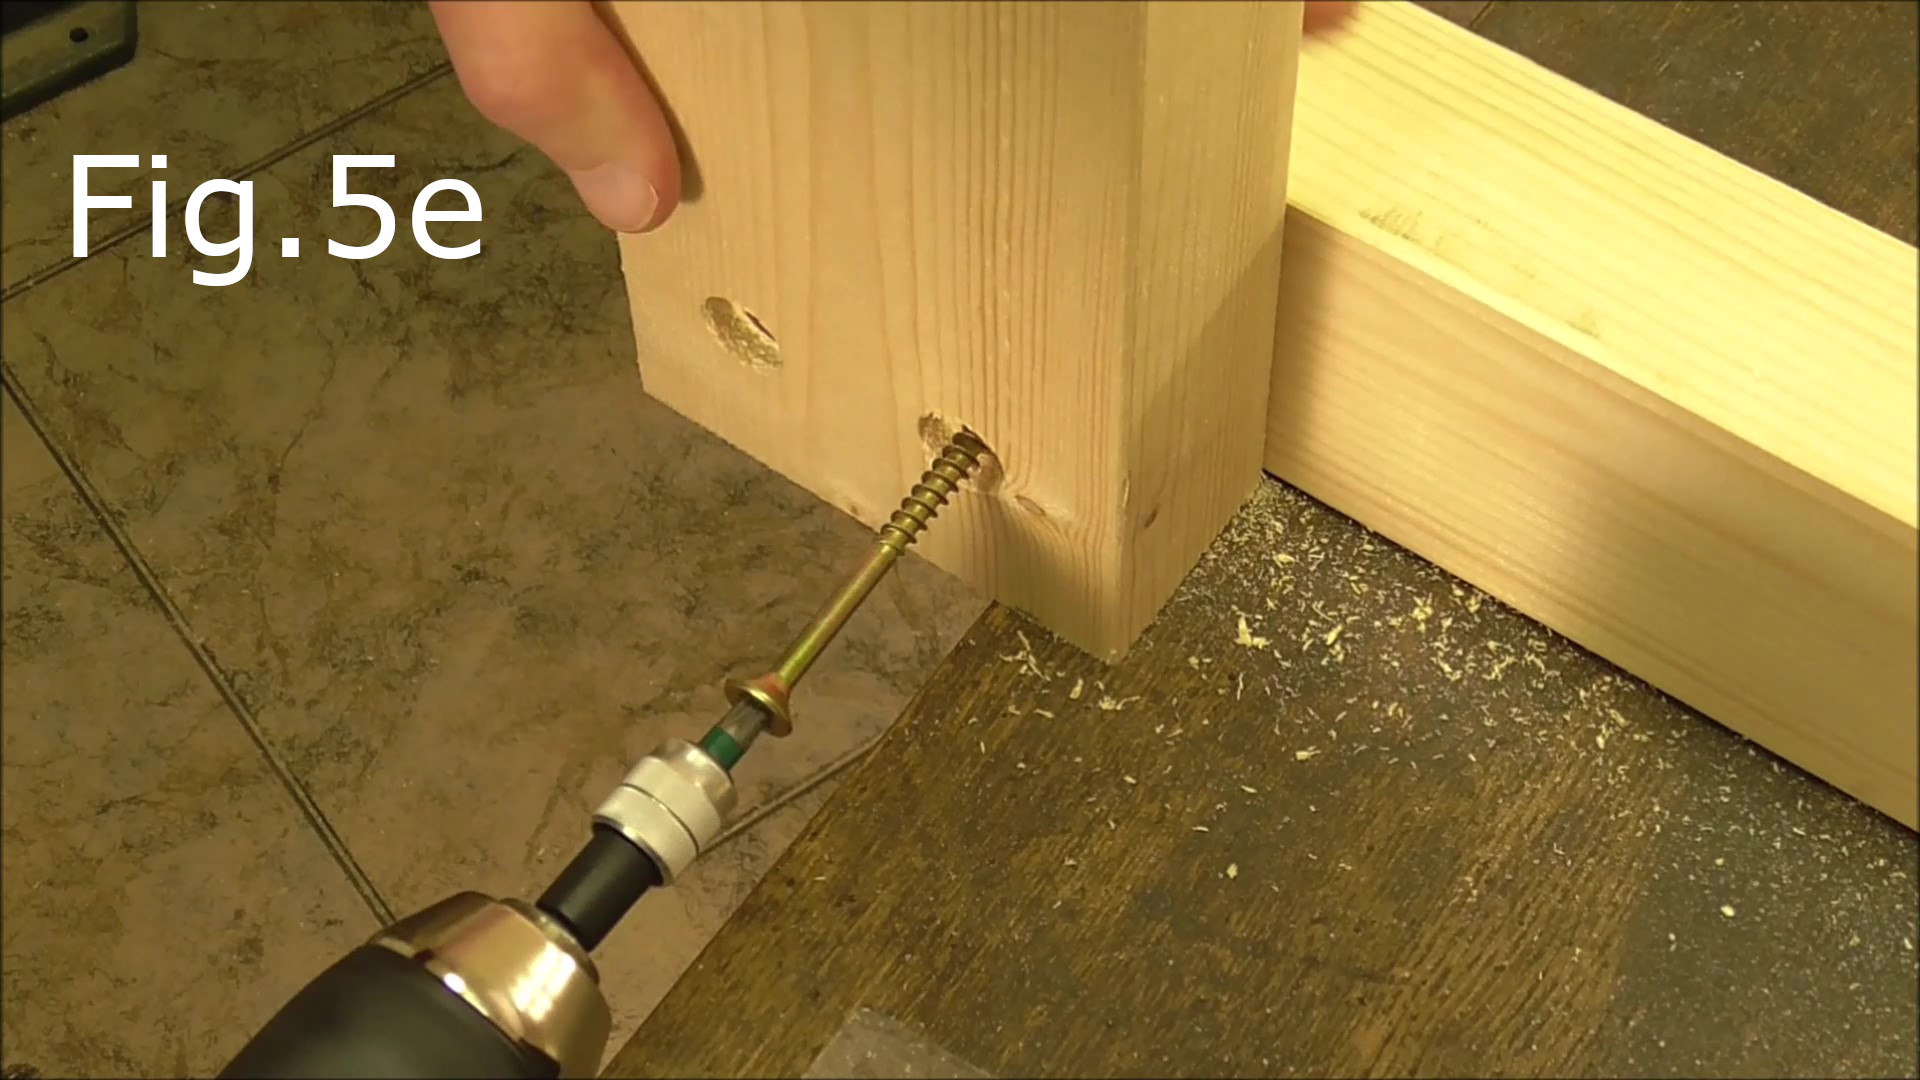
Attach the legs. With one of the frames clamped to the worktable clamp each of the legs to the frame as in Fig.5 and Fig.5a. Next drill two holes for the 70mm screws in each leg (Fig.5, Fig.5c). Drill the screw holes in the legs on the horizontal centerline of the frame pieces, so as not to hit the screws already in the frame (Fig.5c). Using the screw holes as a guide take a 10mm forstner bit and bore a 10mm deep hole for each screw hole (Fig.5b). Next use the countersink bit to countersink the screw holes (Fig.5d). Now when you screw in the 70mm screws they should end up flush at the bottom of the 10mm deep holes (Fig.5e).

STEP 4:
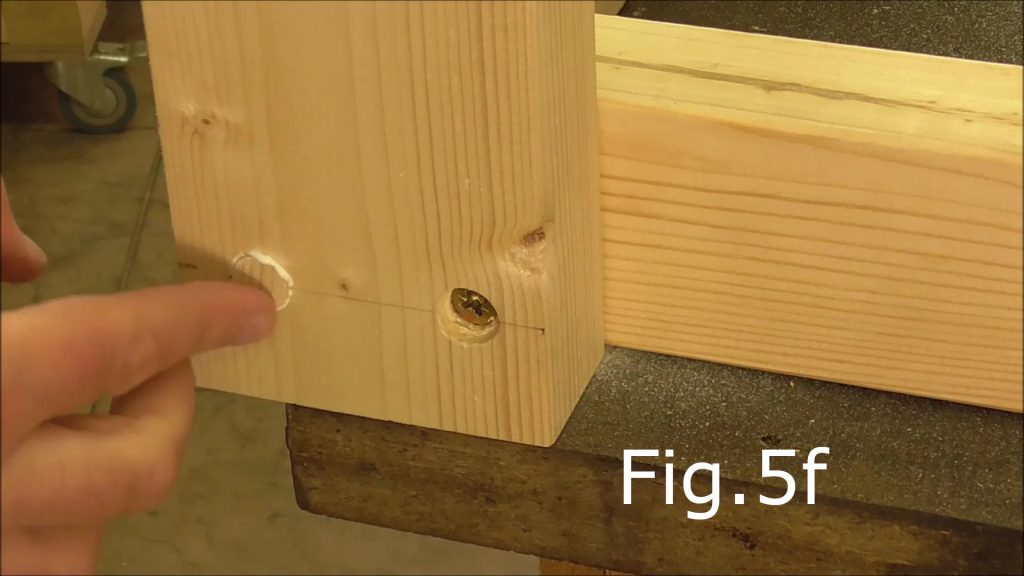
Use at least a 12mm thick piece of wood to make the screw hole plugs (Fig.5f). You will need 16 plugs for the leg screw holes. Cut the plugs out using a 10mm hole saw. Once you have cut out the plugs glue them into the screw holes with PVA 3 wood glue (FIG.5f). Later there will be more plugs needed for the screw holes in the shelf and for attaching the top. You may prefer to use thinner plywood plugs for these holes. However in the video I used pine plugs for the plywood top and shelf.
STEP 5:
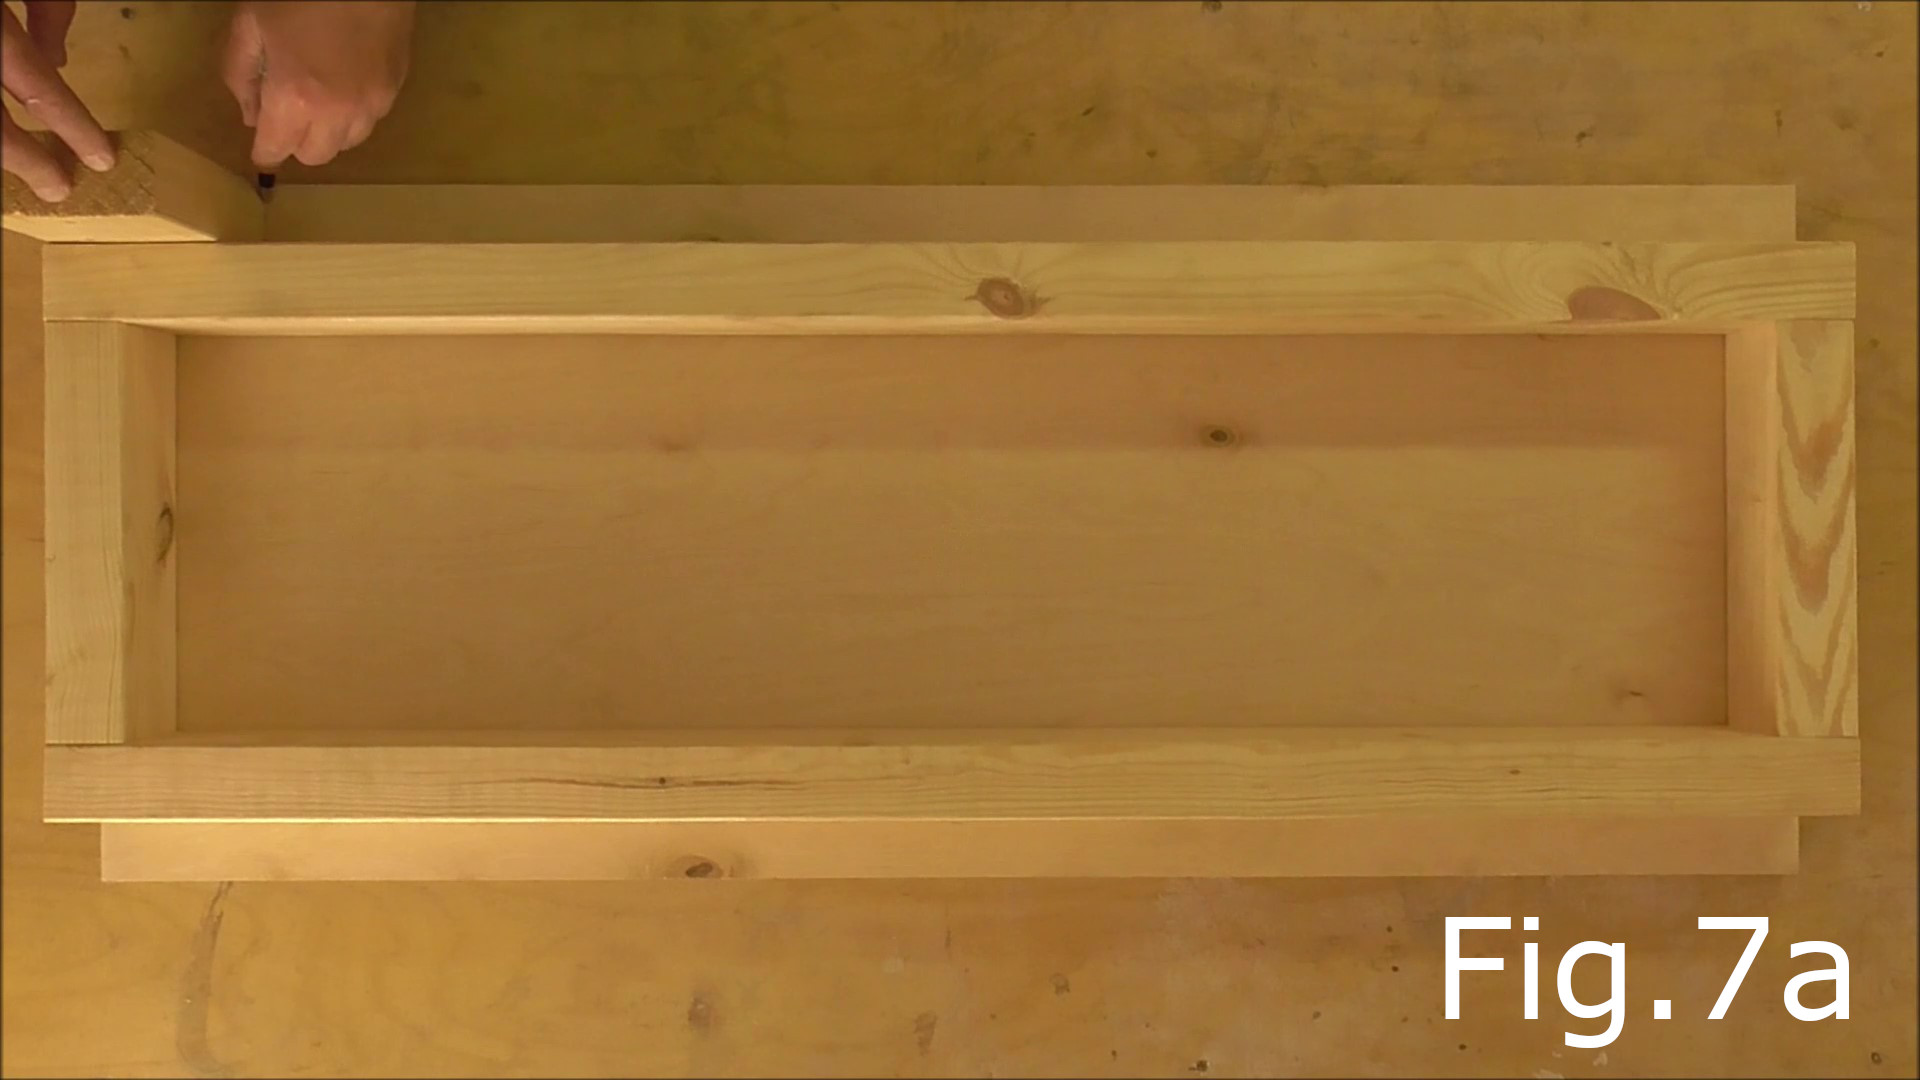
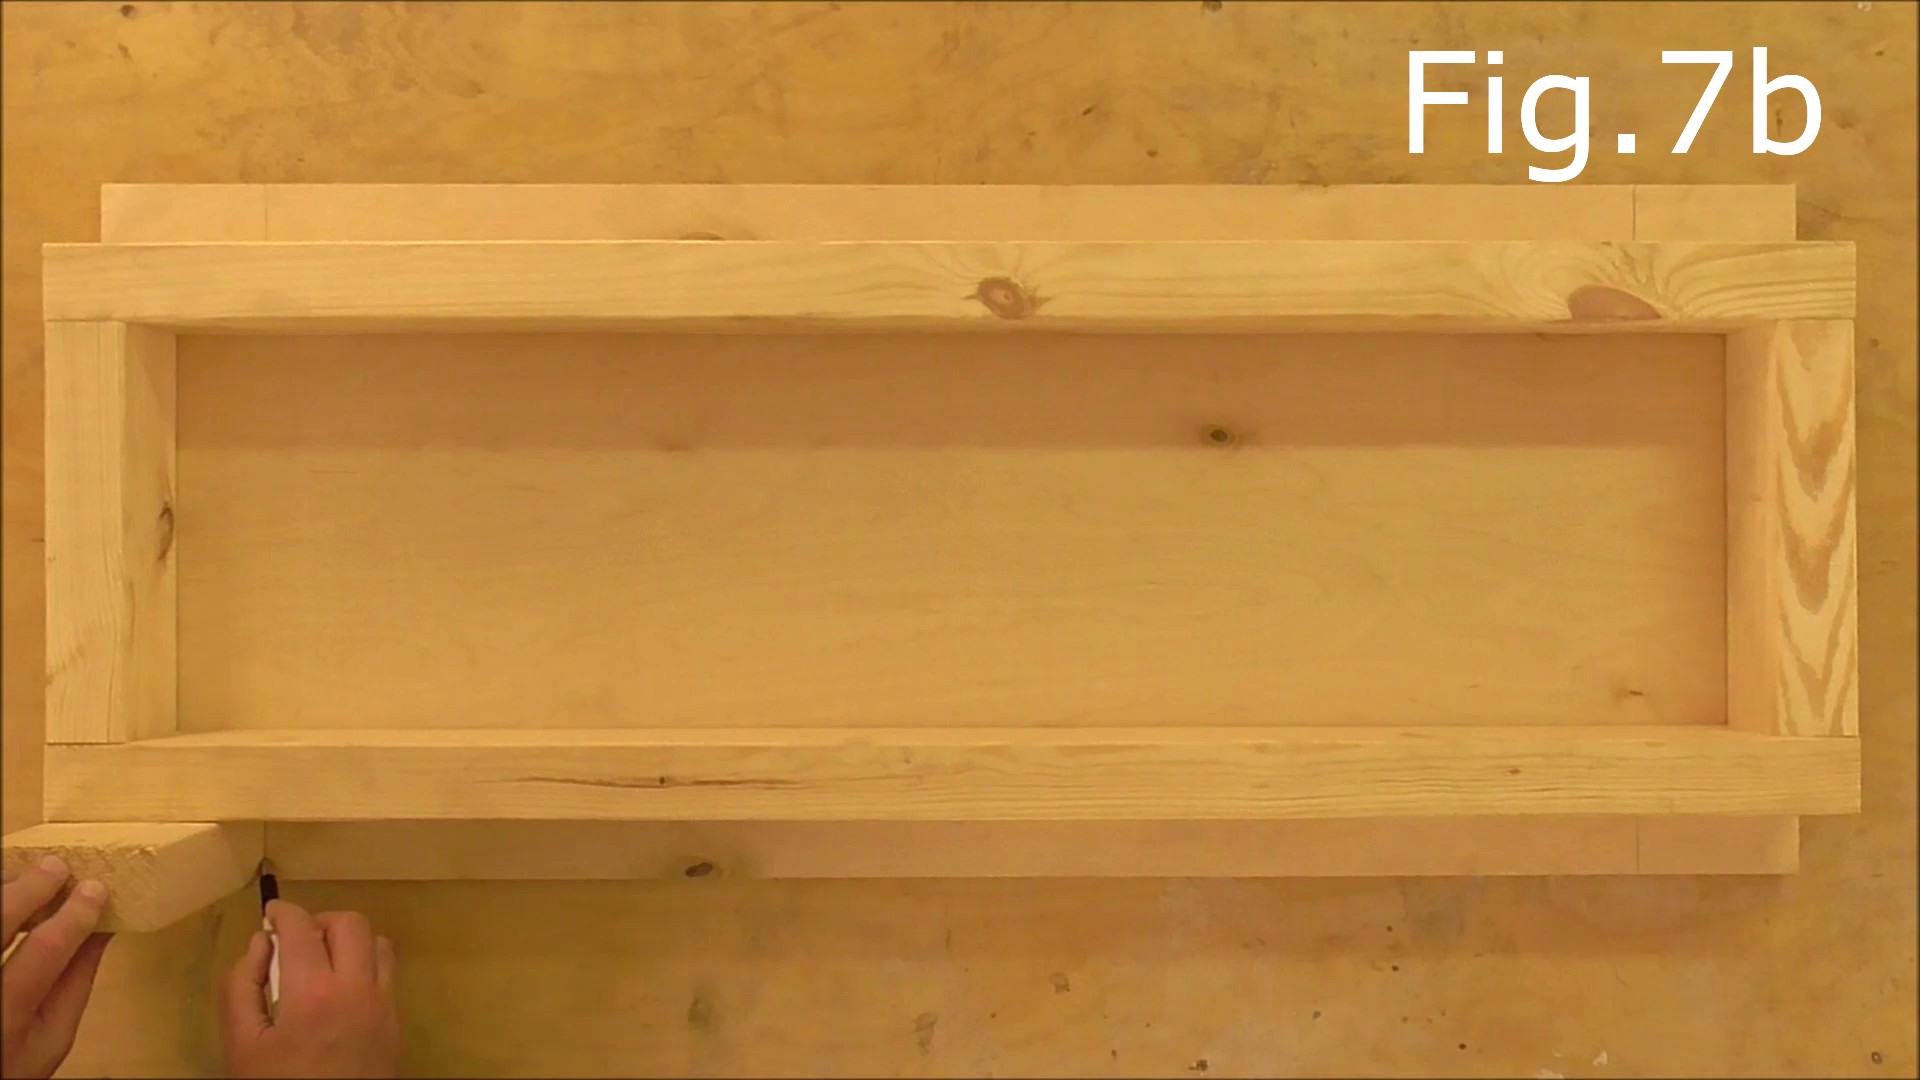
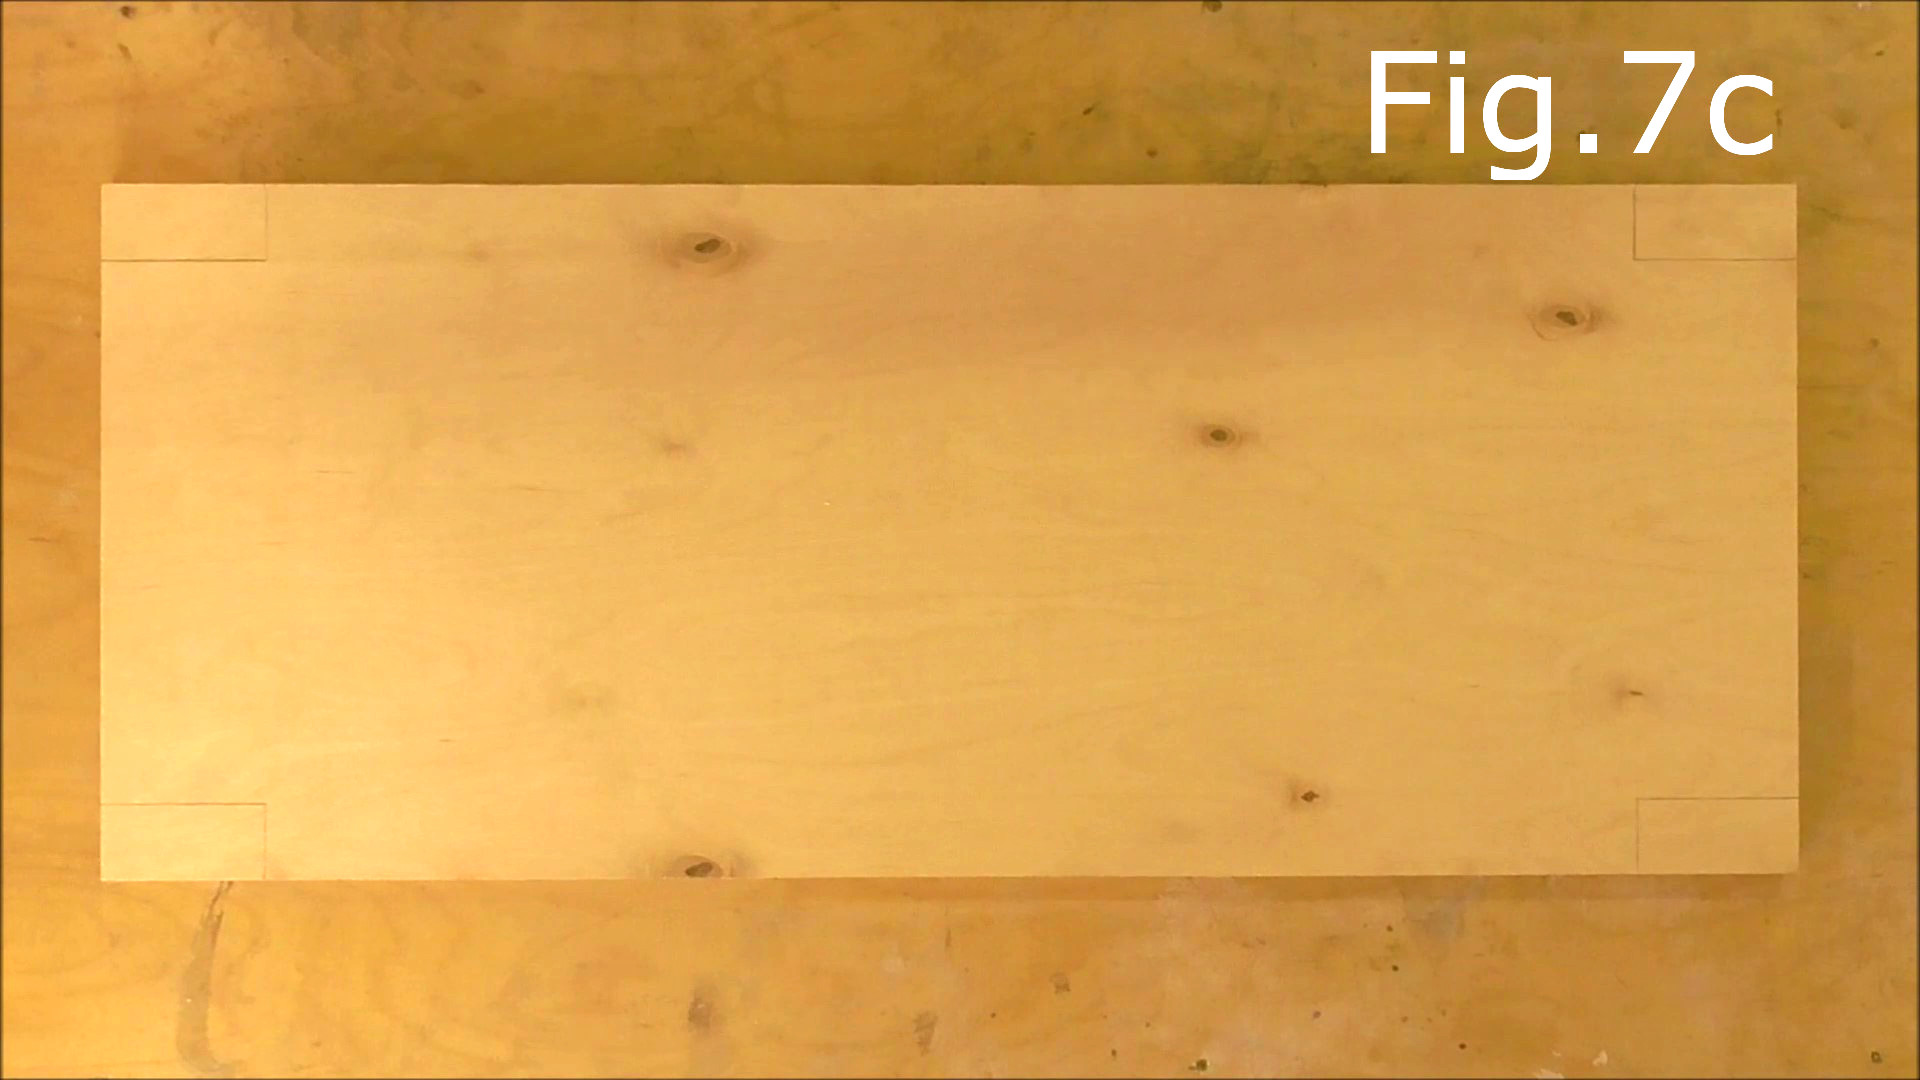
The next step is to cut out the leg holes in the 15mm plywood 978mm x 400mm shelf piece. Take the plywood shelf piece lay it on your workbench and place the shelf frame on top of the plywood (Fig.7). Now make sure the ends of the frame are flush and square with the end of the plywood sheet. Next take one of the leg offcuts and use it to mark where the location of the legs will be (Fig.7a). Here you should check to make sure there is an equal amount of plywood sheet sticking out on both sides of the frame. Just enoough to allow placing the leg piece at each corner so it is flush with the edges of the plywood (Fig.7a,7b). Take a pencil and mark the location of the inside of the leg onto the plywood (Fig.7a,7b). Now with the frame still located on the plywood use the frame to mark the longer edge of the legs. The end result should look like Fig.7c with the location of the legs marked on each corner of the plywood.

STEP 6:
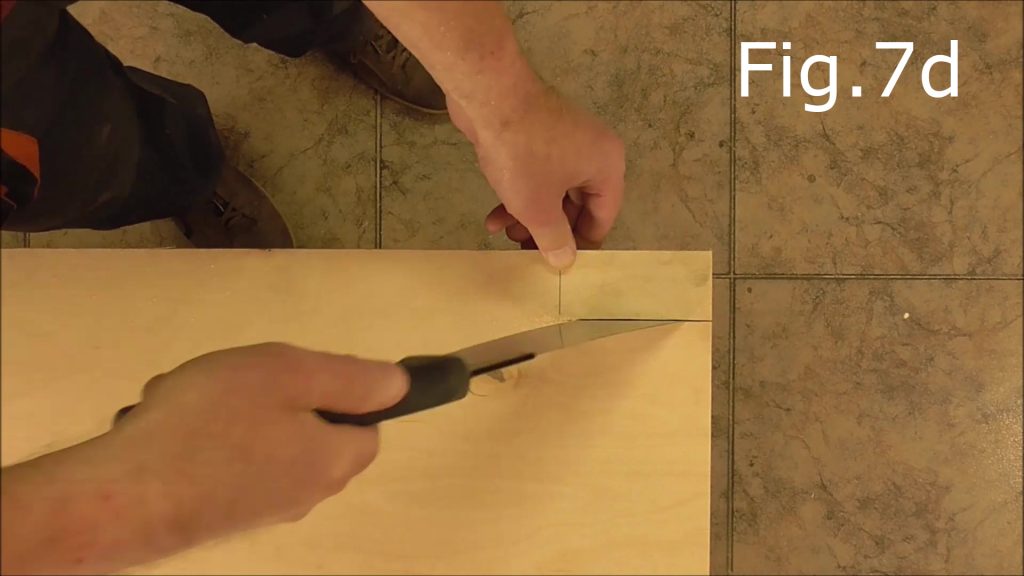
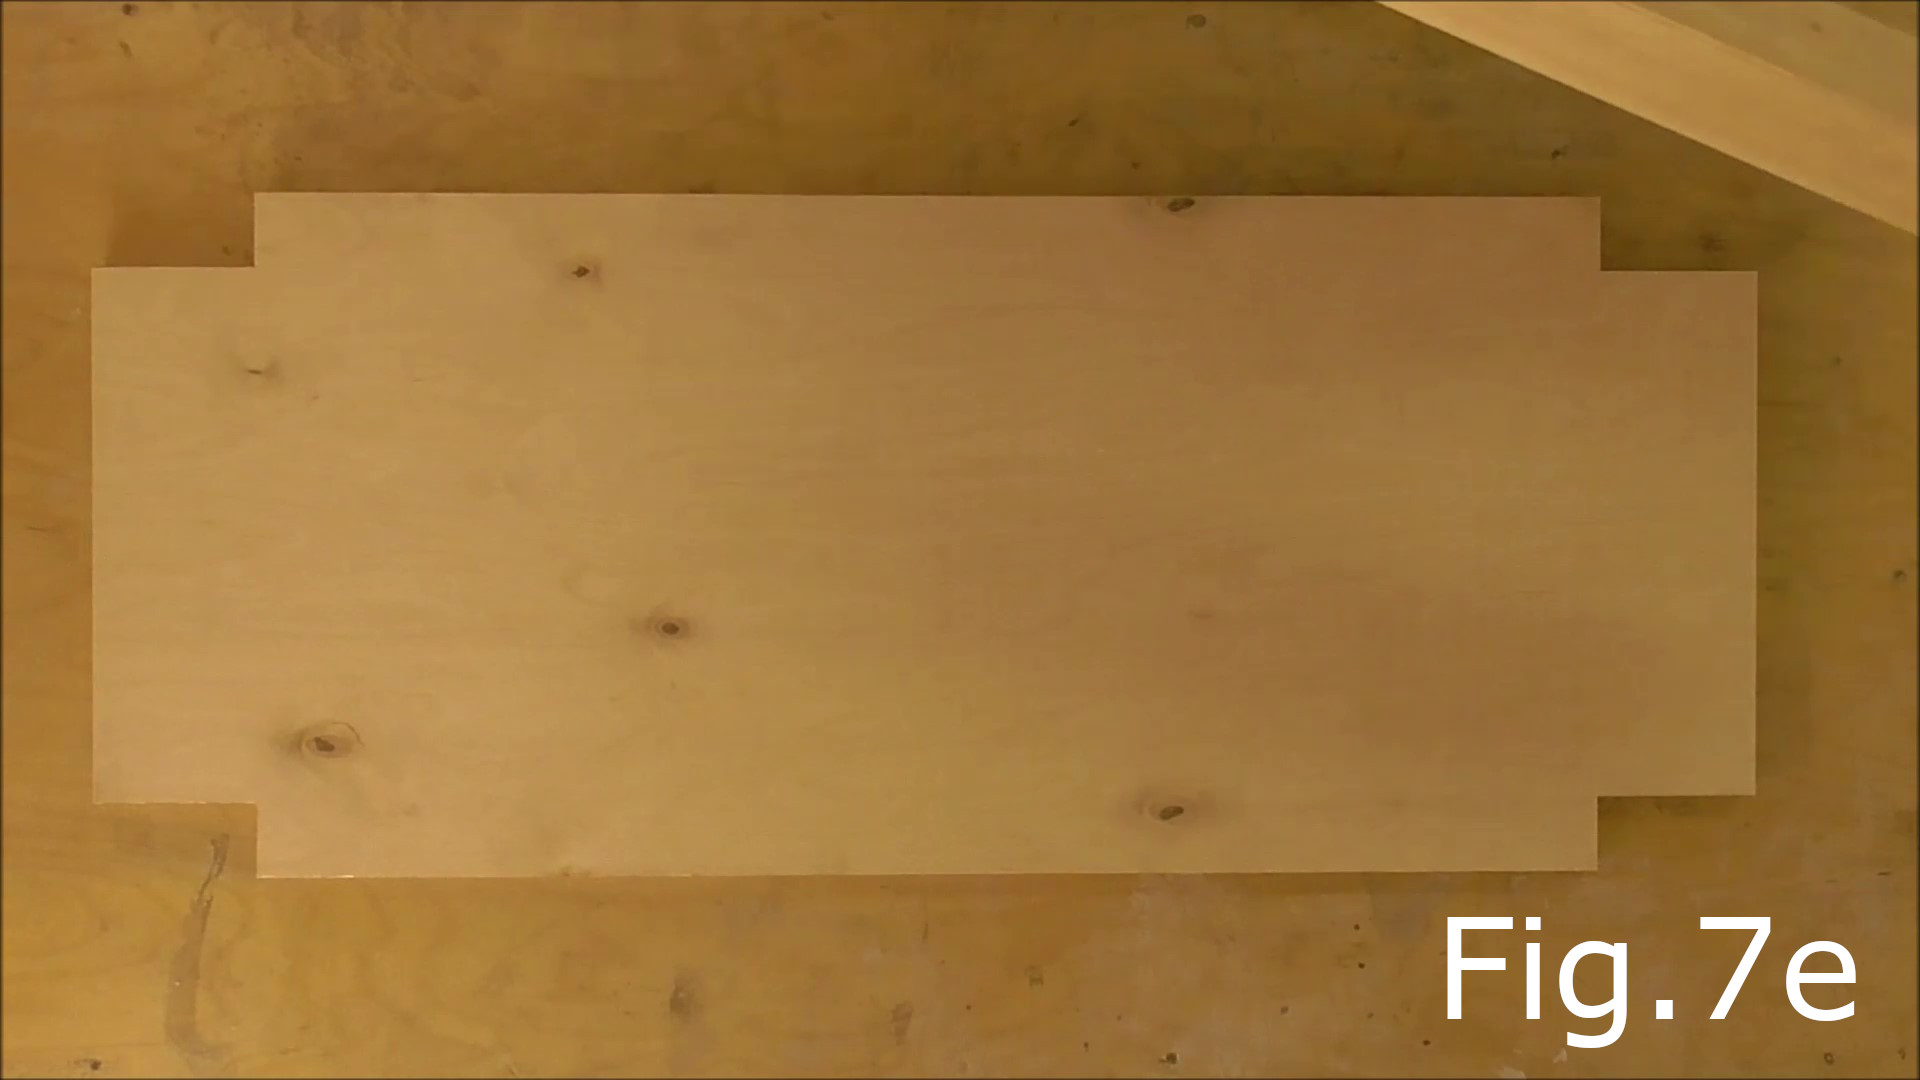
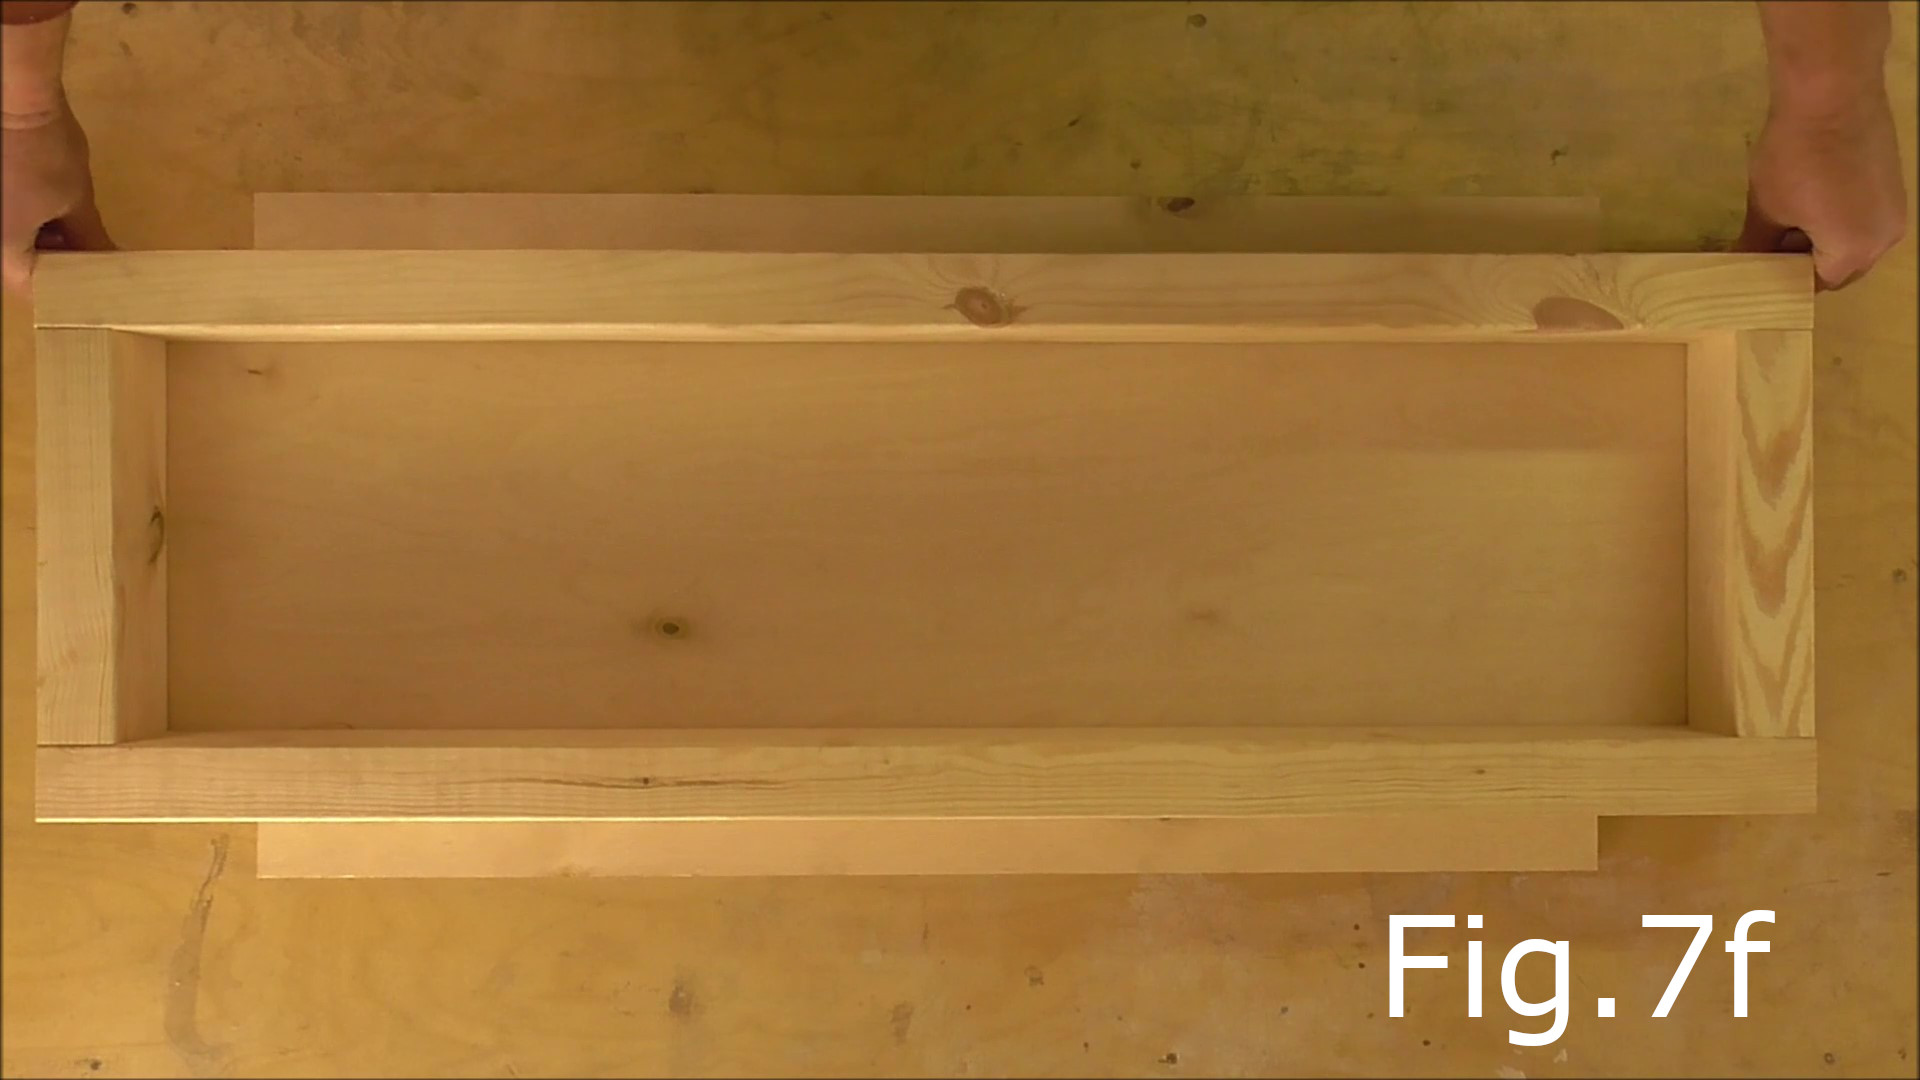
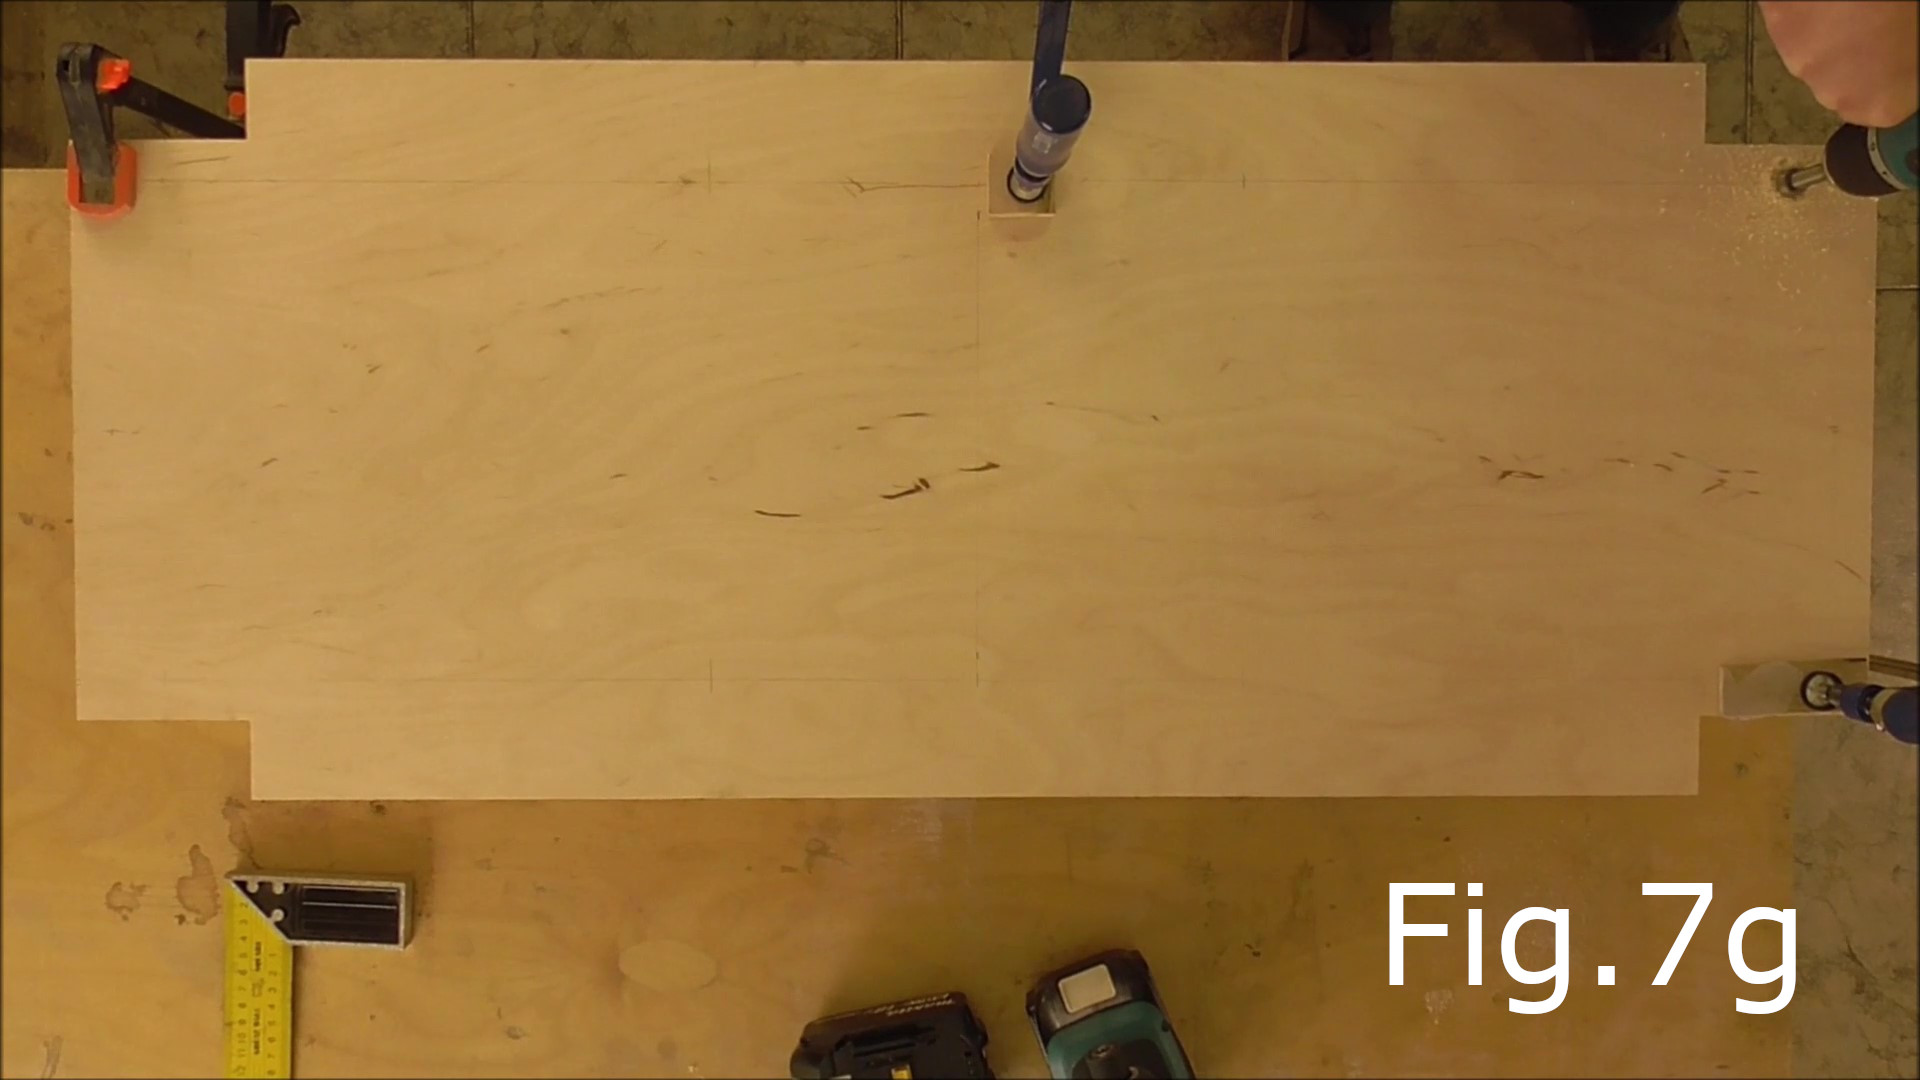
Cut out the plywood to make room for the table legs (Fig.7d). Try to cut the plywood as straight and square as possible. I used a thin japanese style pull saw. The plywood shelf should look like Fig.7e after the pieces have been cut out. Next place the shelf frame back onto the plywood sheet making sure everything is flush so the frame is not overhanging the sheet anywhere (Fig.7f). Now turn over the frame together with the plywood sheet checking again that everything is aligned and the sheet and frame are flush. Clamp down the sheet to the shelf frame (Fig.7g).
STEP 7:
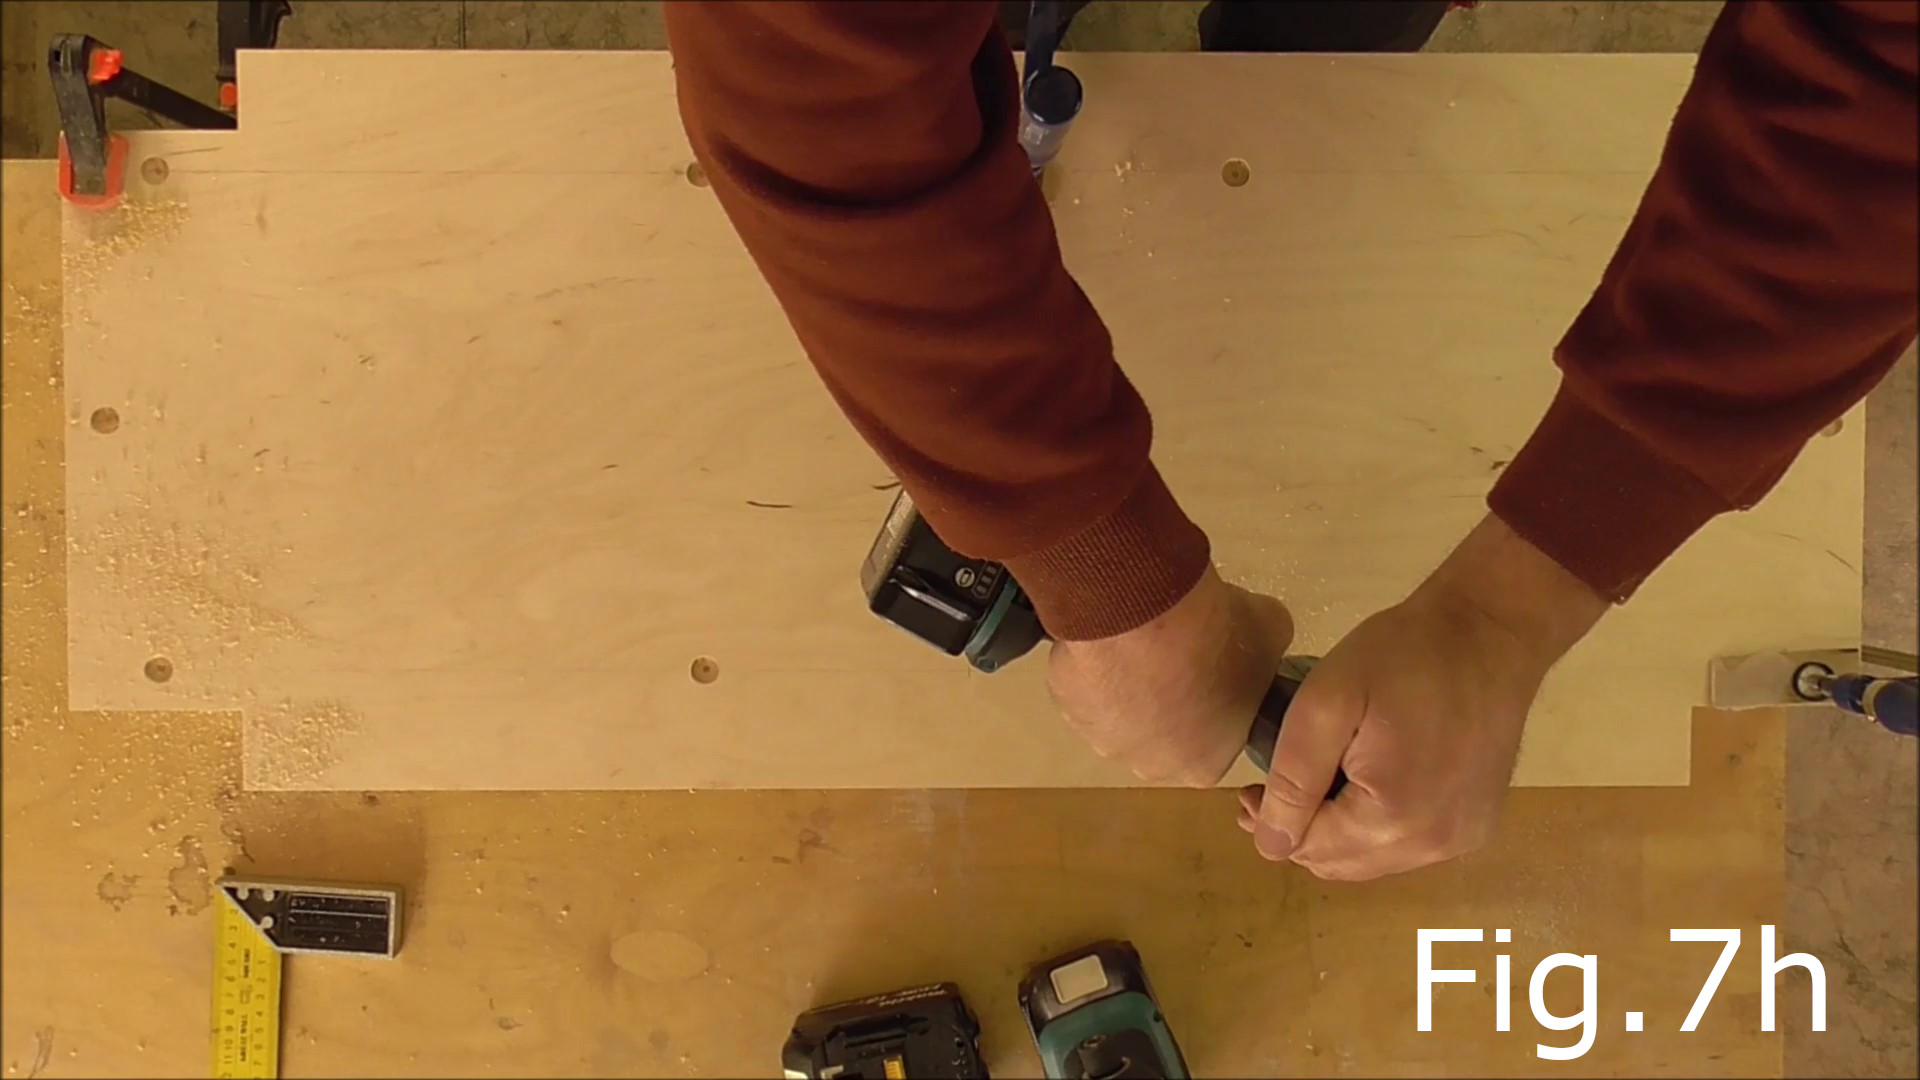
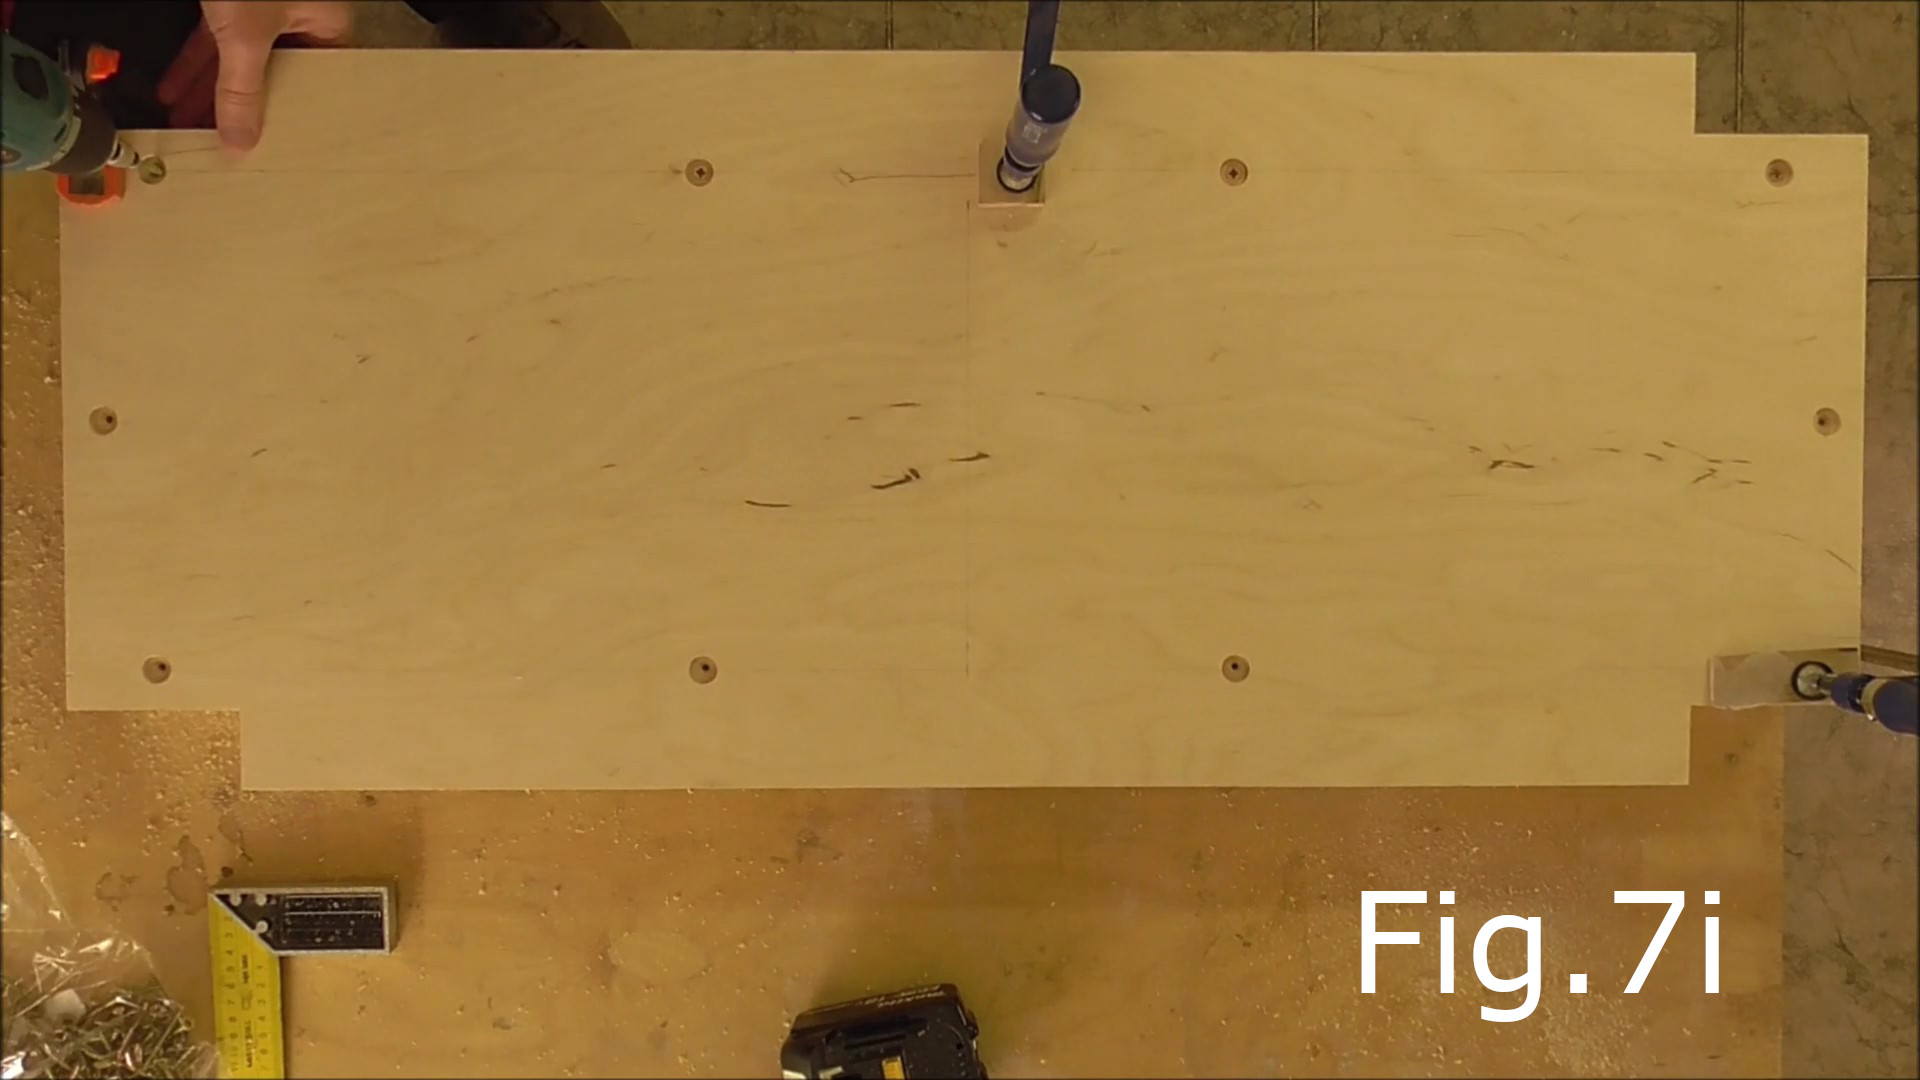
Drill ten screw holes through the plywood sheet as can be seen in Fig.7h. After drilling the screw holes recess the holes to a depth of at least 5 mm with the 10mm forstner bit and then countersink the bottom of each recess so you can then screw in the 40mm screws flush with bottom of the 10mm recess (Fig.7i).
STEP 8:
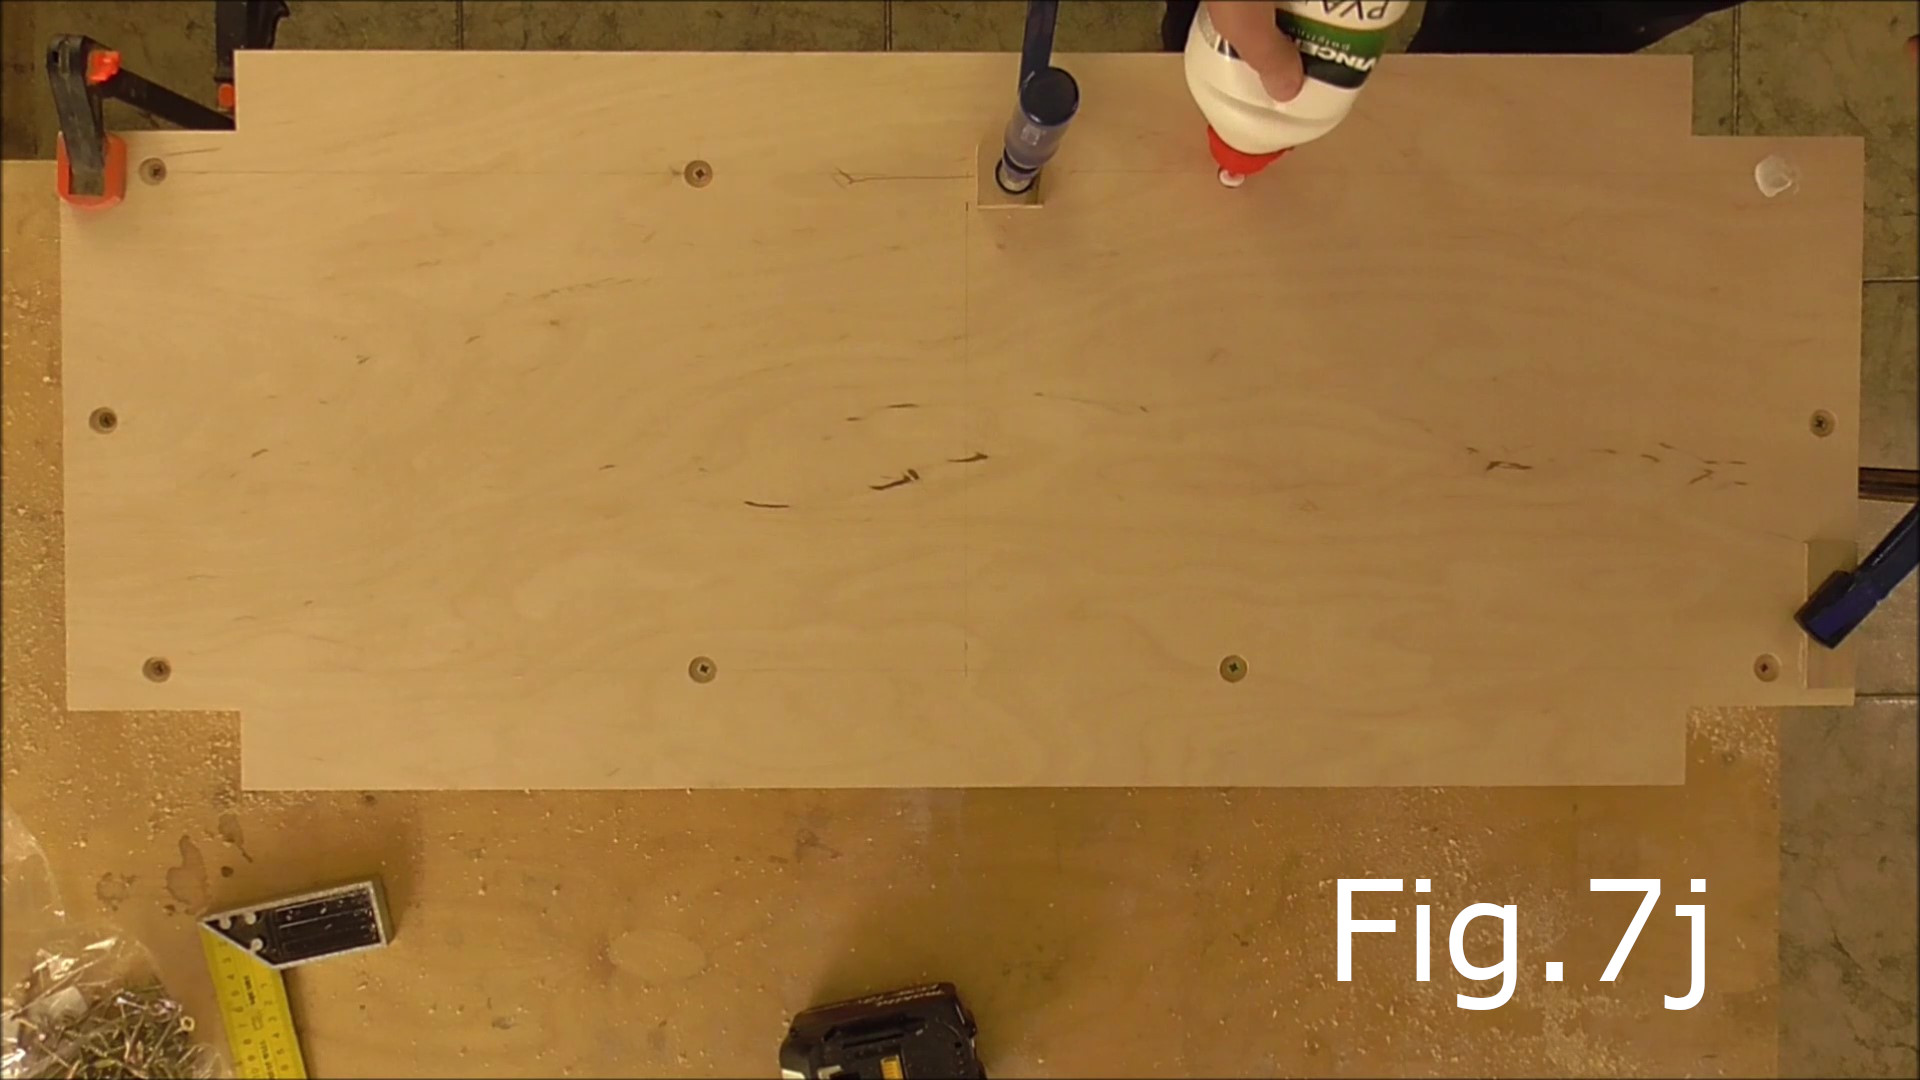
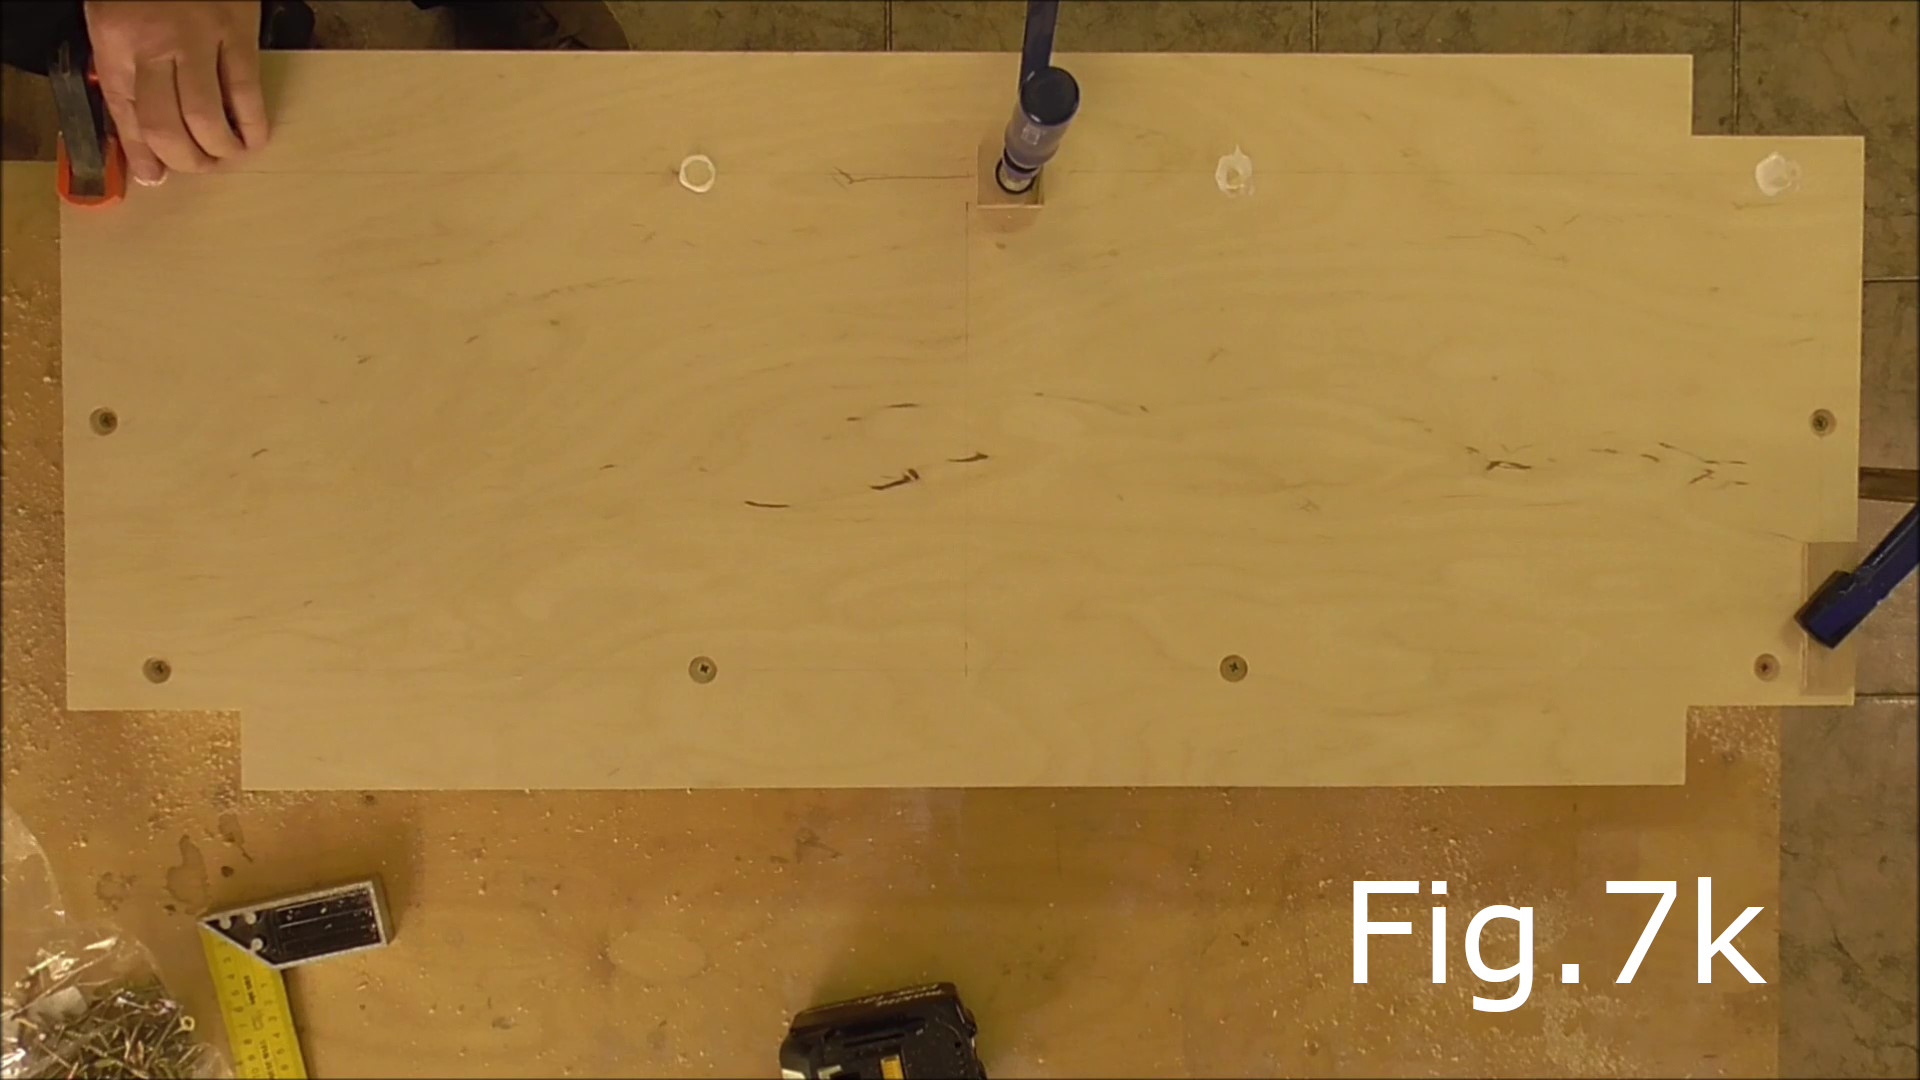
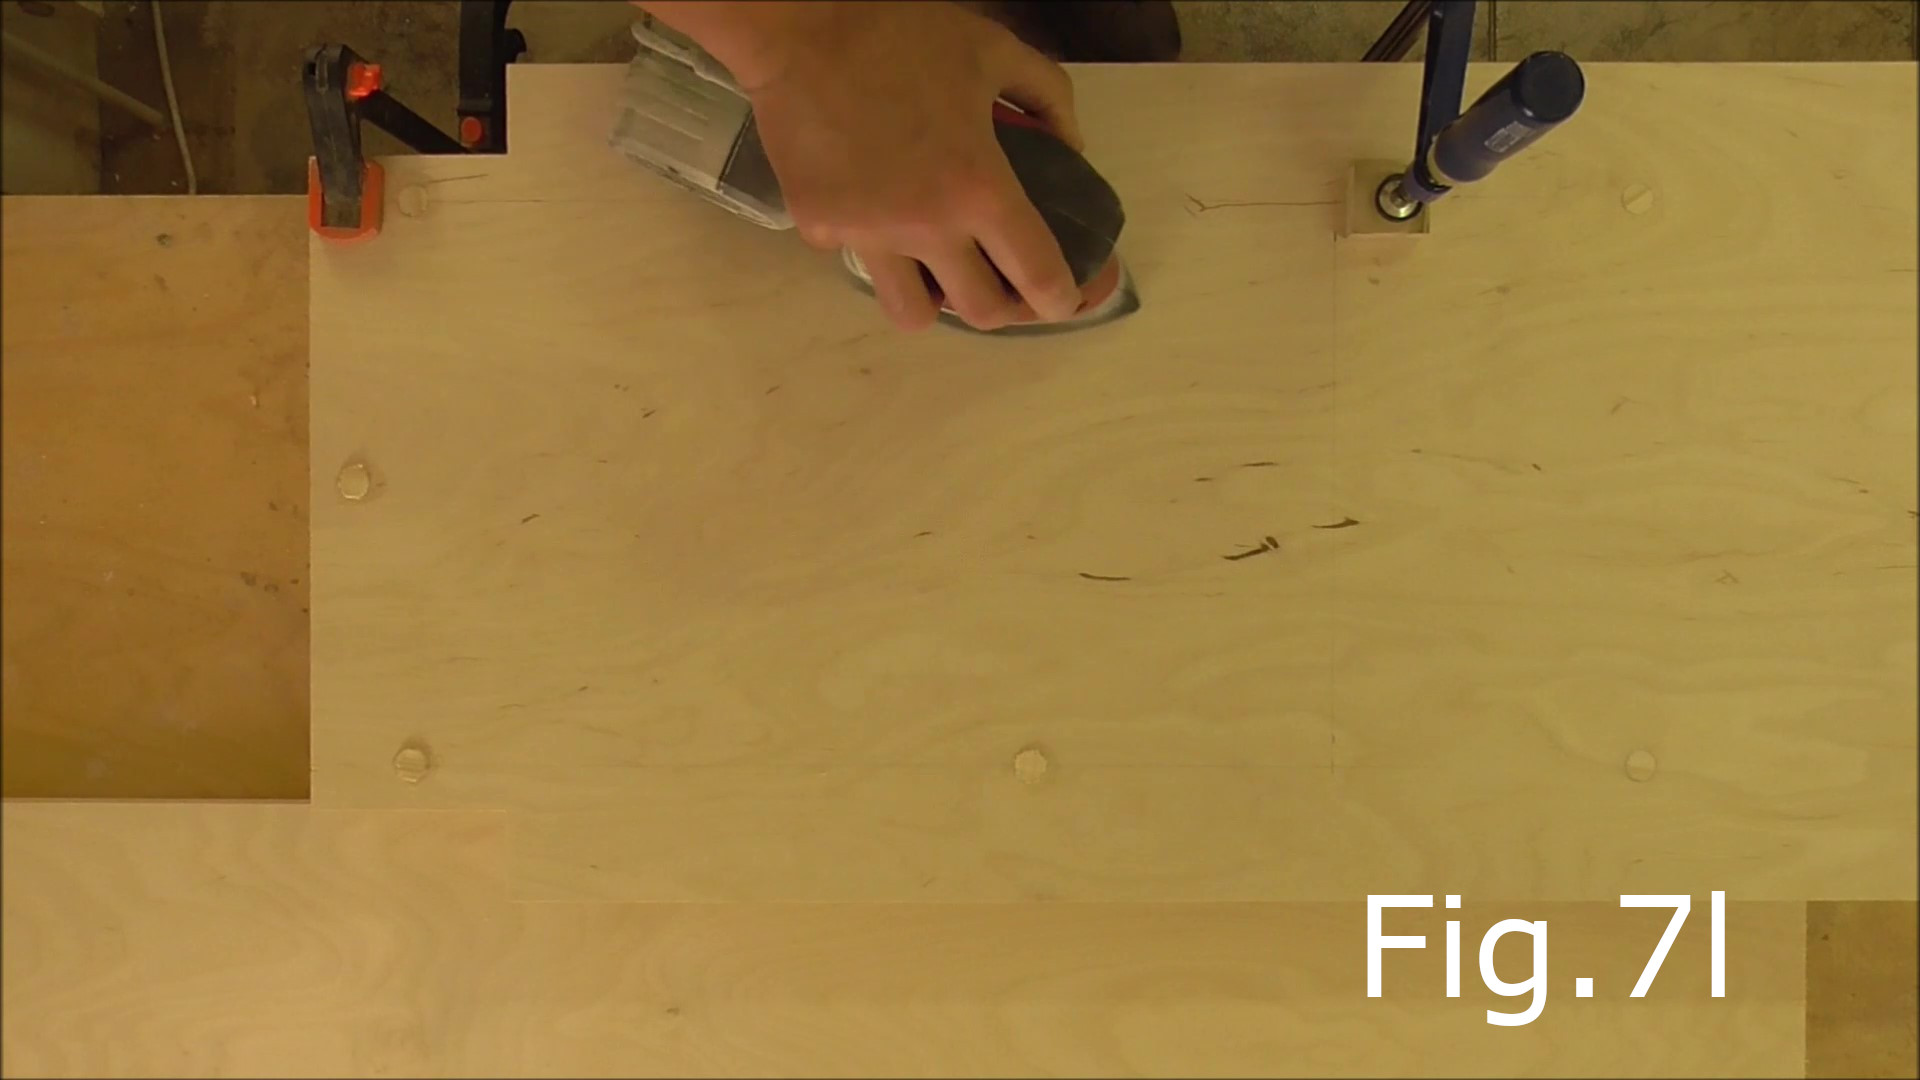
After screwing the plywood sheet on to the shelf frame, glue in the screw hole plugs (Fig.7j,7k). Once the glue has dried sand the plugs down smooth with the plywood shelf (Fig.7l).

STEP 9:
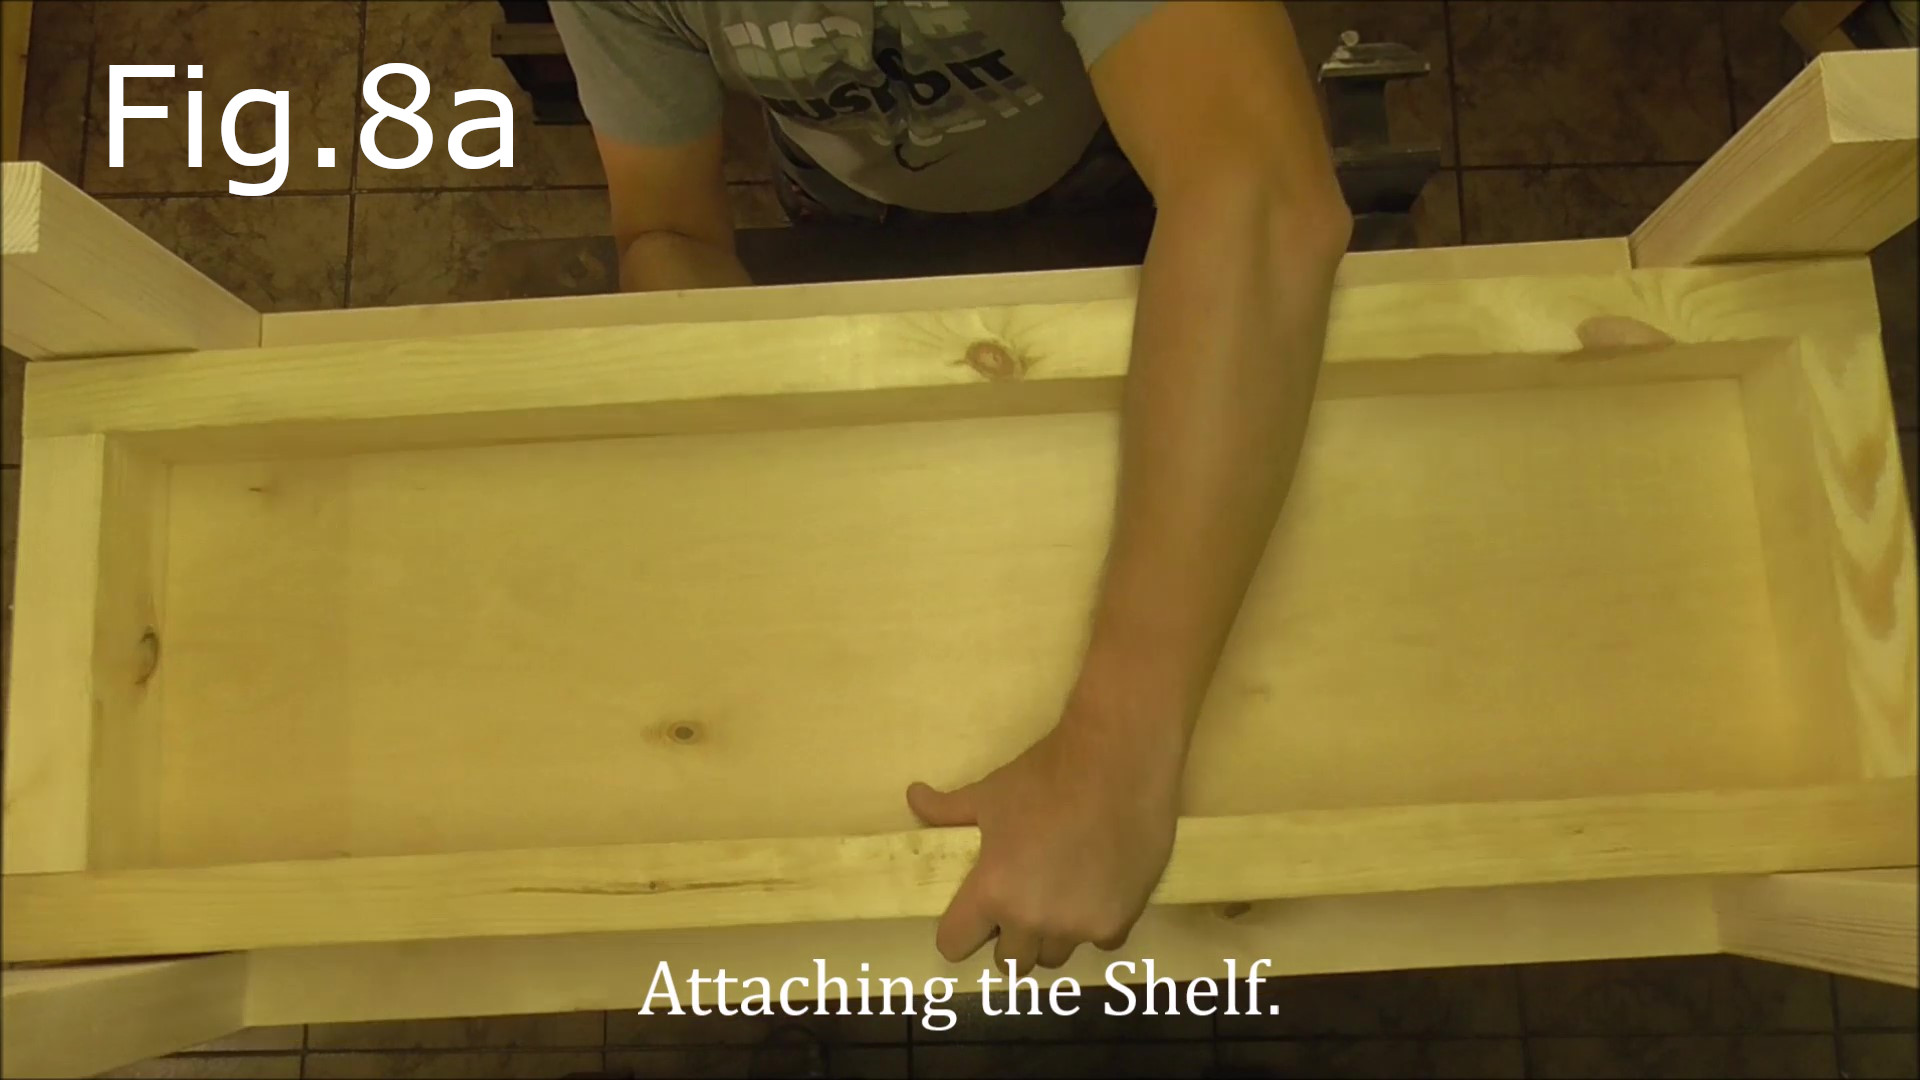
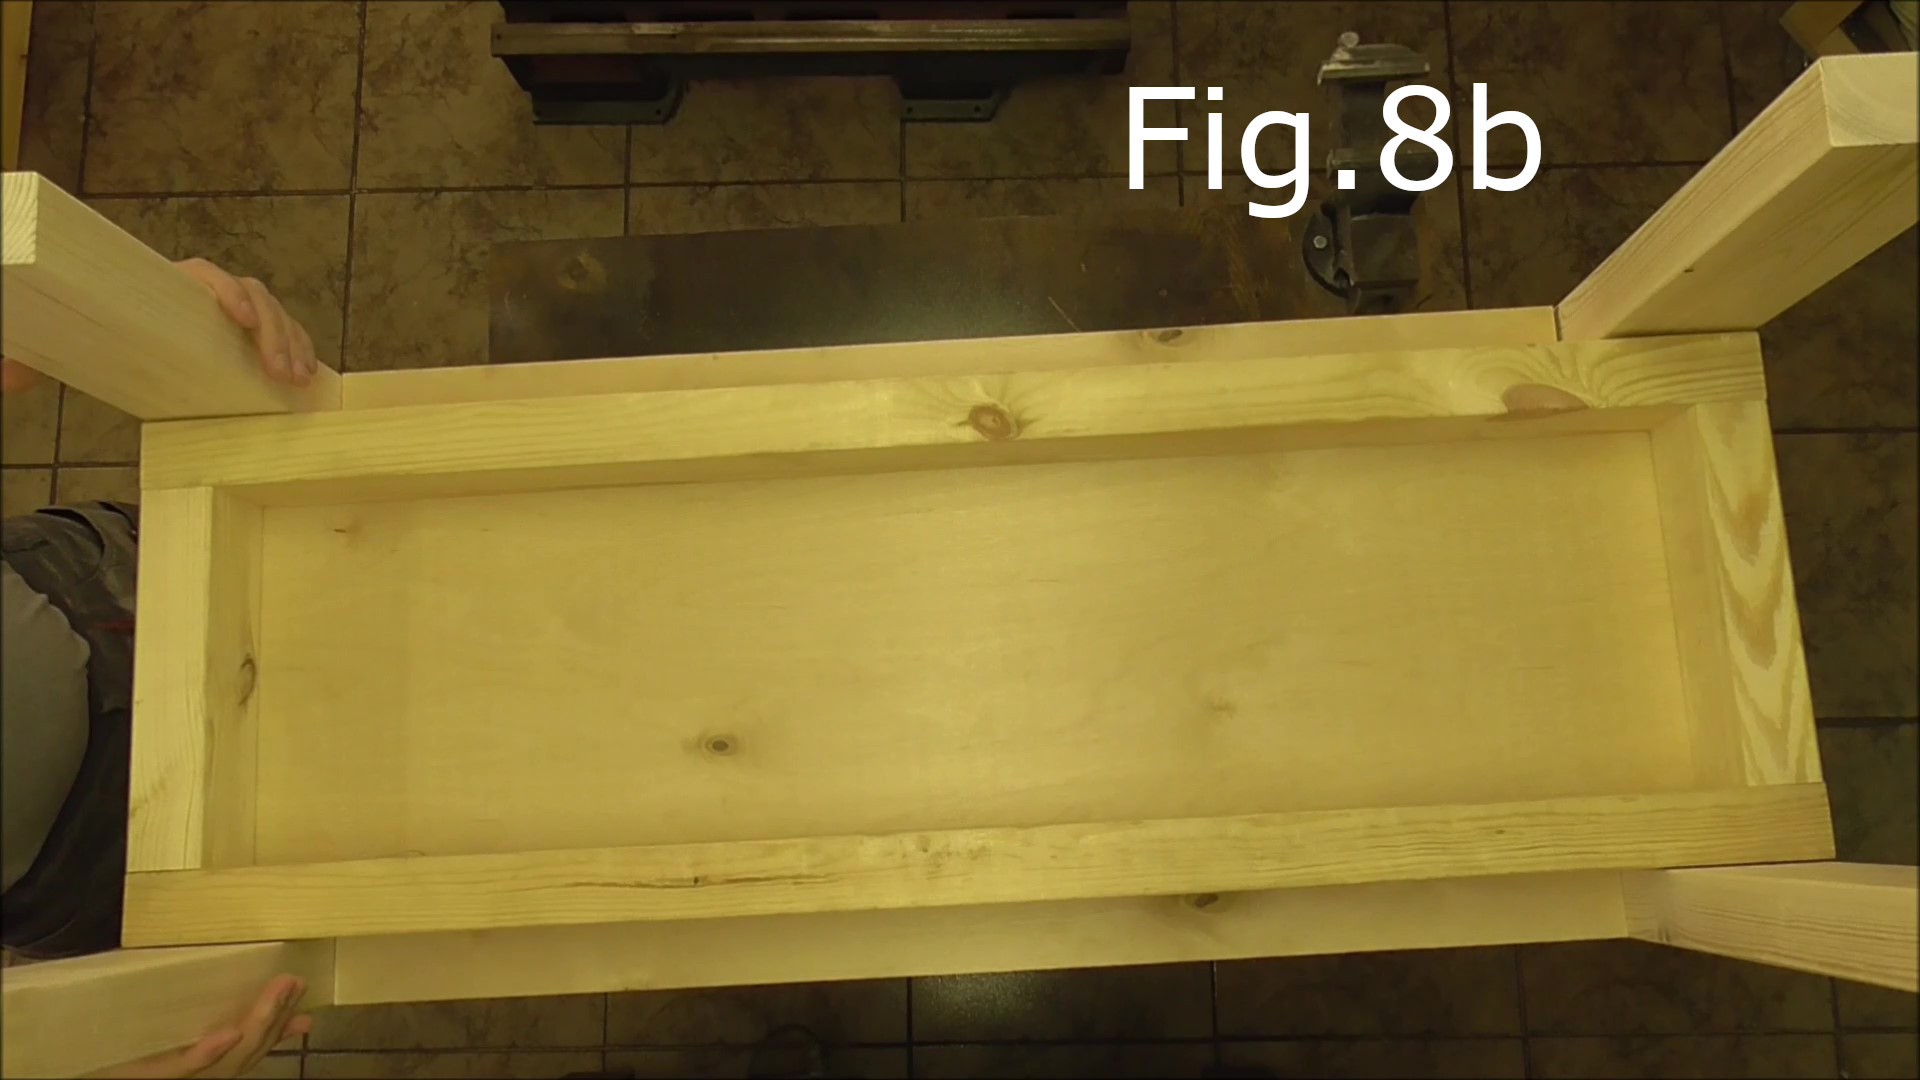
Attach the shelf to the table legs. Clamp the table legs and top frame on to a work table (Fig.8) then place some wooden spacers on the inside of the legs as can be seen in Fig.8. The distance between the top of the table legs or your work surface and the top of the shelf is 495mm. Make sure the spacers on both sides are accurate so your shelf will be level. Now take the shelf turn it upside down and slide it down in between the legs (Fig.8a,8b). Make sure the shelf is sitting hard up against the spacers.
STEP 10:
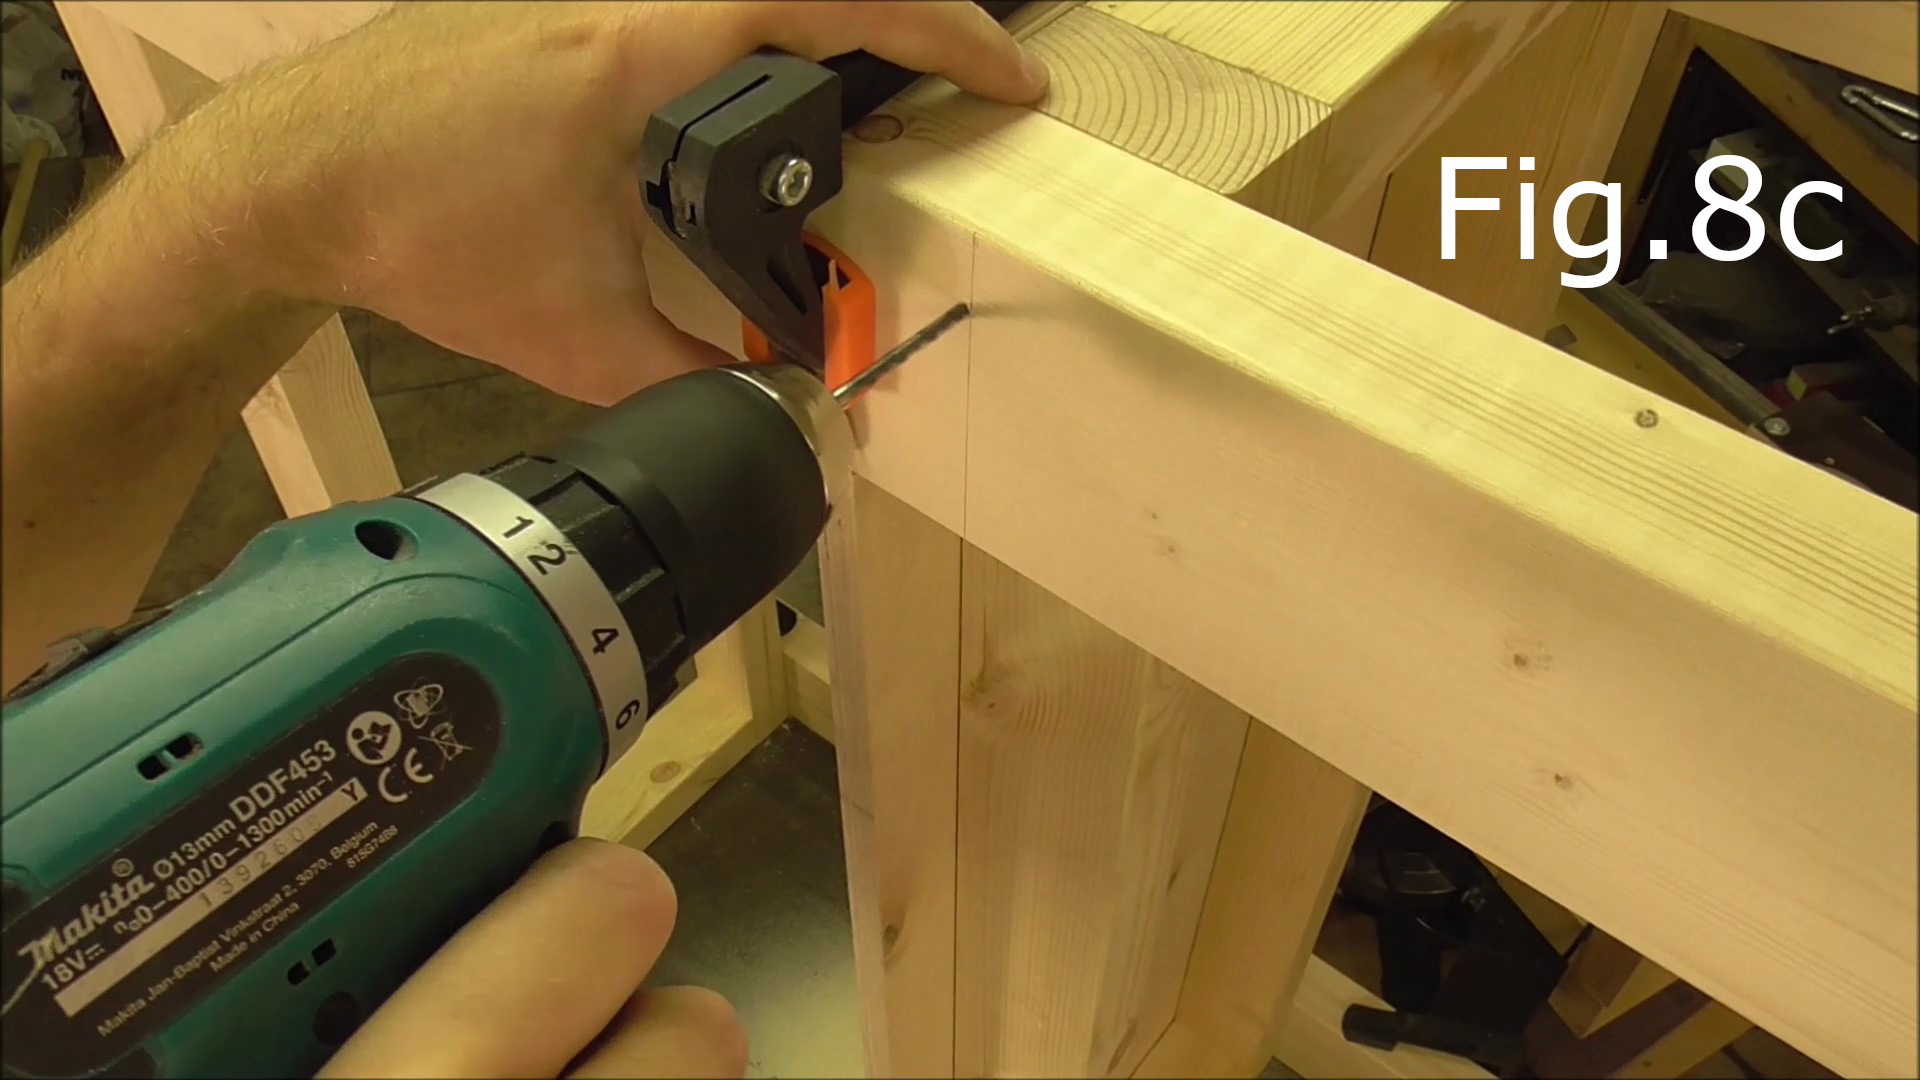
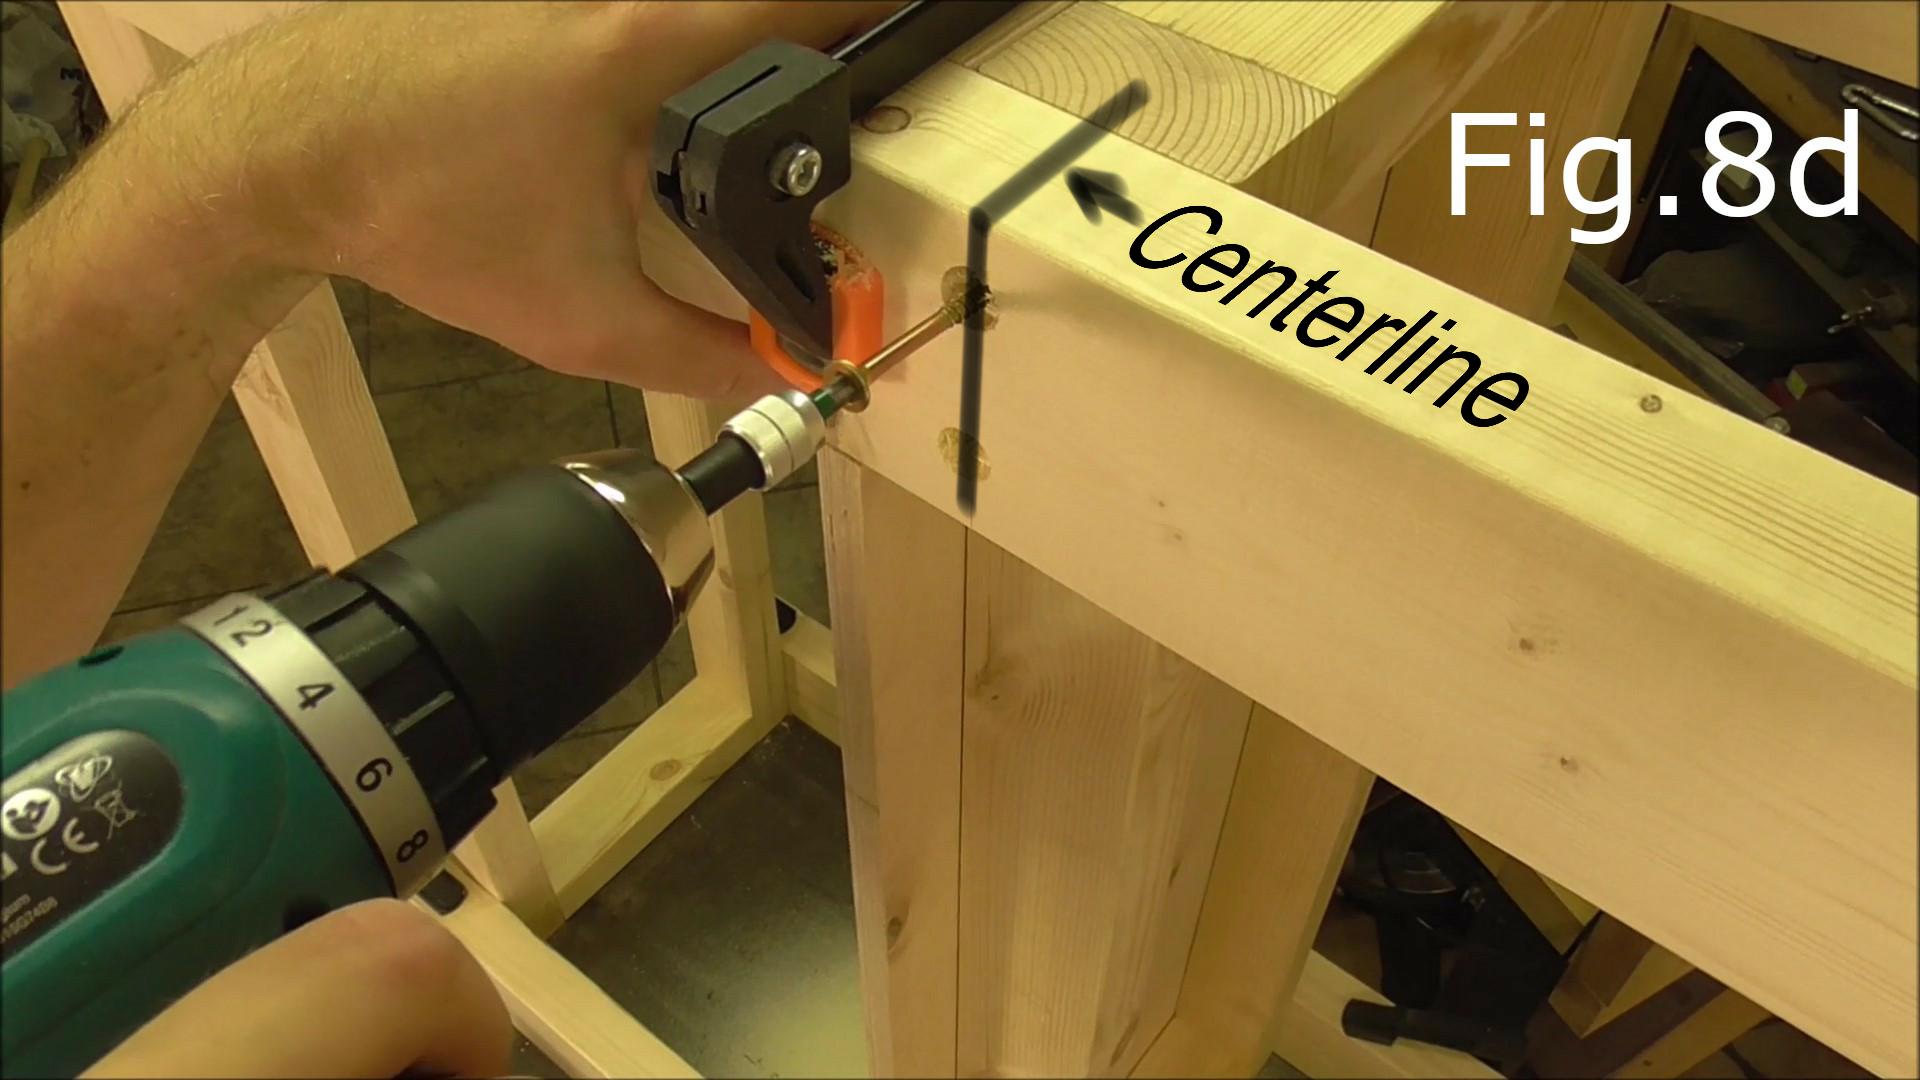
Once the shelf is in place clamp the legs to the shelf while the table is still upside down as in Fig.8b and then turn the whole table on one end as can be seen in (Fig.8c,8d). Next drill two screw holes in each leg along the horizontal centerline of the shelf frame (Fig.8d).
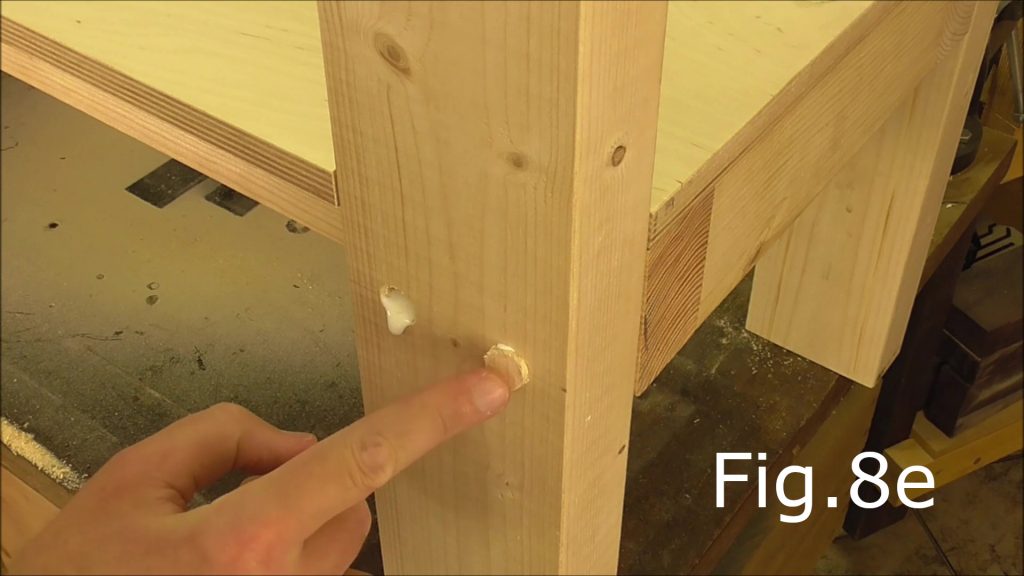
Recess the screw holes with the 10mm forstner bit and screw in the 70mm screws. Next glue in the screw hole plugs (Fig.8e). The table should now look like Fig.9 ready for screwing on the plywood top.

STEP 11:
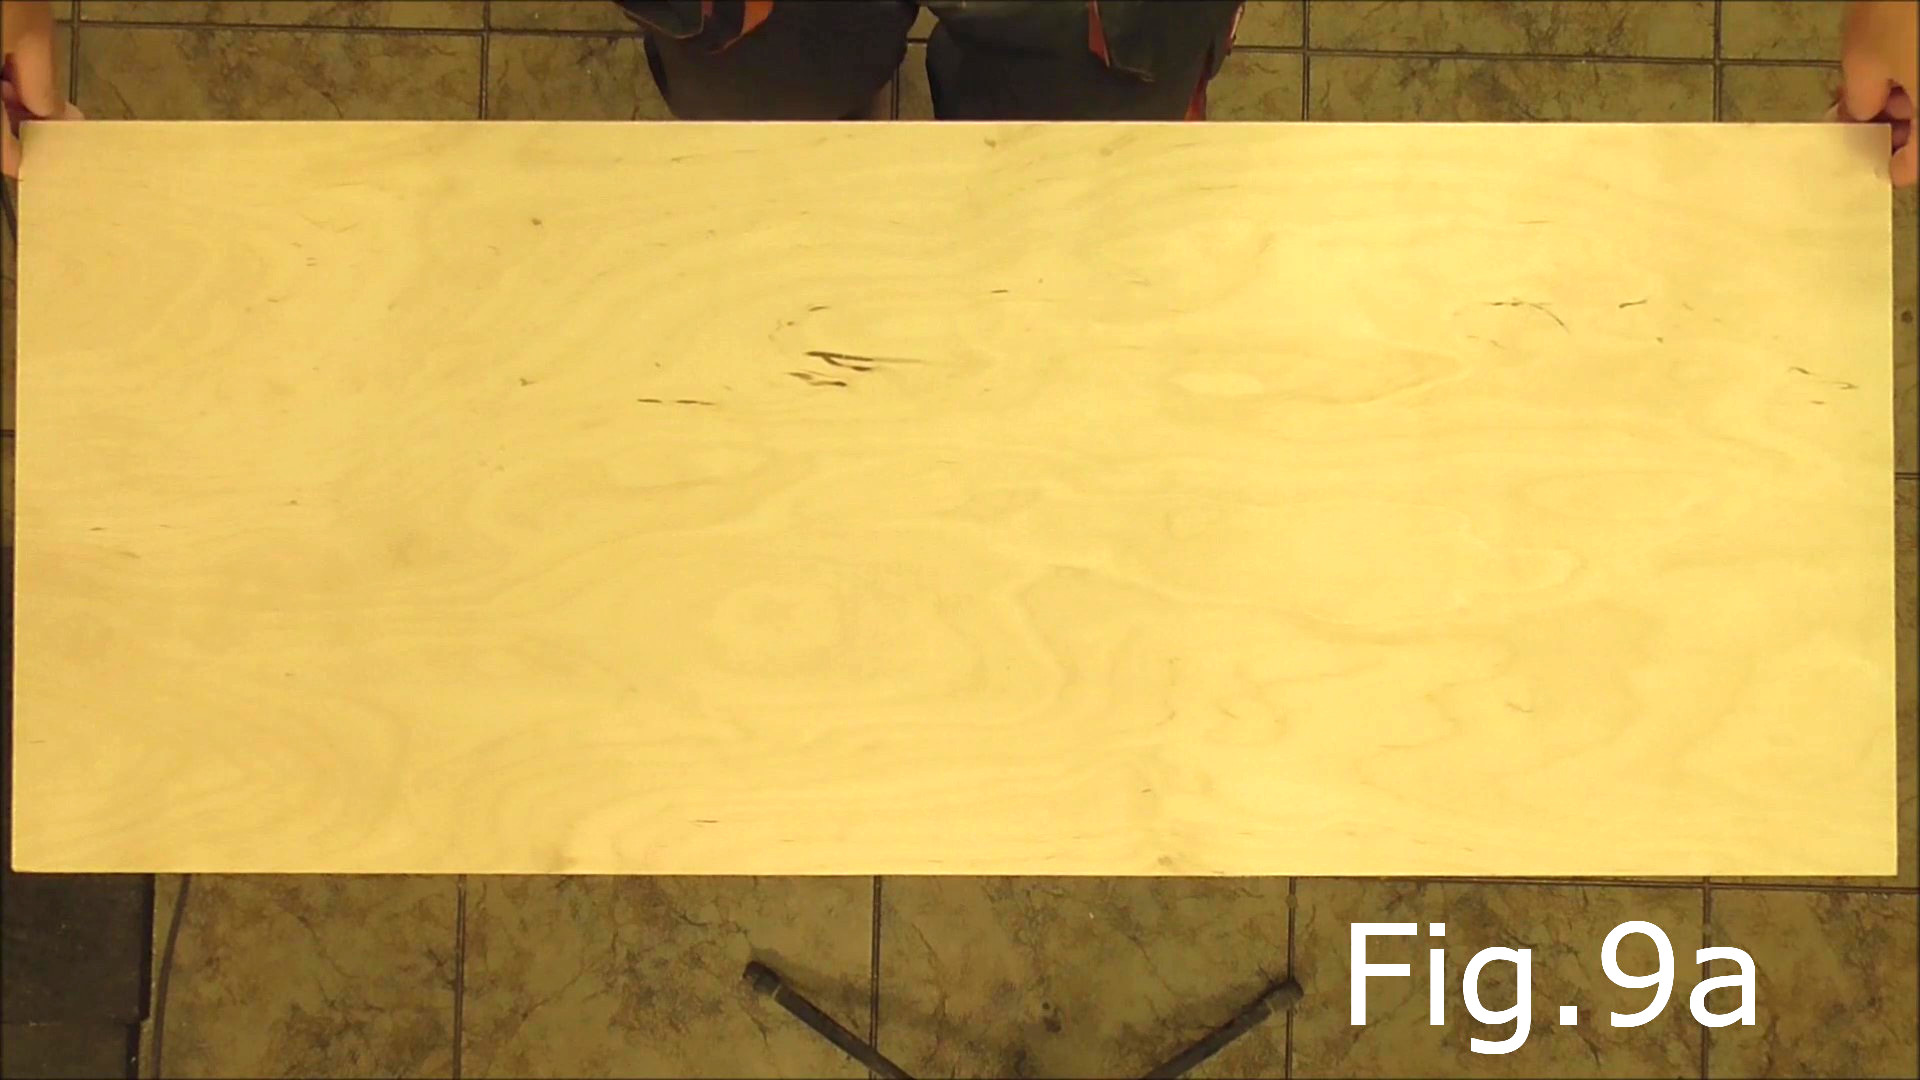
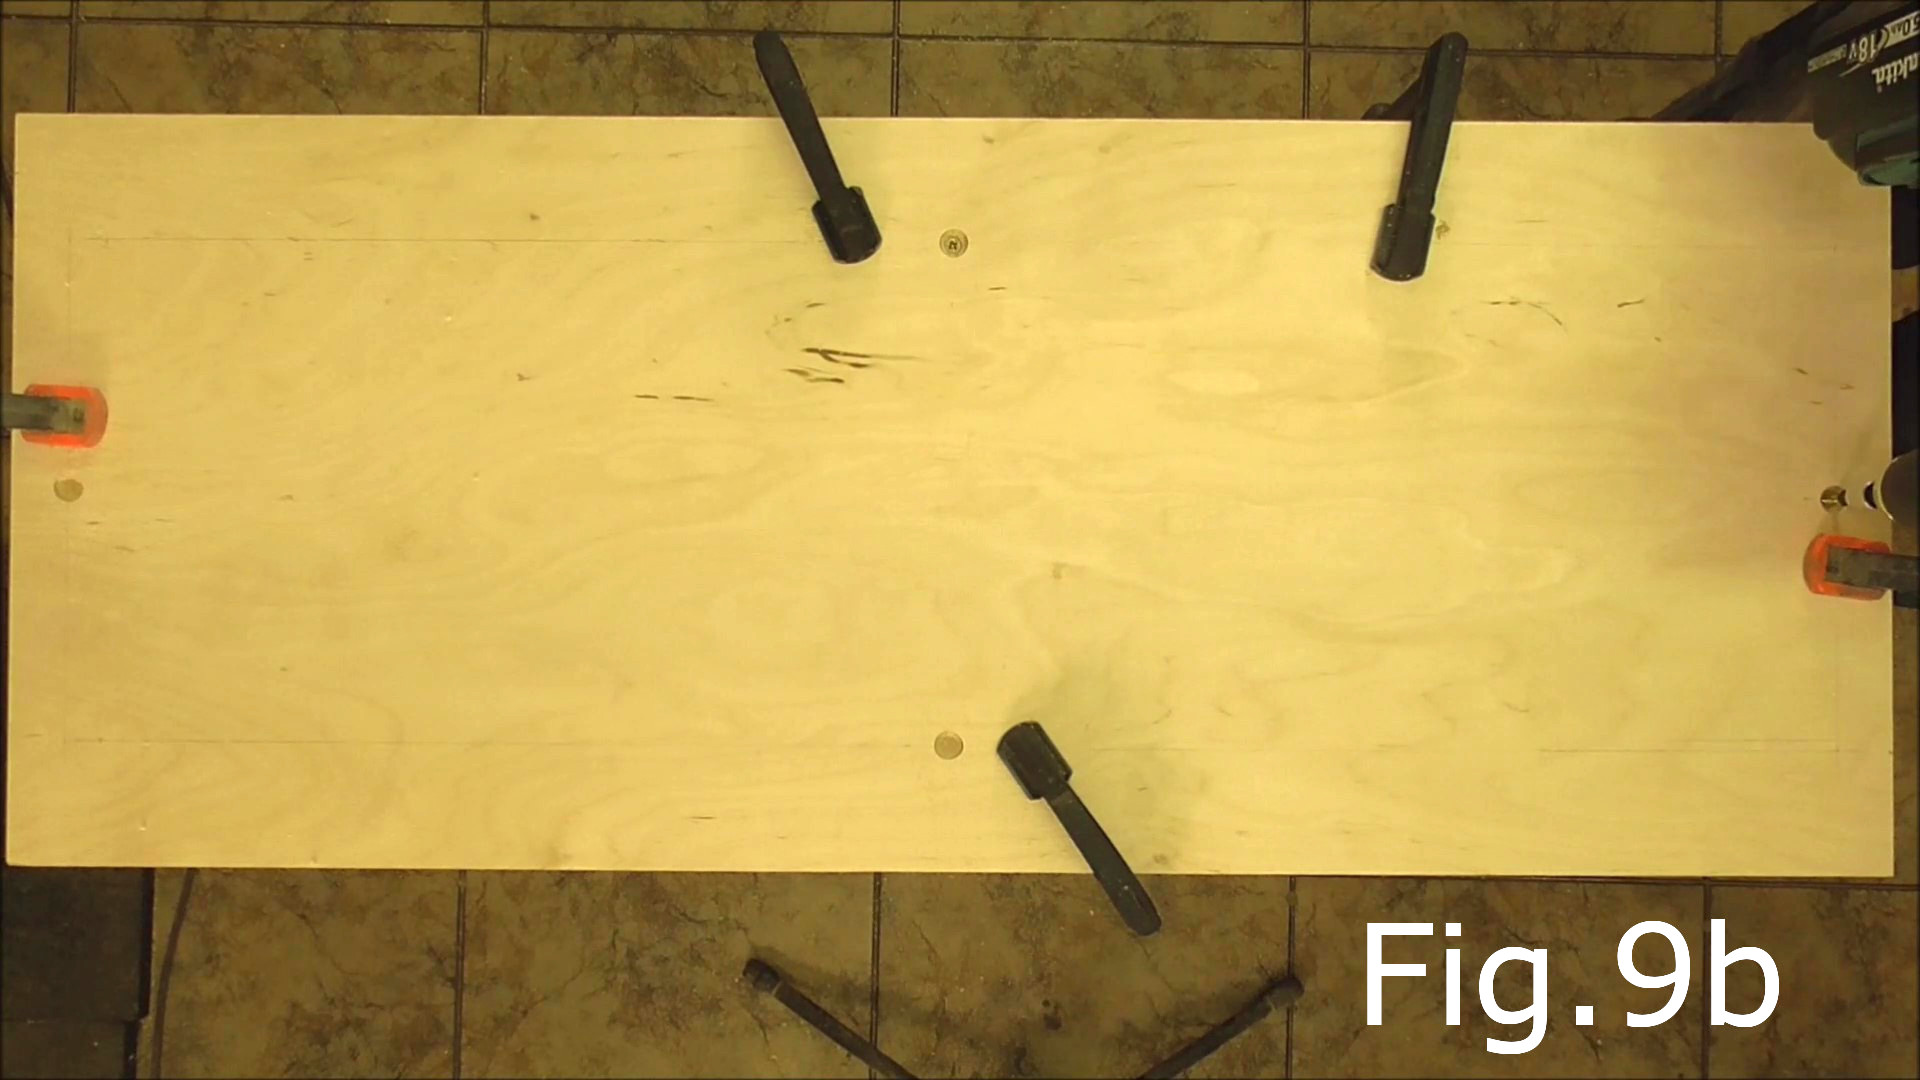
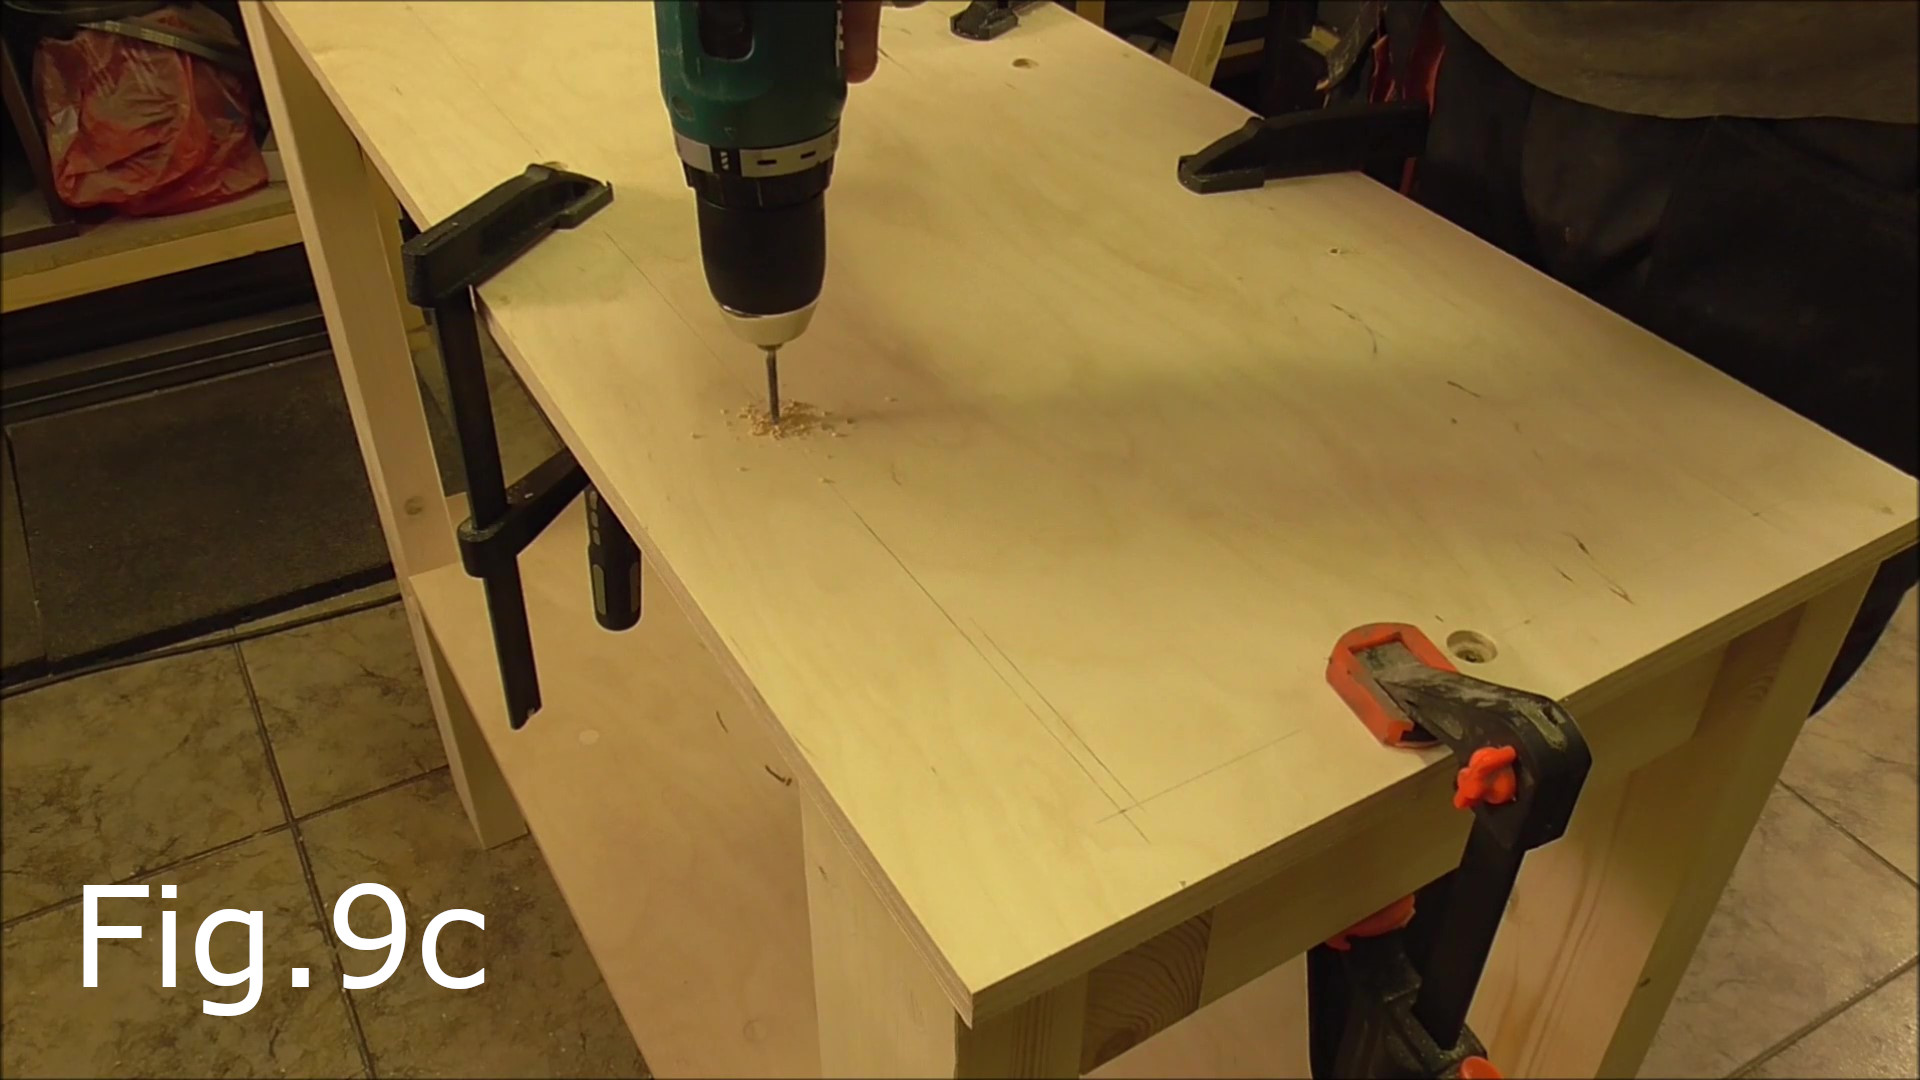
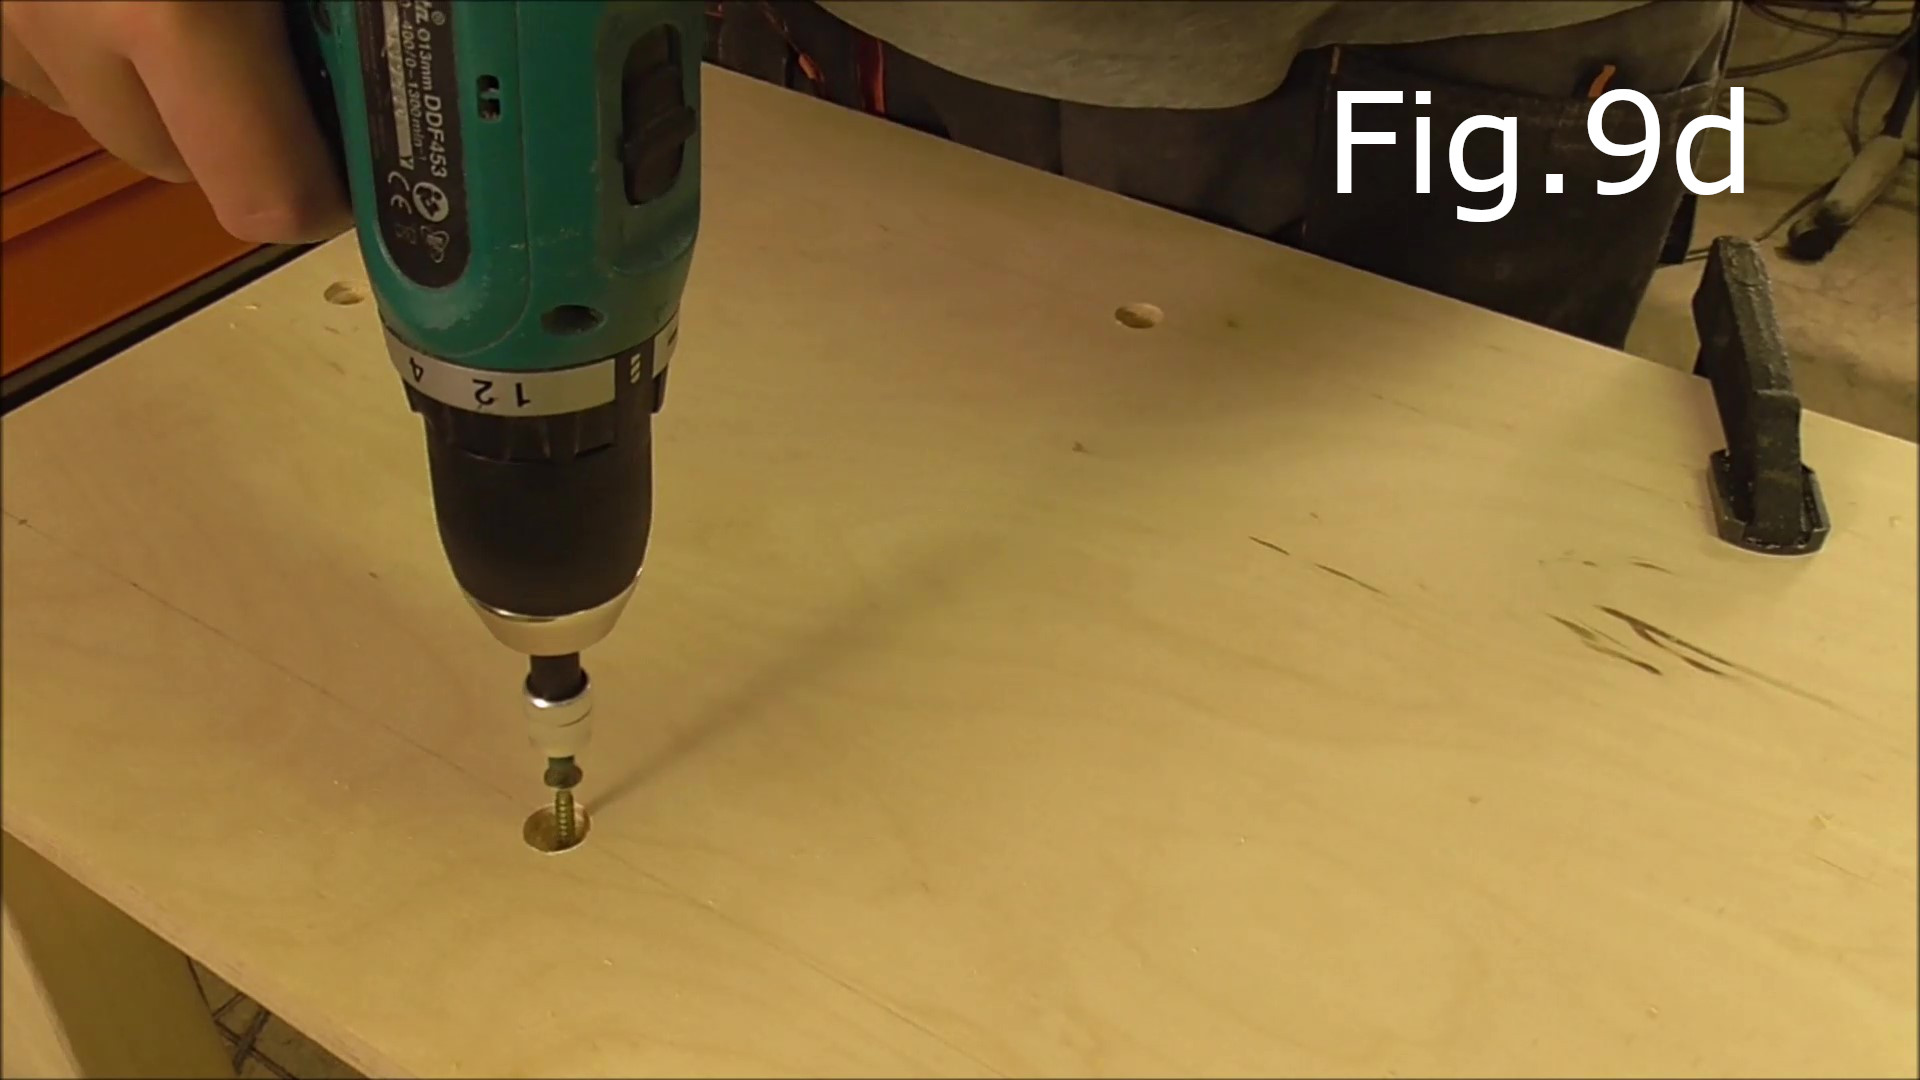
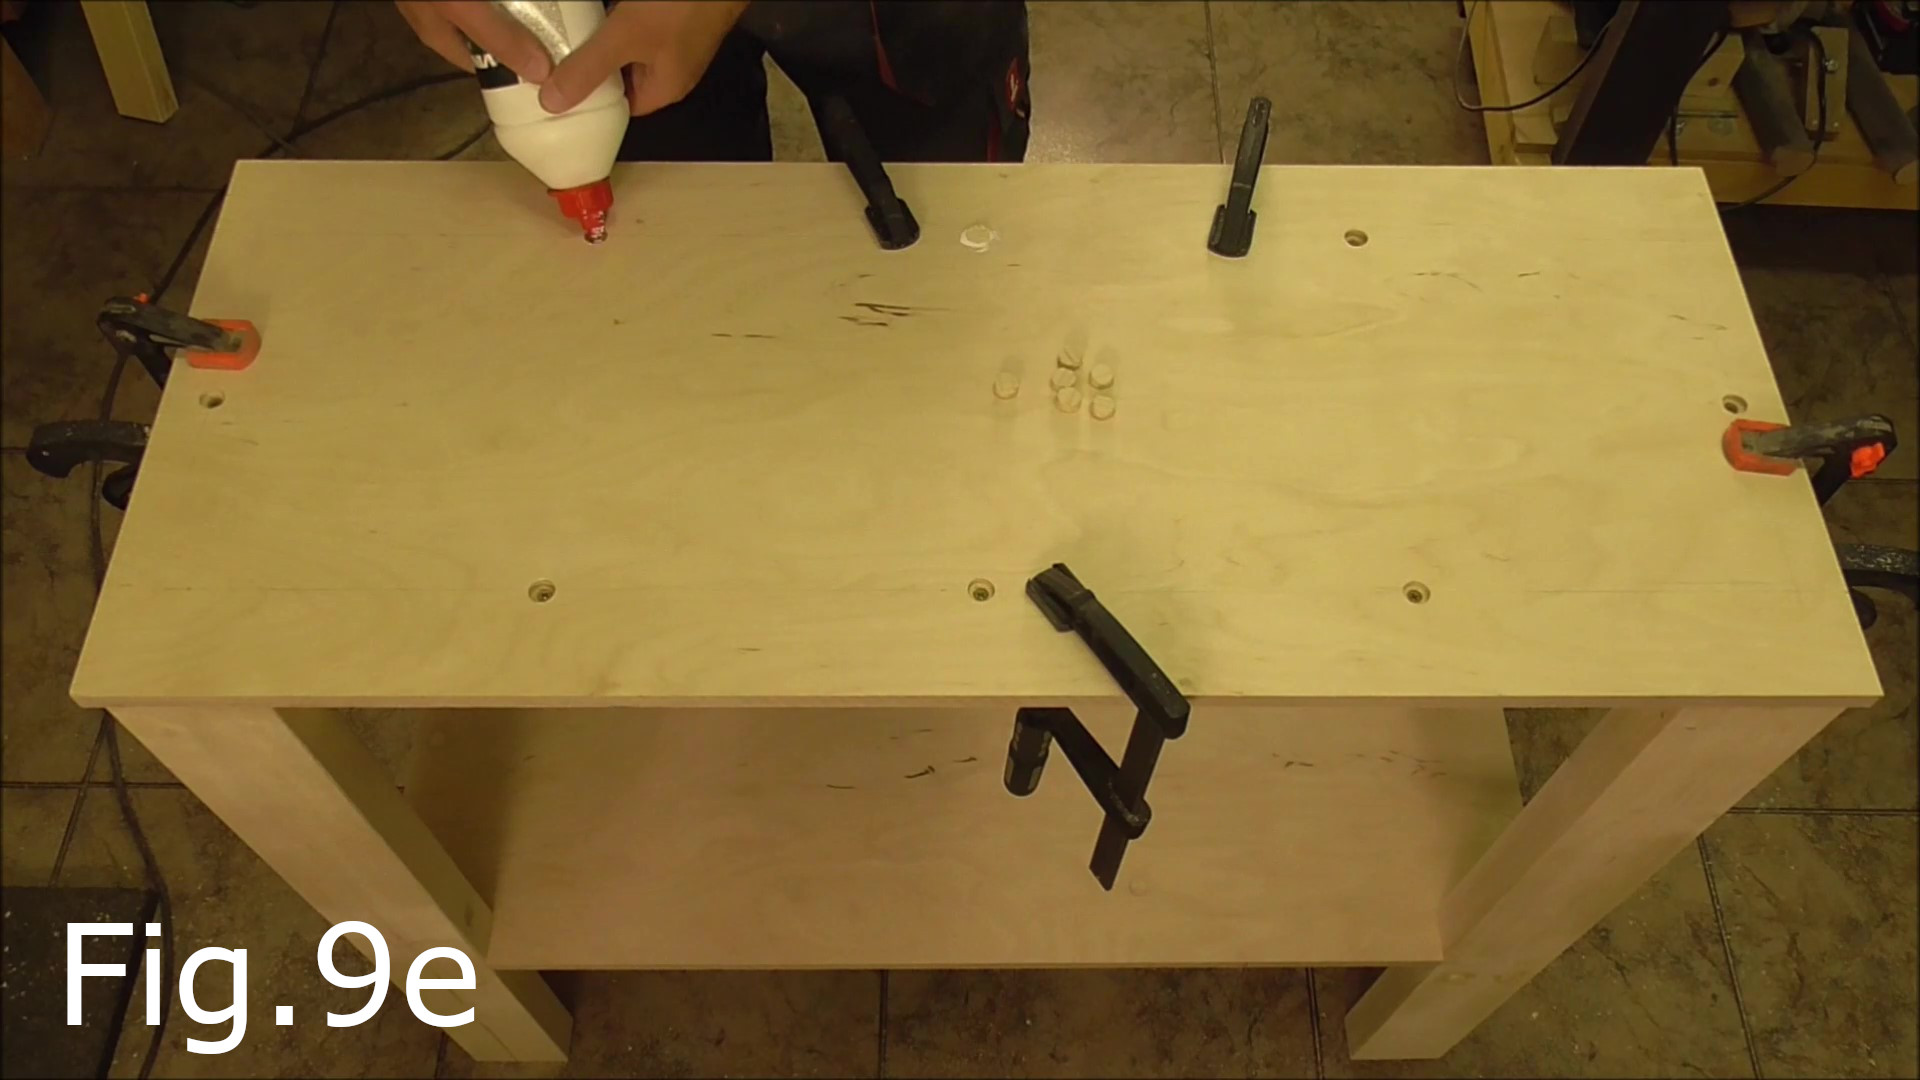
Place the 1000mm x 400mm plywood sheet on the table frame making sure the overhangs are even all around the table (Fig.9a). The plywood sheet should be overhanging the ends by 10mm. Clamp the sheet to the frame (Fig.9b). Drill 8 screw holes in the top (Fig.9c,9d) for the 40mm screws. Drill three holes on each side and one on each end (Fig.9e). Recess the holes with the 10mm forstner bit. Make sure to not drill too deep with the forstner bit as the sheet is only 15mm thick.
STEP 12:
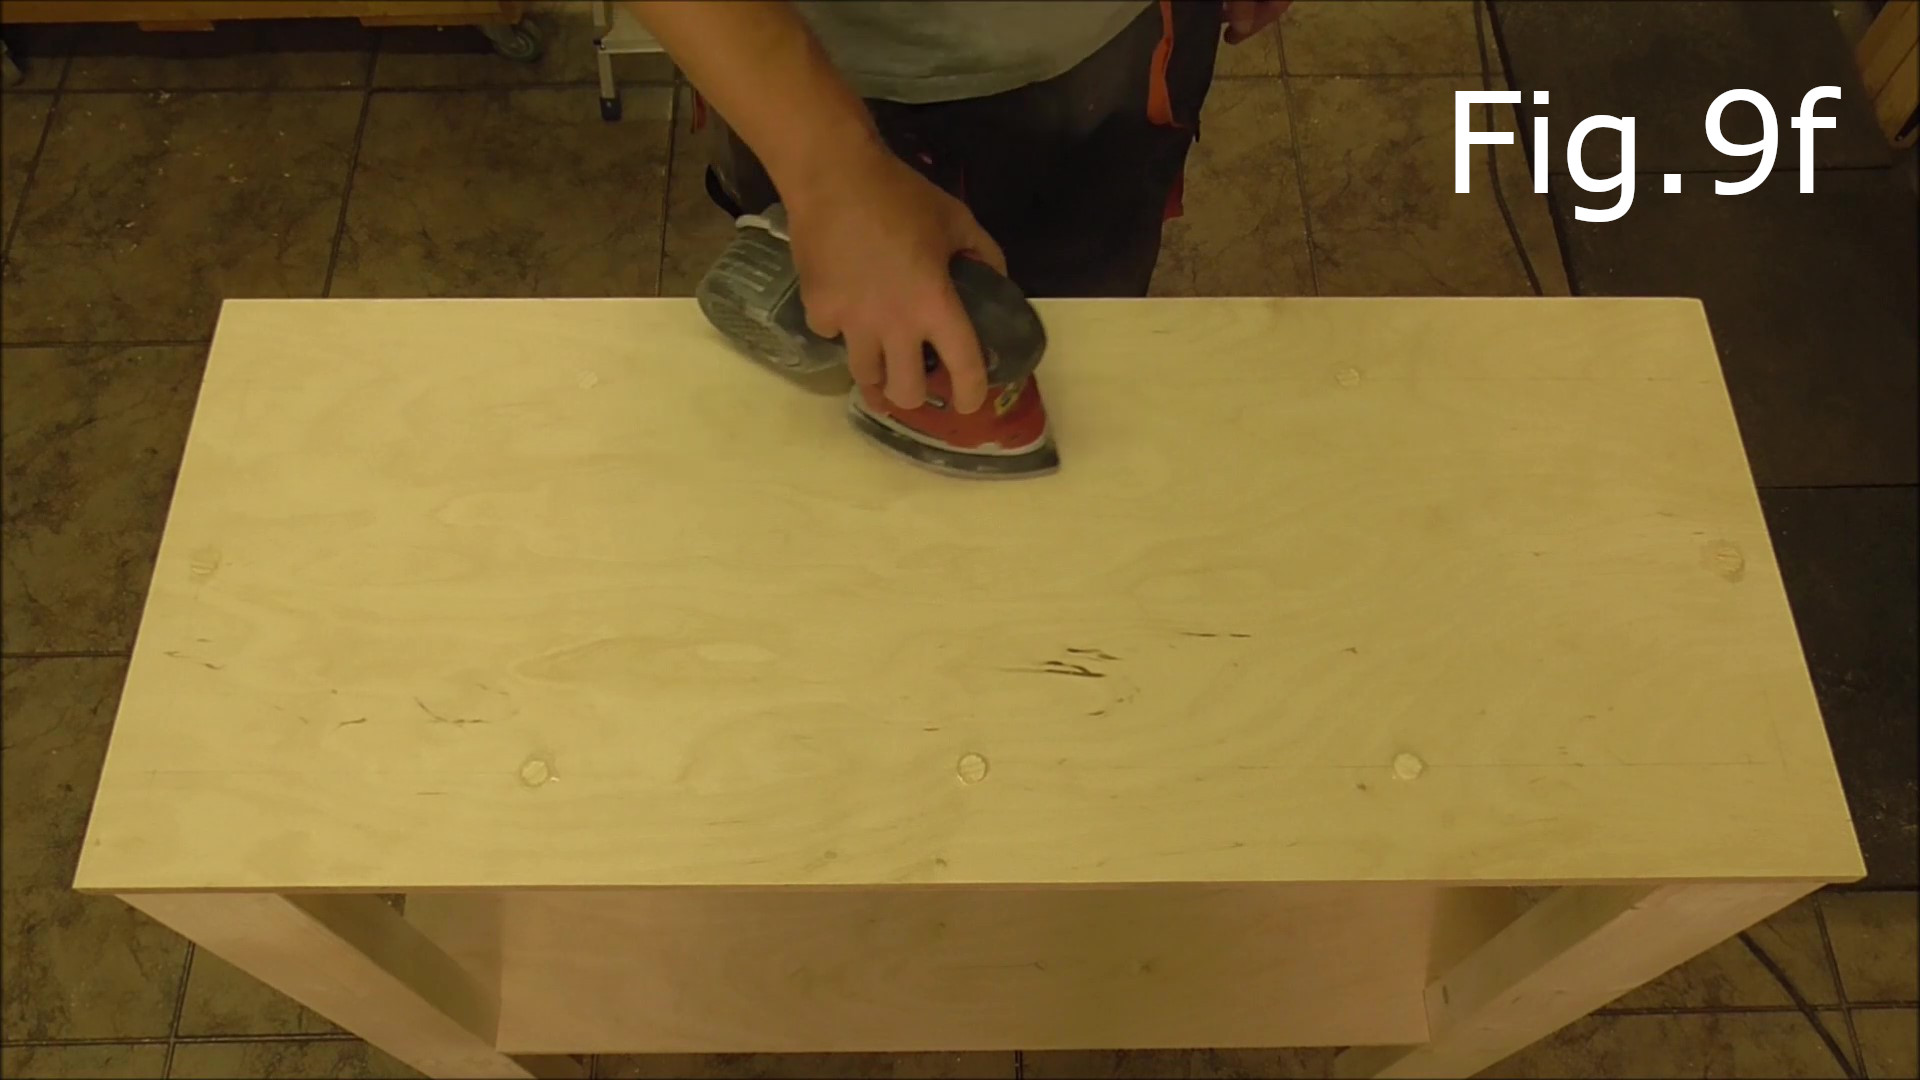
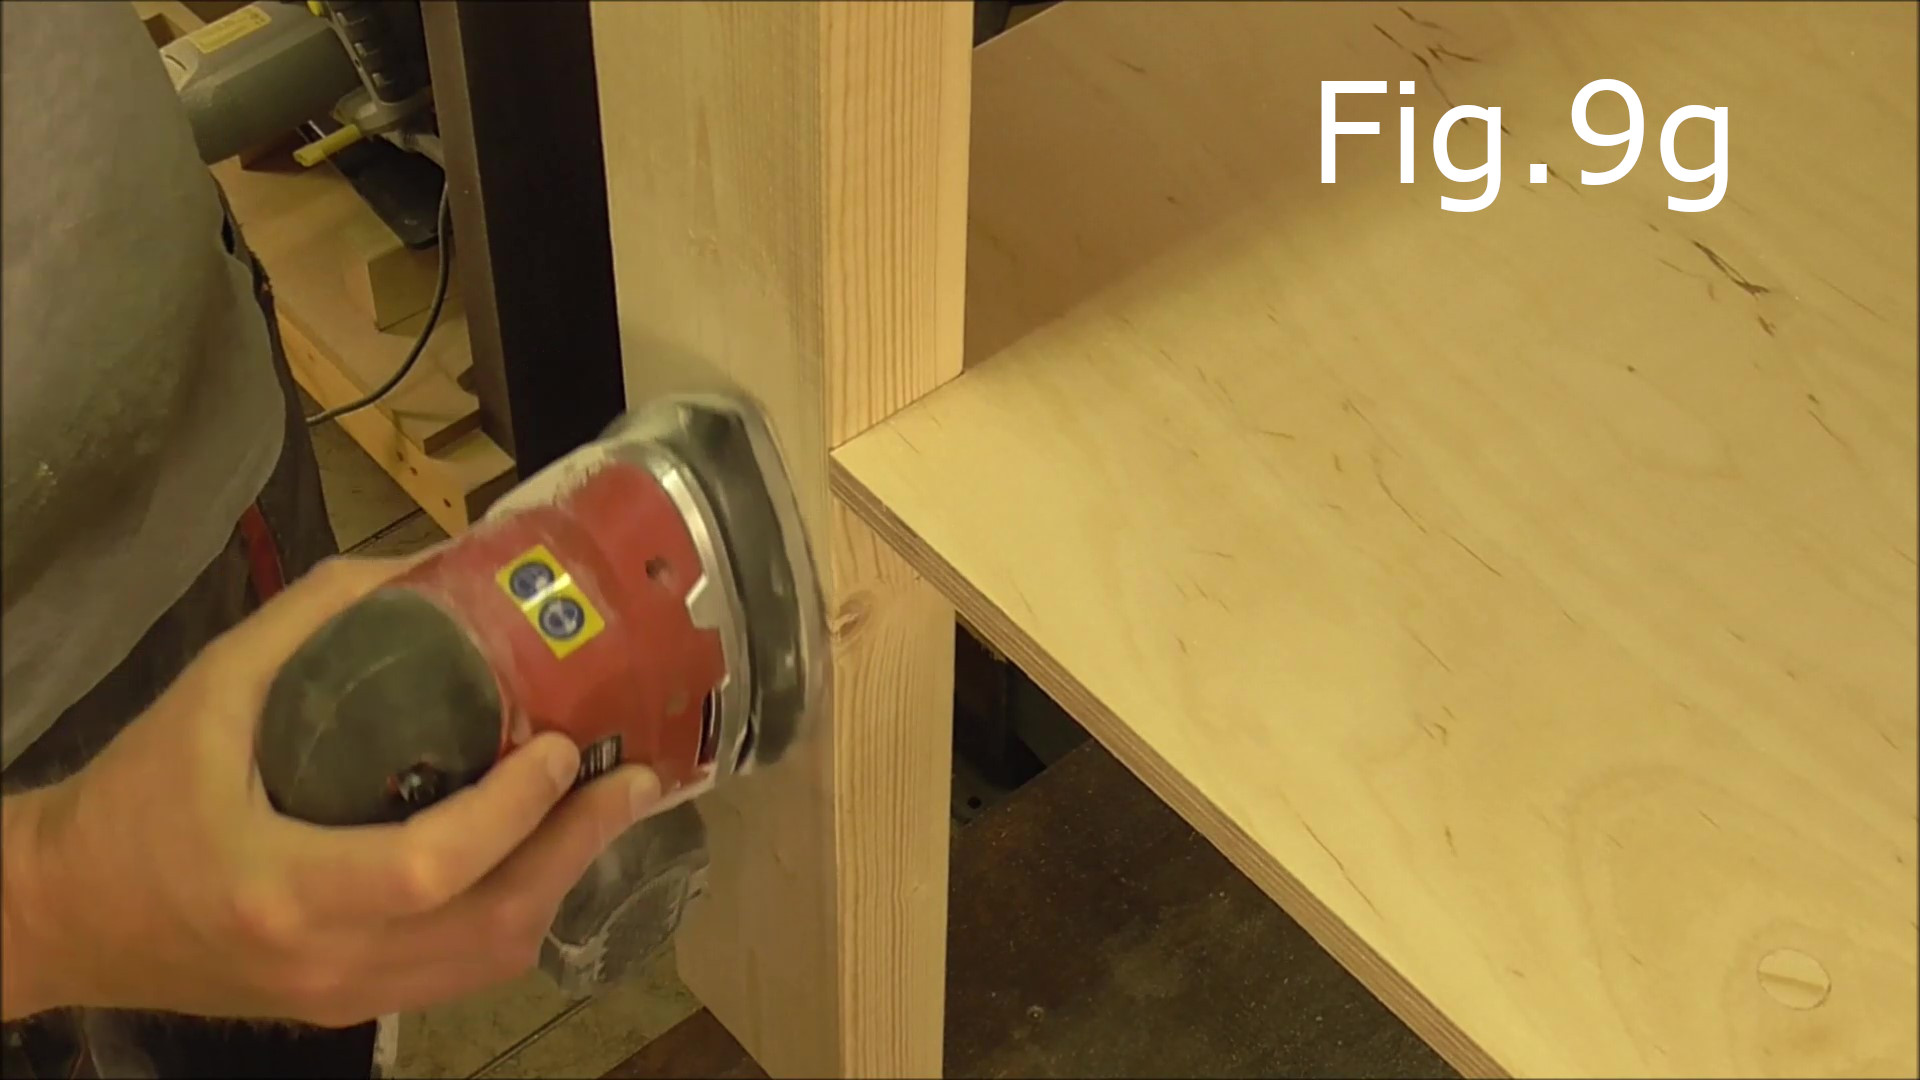
Glue in the table top screw hole plugs (Fig.9e) and when the glue is dry sand the plugs down smooth with the plywood top (Fig.9f) and sand down the plugs on the legs (Fig.9g) that were glued in step 10.

STEP 13:
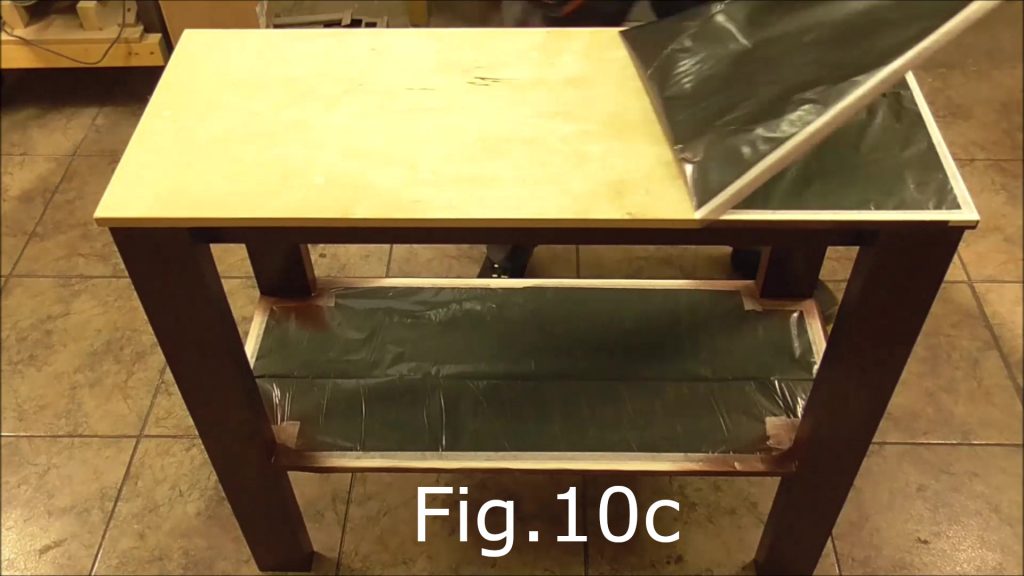
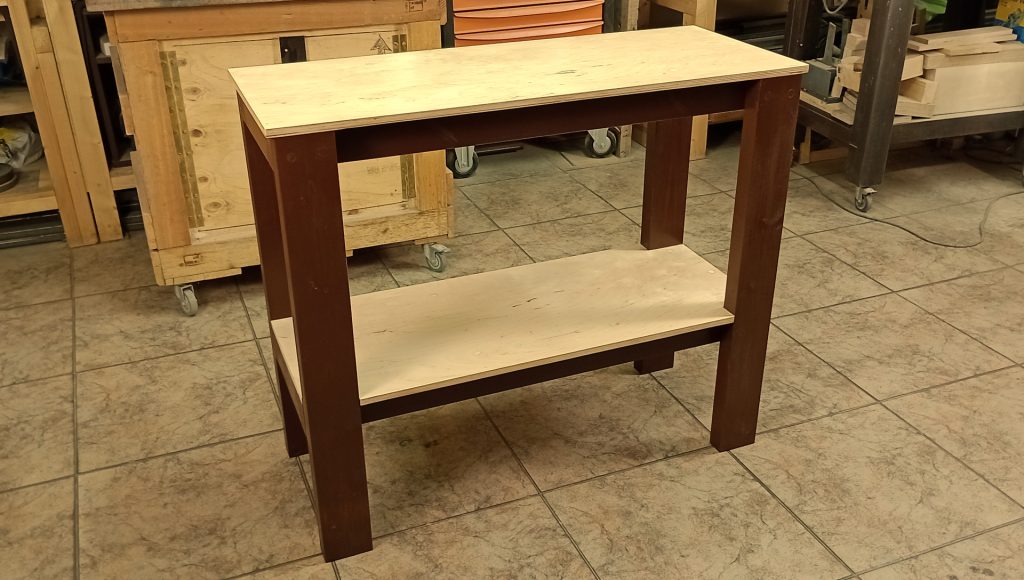
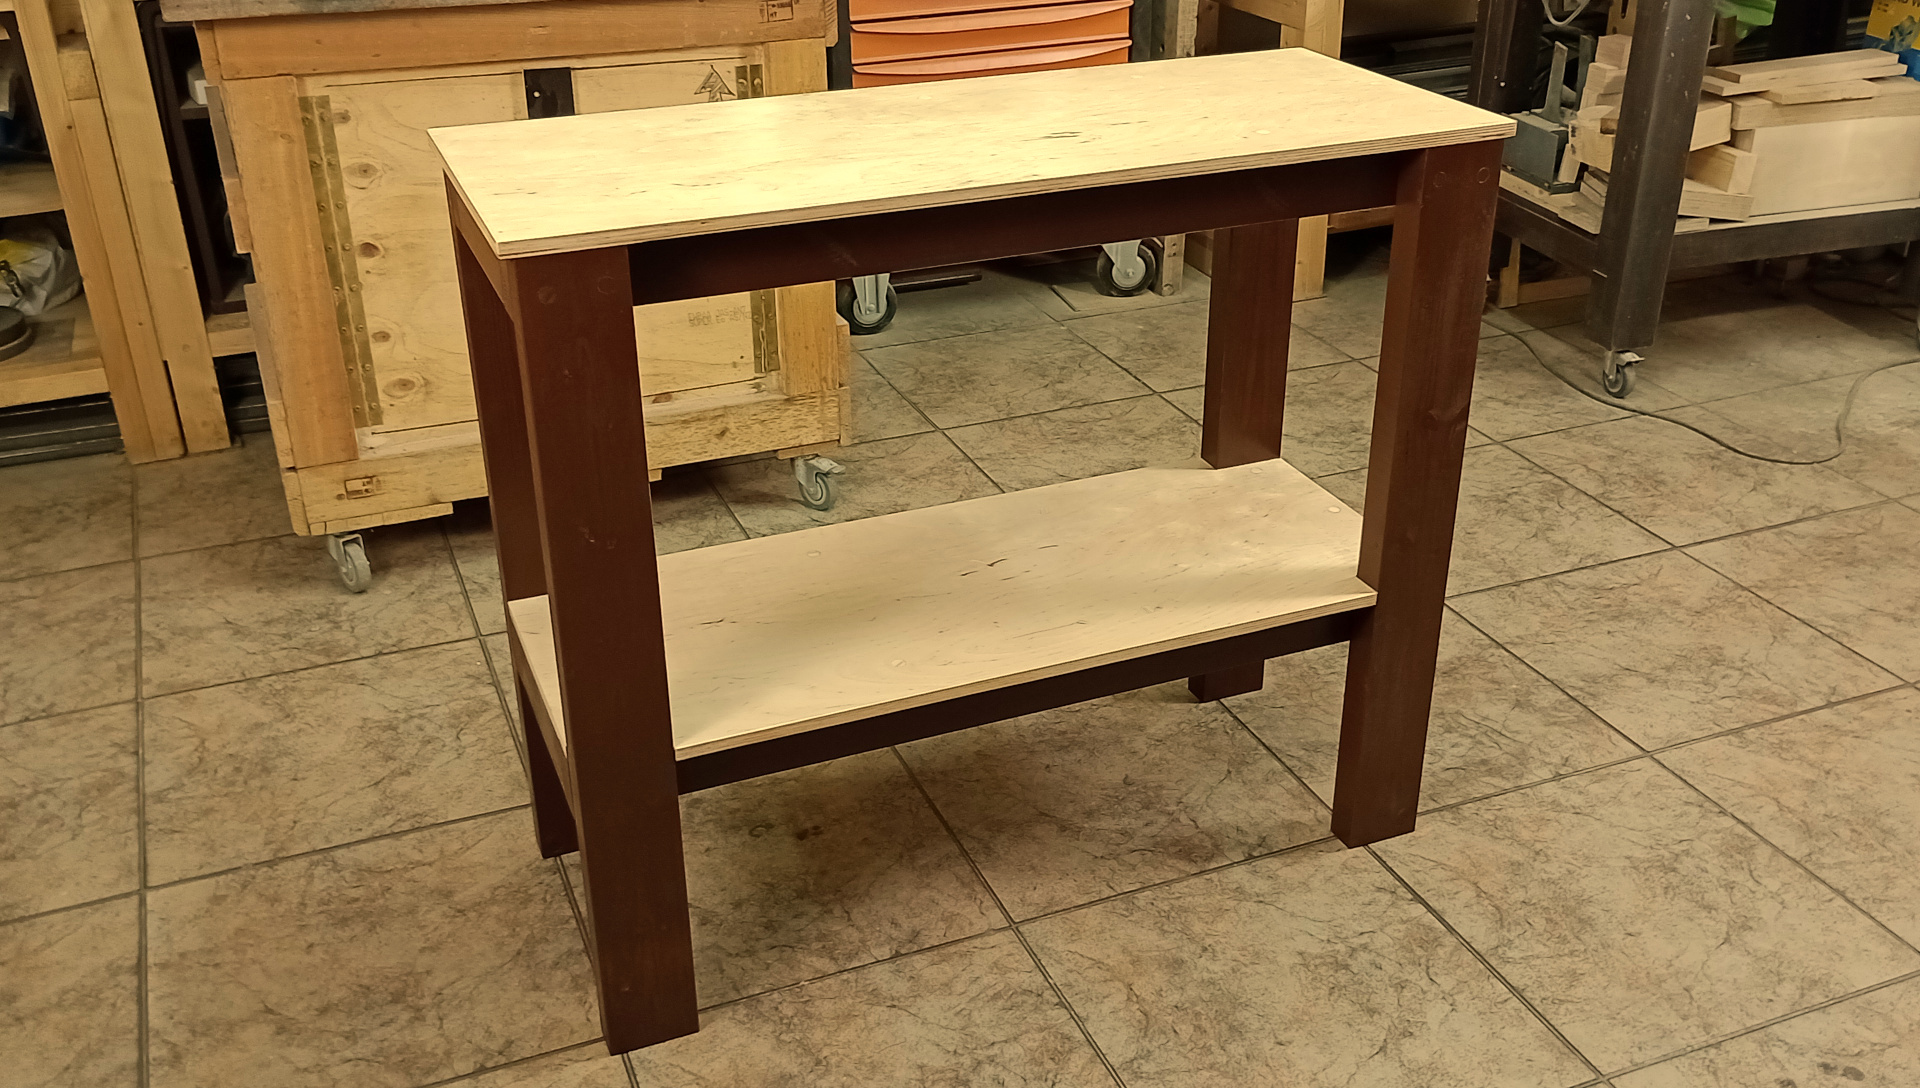
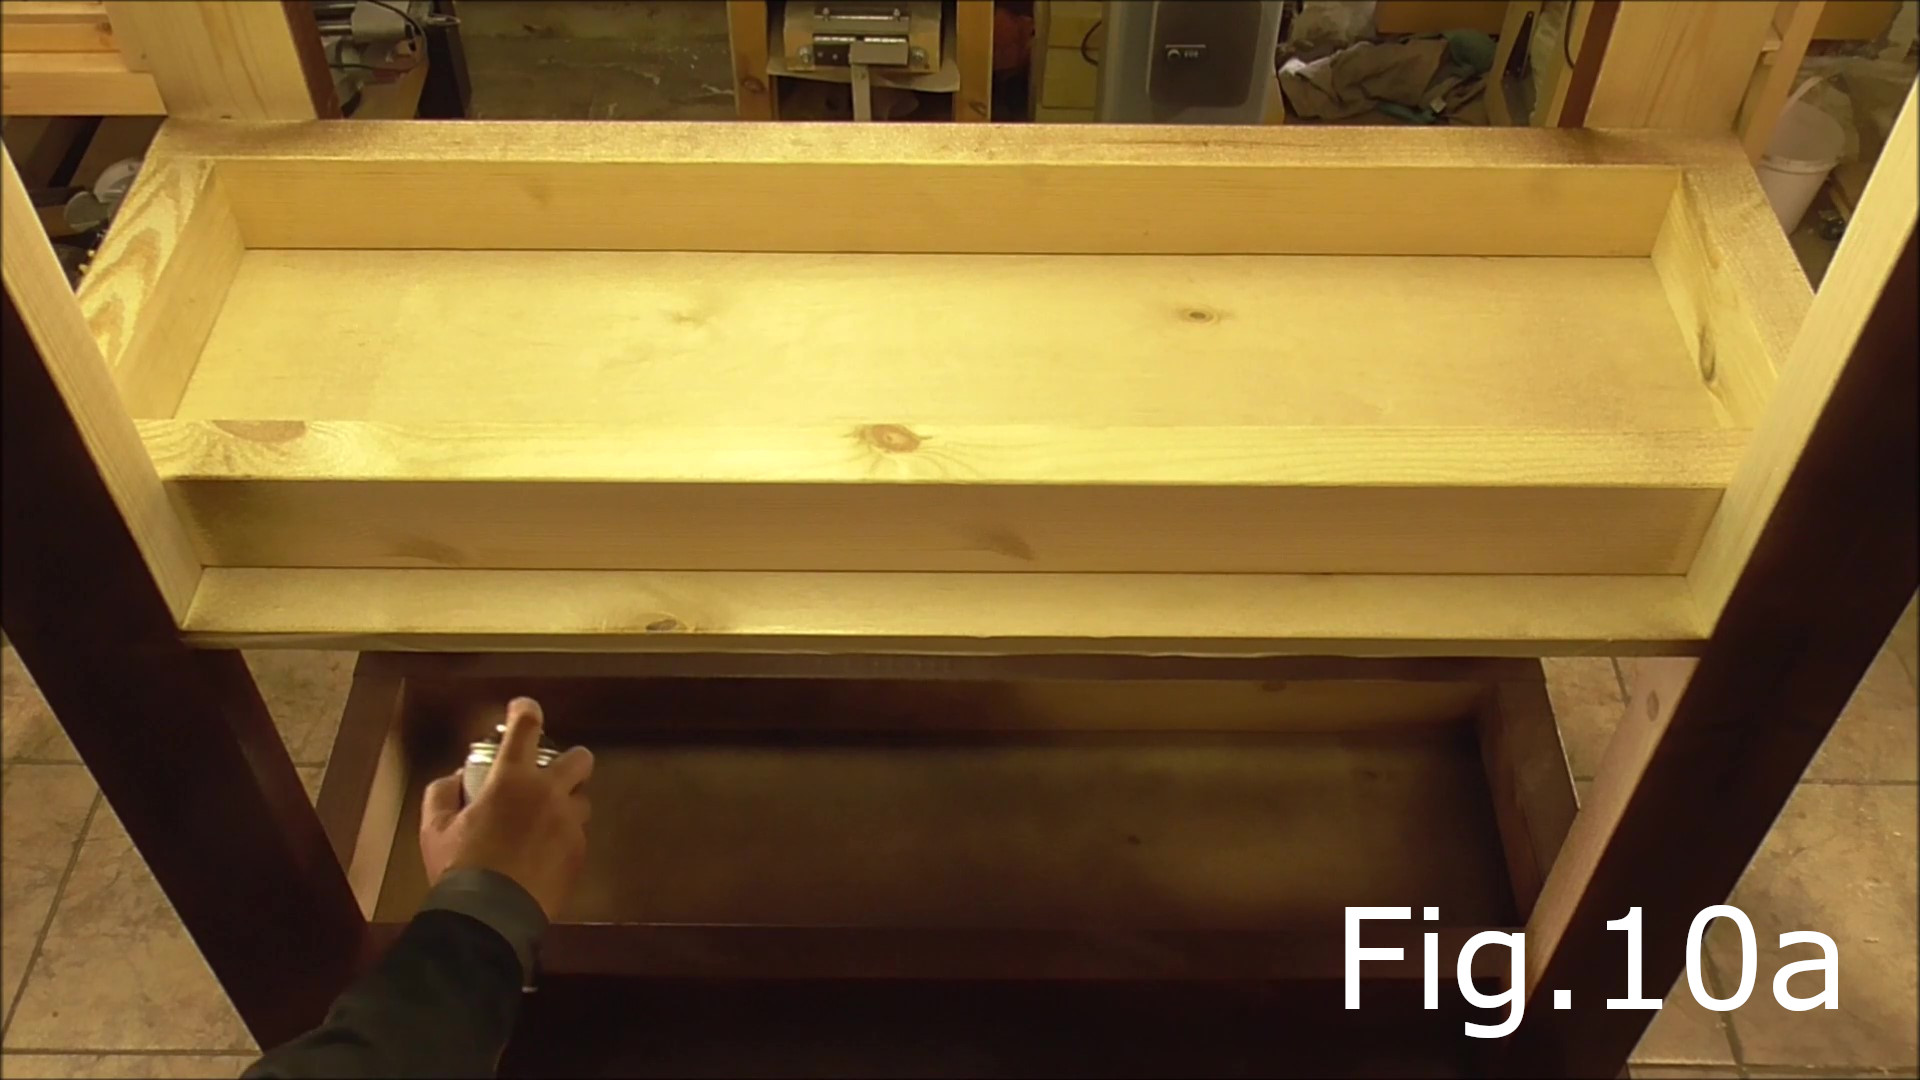
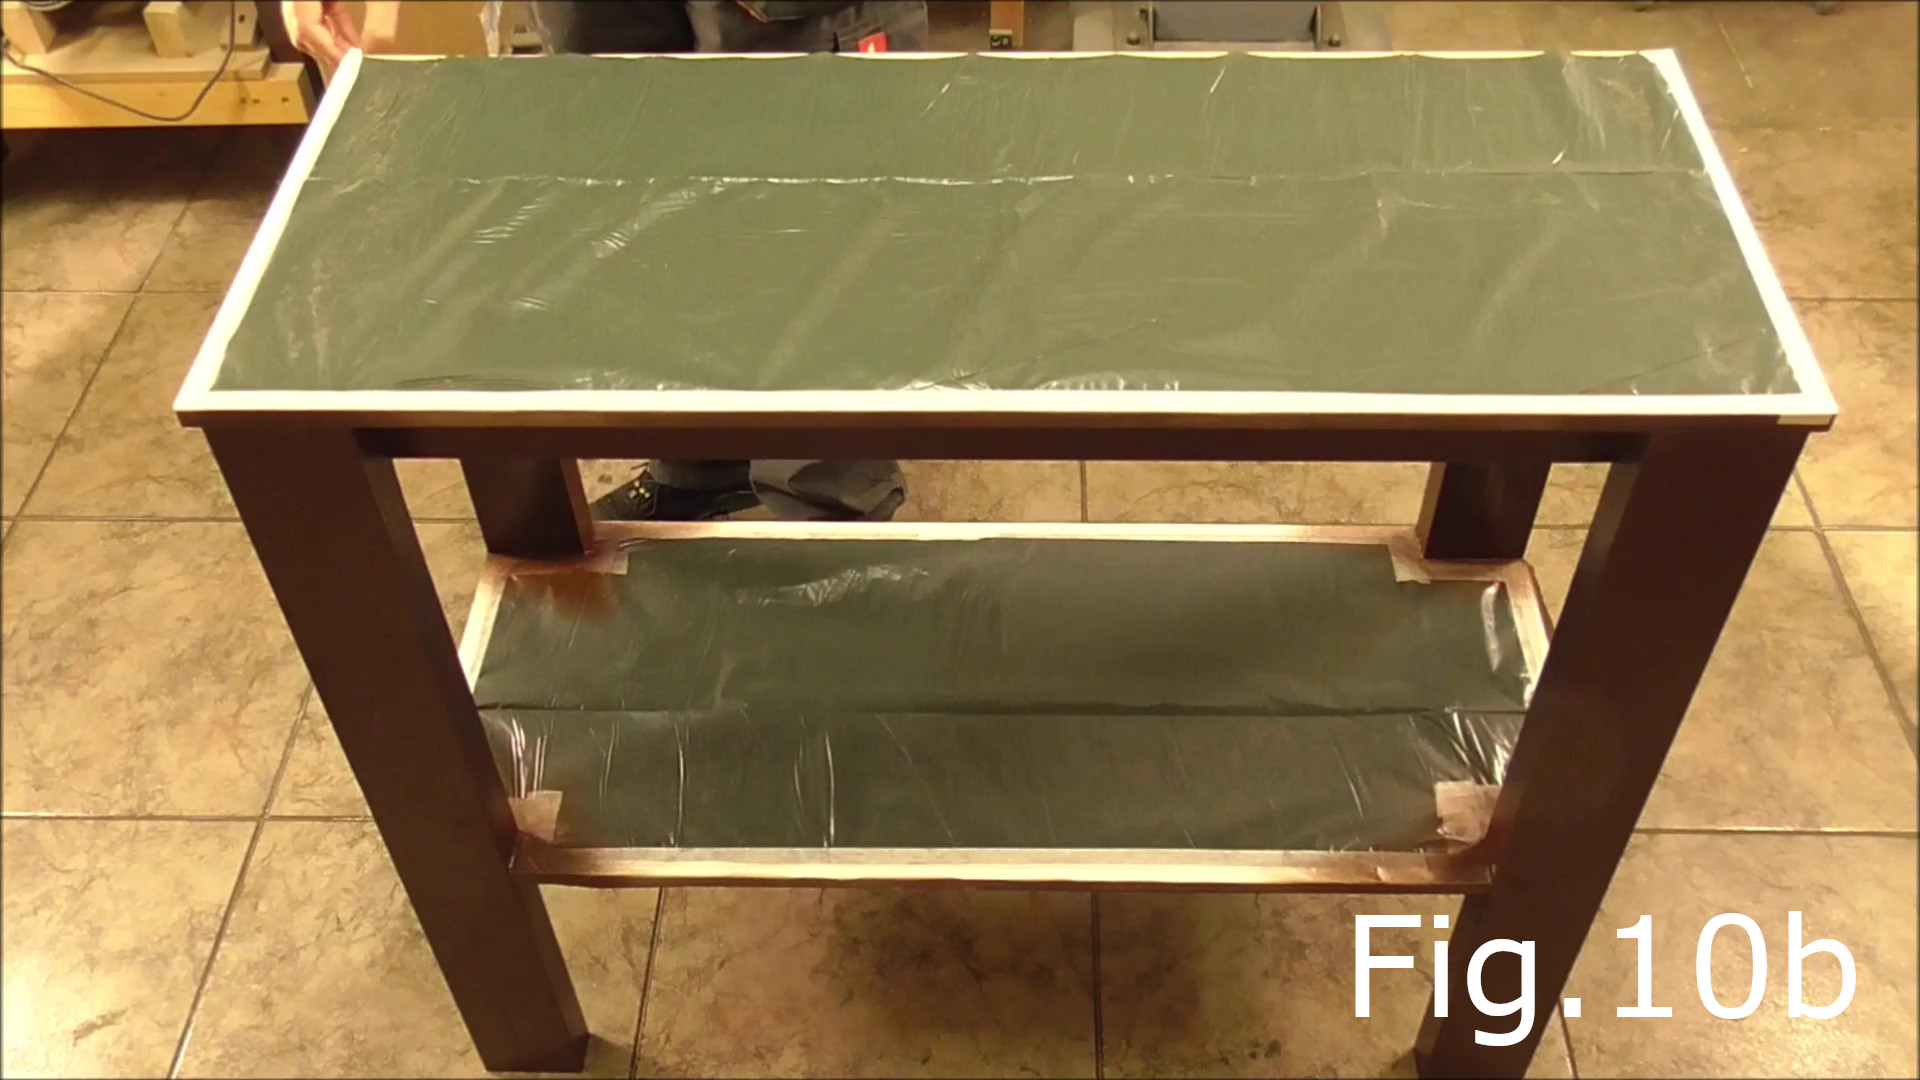
After sanding, clean the table and make sure its free from sawdust. Paint the plywood top and shelf with varnish (Fig.10). I dilute my varnish 50:50 with thinner and paint on several coats to get a nice smooth finish. After the varnish has dried, cover the varnished surfaces with plastic sheets ( I used garbage bags ) and accurately tape them down (Fig.10b). You can then turn the table upside down to paint the undersides and legs with the brown acrylic spray paint (Fig.10a,10b). After the paint has dried remove the plastic from the varnished plywood (Fig.10c). Congratulations your table is now finished.
