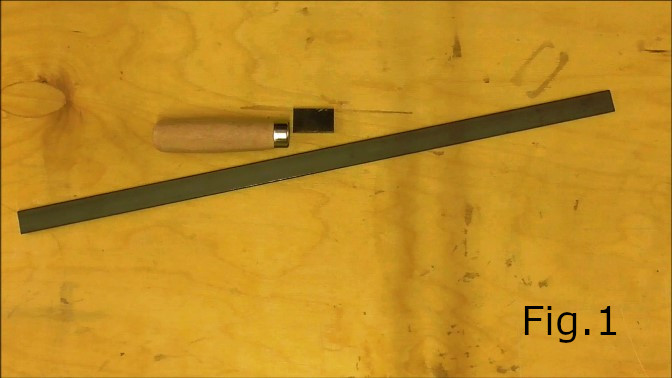
List of Materials for this Project:
1 pce 520mm x 20mm x 5mm flat mild steel.
1 pce 35mm x 20mm x 6mm flat mild steel
1 pce M6 round head bolt 10 or 12mm long
1 pce 115mm wooden handle
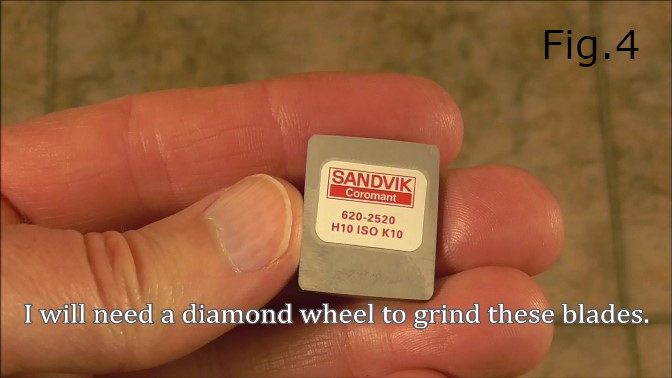
1 pce Sandvik Coromant H10 620-2520 carbide blade
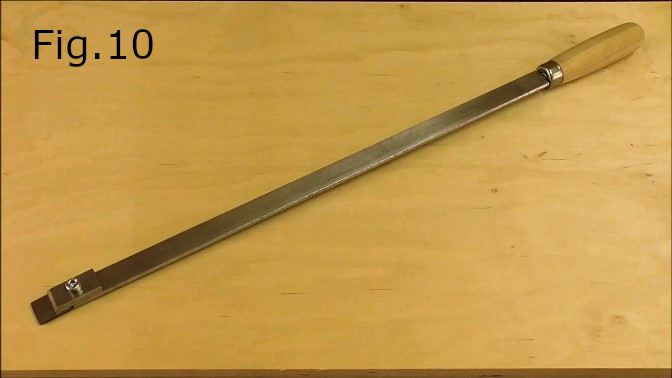
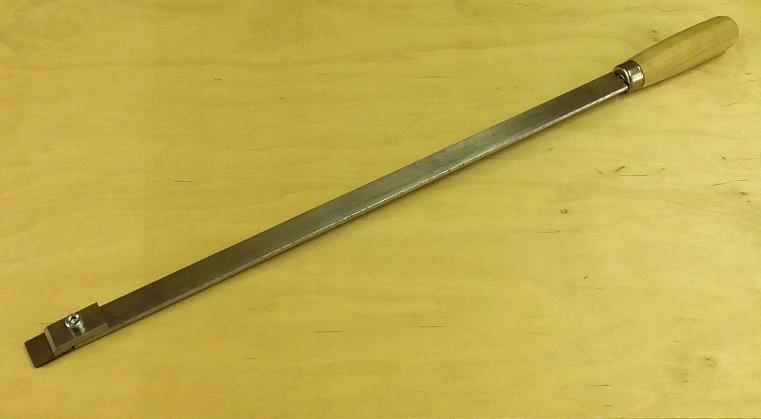
There are many types and designs of hand scrapers. The type of scraper I made has a more flexible shaft than a lot of other designs and a removable carbide blade. If you already have steel off cuts in your workshop making your own scraper works out a lot cheaper than buying one.
Please note. Watch the Youtube build video to better understand this tutorial.
STEP 1:
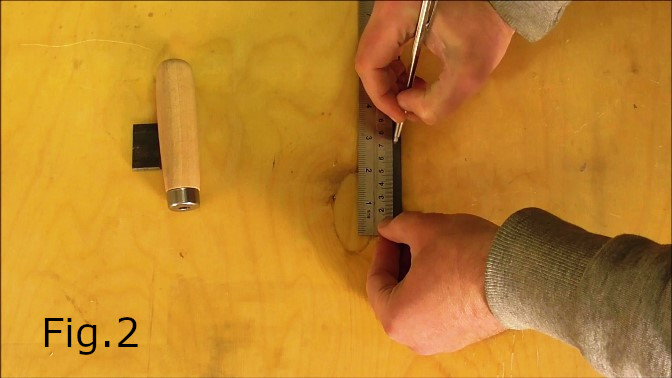
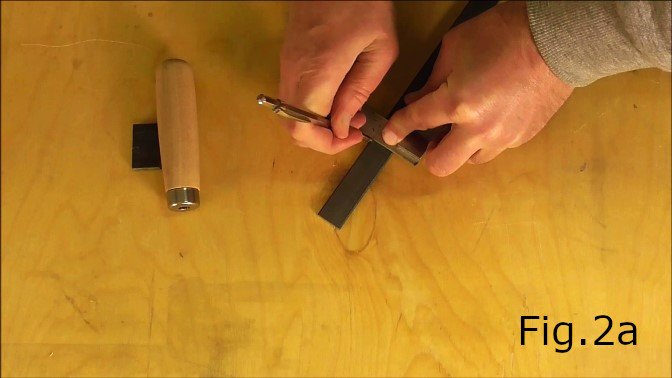
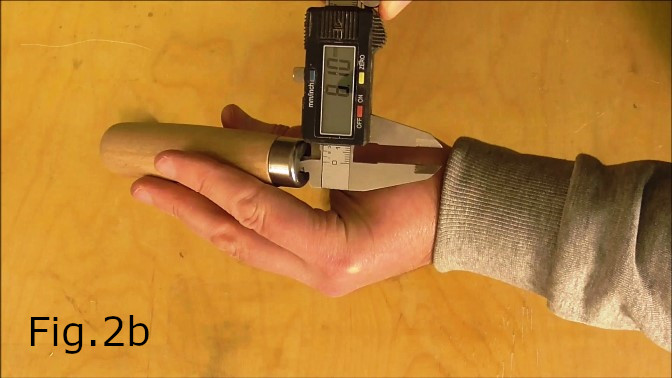
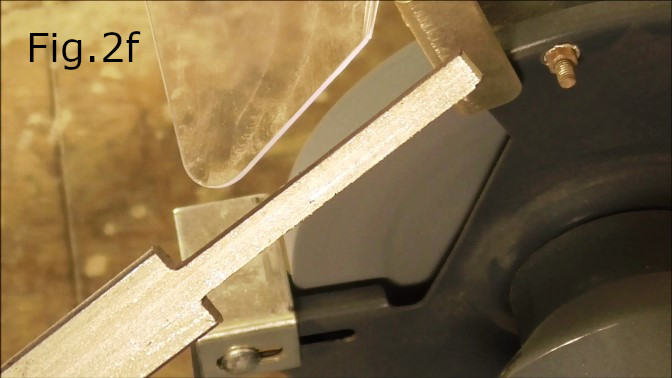
First cut away enough steel from one end of the main shaft so it can fit into your wooden handle(Fig,2f). The opening in my wooden handle was approximately 8mm wide(Fig.2b). So I cut away 6.5mm from each side of the shaft. Mark two lines 75mm long and 6.5mm from the left hand outside edge and then the right hand edge(Fig.2 & 2a). Mark two more lines for the horizontal cuts to the outside edges at the 75mm mark.
STEP 2:
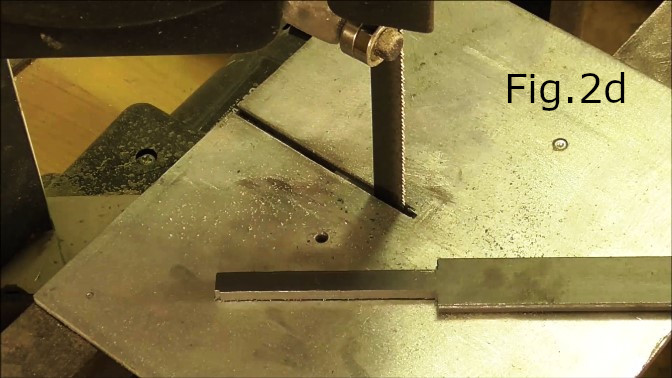
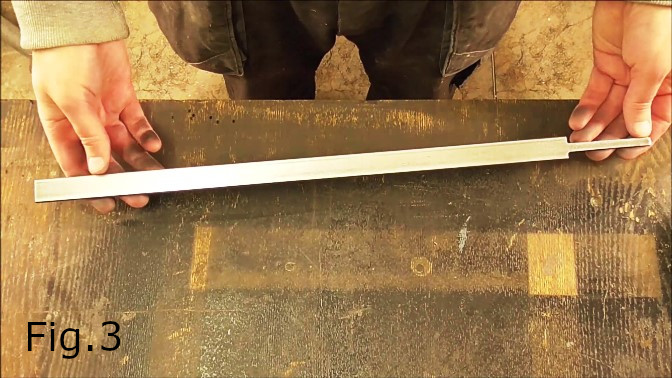
Cut the pieces out on a bandsaw or with a hacksaw if you don’t have a bandsaw(Fig.2c,2d). I cleaned up the cuts using a grinder(Fig.2e,2f) and removed the mill scale with a sander(Fig.3).


STEP 3:
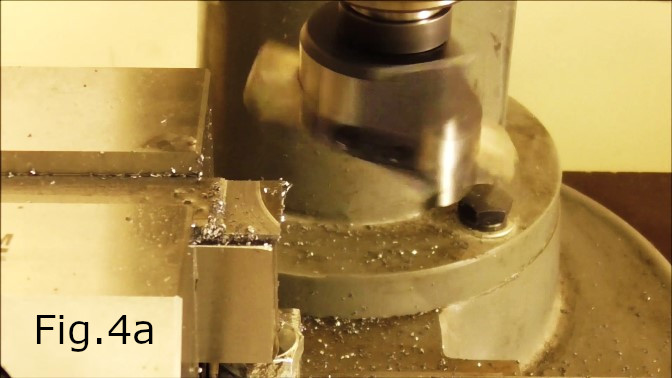
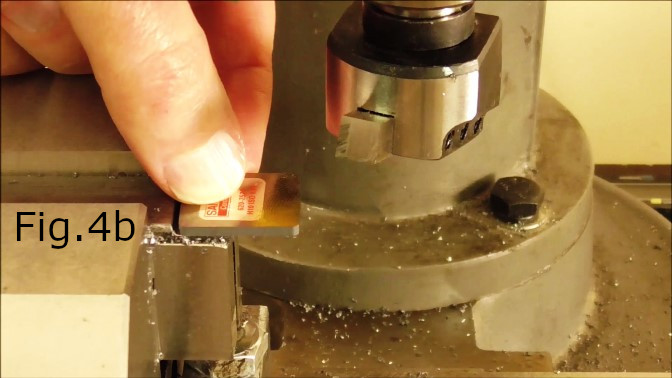
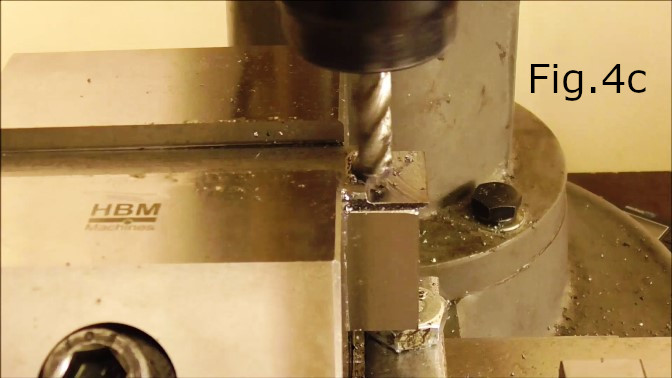
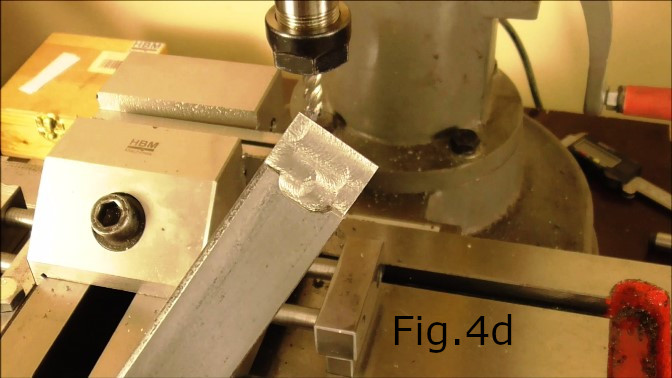
The Sandvik carbide blade I used is 20mm x 25mm and 2.2mm thick. To accommodate the carbide blade I had to mill a recess into the end of the shaft(Fig.4b). The recess is 2mm deep, 12mm long and the width of the shaft 20mm. The most accurate way to create the recess is to use a milling machine(Fig.4a) with either a fly cutter(Fig.4a) or standard end mill(Fig.4c). But you can also create the recess by hand just using a file. The back of the recess should be shaped to allow two points of contact for the back of the carbide blade(Fig.4d). This can be achieved by using a fly cutter which leaves a circular cut, or you can mill an extra 12mm wide recess leaving 4mm contact points on either side of the recess for the carbide blade which ensures the blade will stay square in its fixed position when pressure is applied to the blade during the scraping process.
STEP 4:
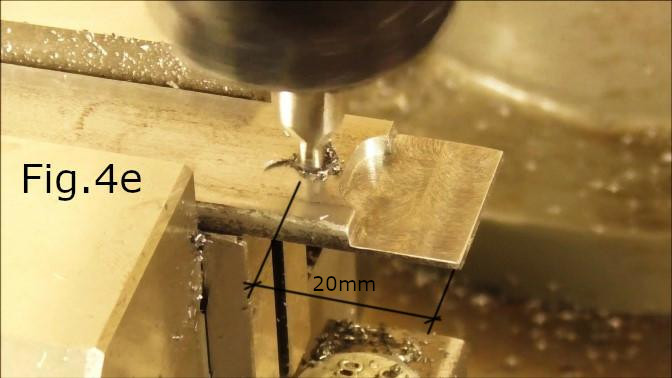
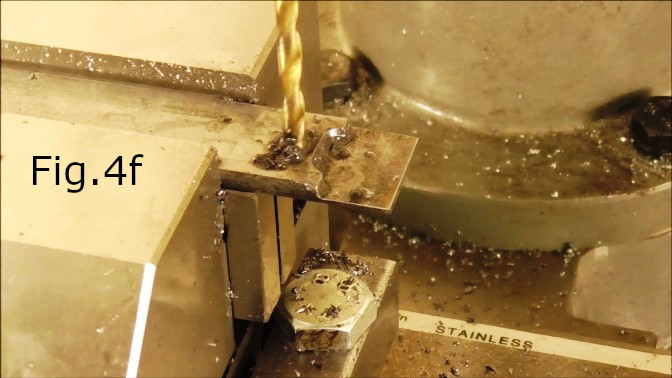
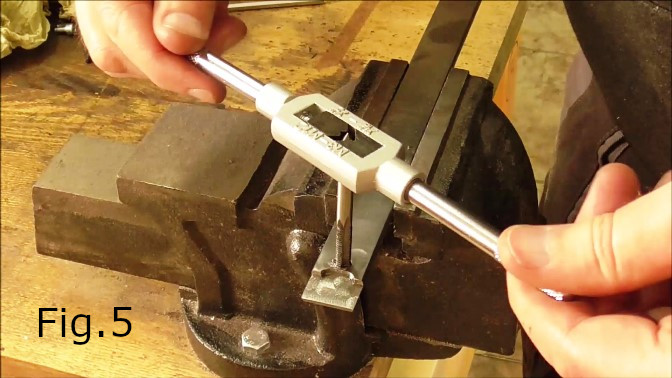
Drill and tap a hole for the M6 bolt(Fig.4e,4f,5). The hole center is located in the center of the shaft, 20mm from the front edge(Fig.4e). Because this is a threaded hole remember to use a 5mm drill bit.
STEP 5:
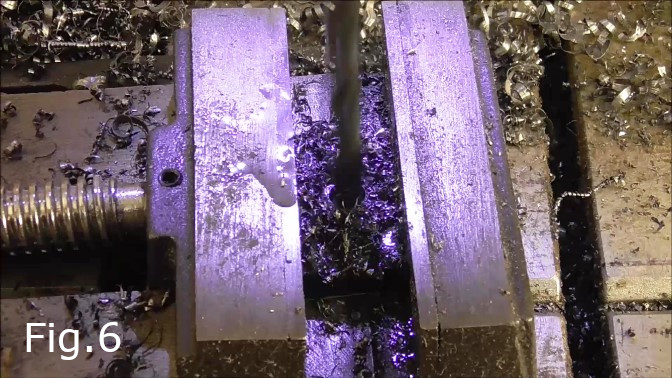
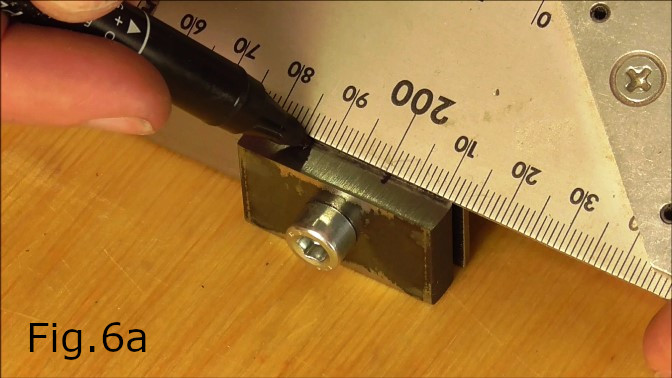
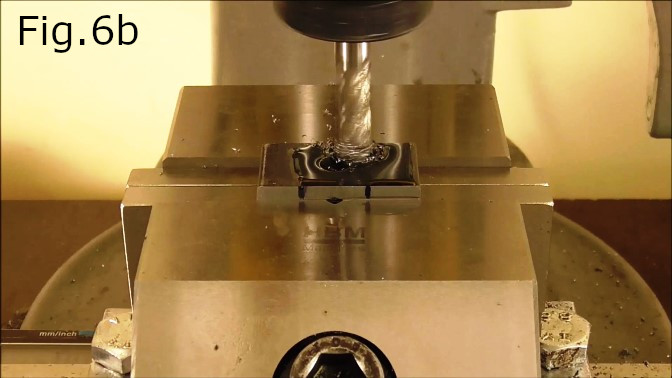
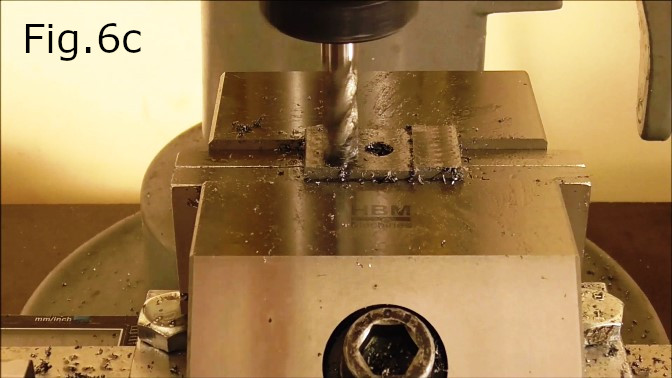
Take the 35mm x 20mm x 6mm steel clamping piece and drill a hole for the M6 bolt with a 6.5mm drill bit(Fig.6), in the center of the piece, 17.5mm from either end. Next mill out a 16mm x 20mm recess from one face of the clamping piece(Fig.6a,6b,6c). The recess should be at 1mm deep to allow for clearance so the front end of the clamp does not touch the shaft and pressure is applied only to the blade when the clamp is screwed down. Mill the recess out of the middle of the clamp so there is 9.5mm left on either side of the recess(Fig.6c). The recess will be located on the underside of the clamping piece. So these surfaces need to be as flat as possible.
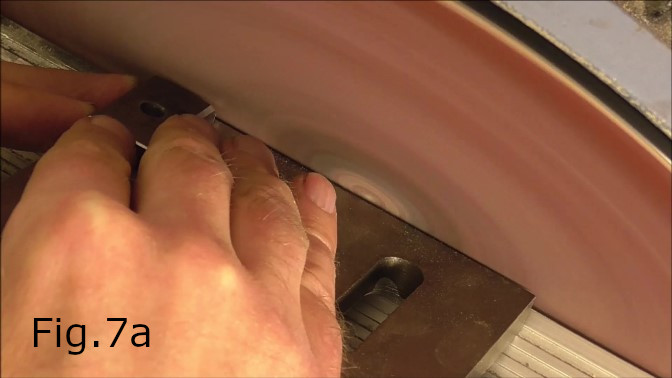
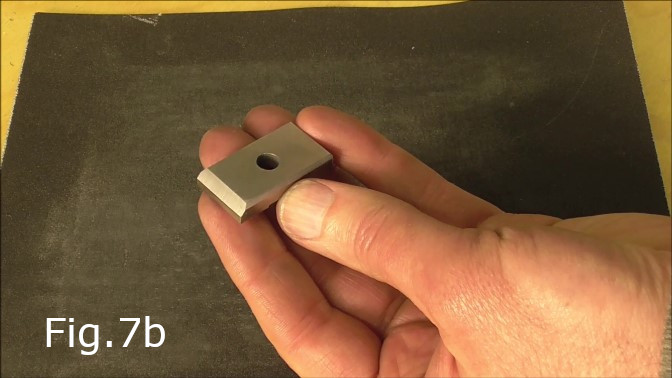
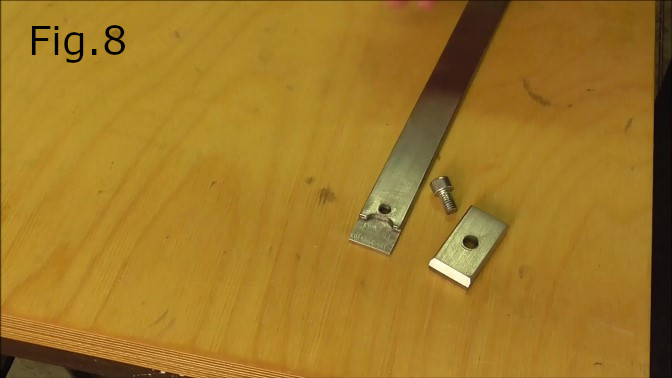
STEP 6:
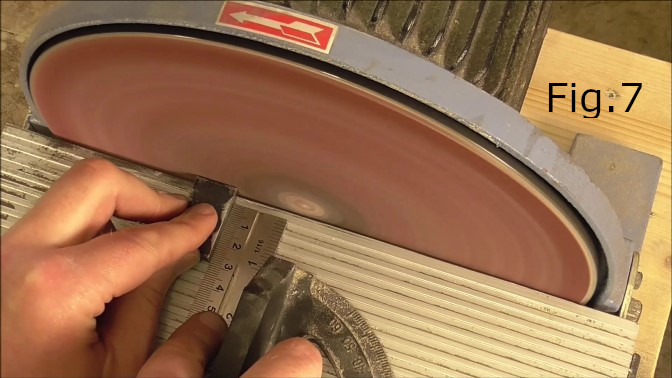
Using my disc sander I removed the mill scale from the clamping piece and created 45 degree bevels to remove the sharp corners and improve the look of the scraper(Fig.7,7a). Clean the steel with acetone or alcohol and then you can test fit the carbide blade(Fig.8,8a,8b). Once the blade is clamped in place make sure the blade cannot slide around.


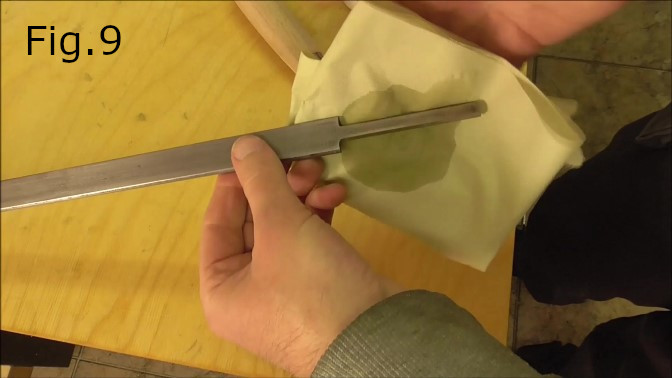
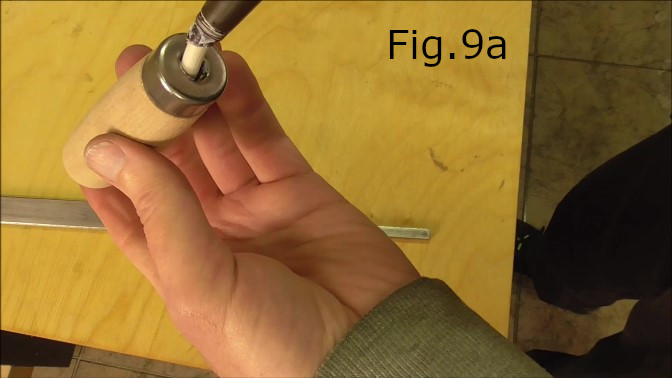
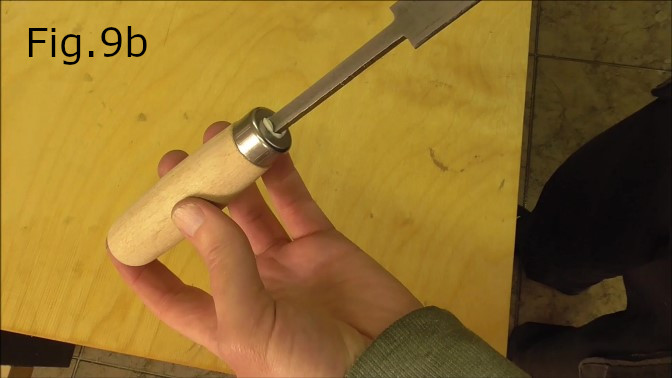
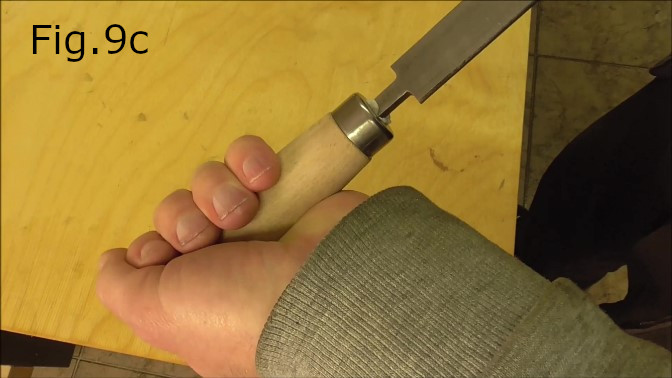
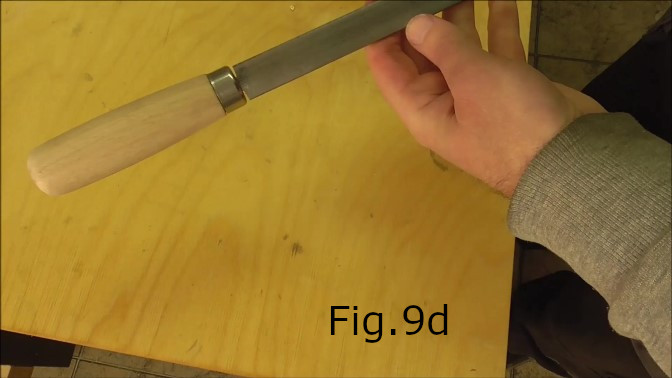
STEP 7:
Install the wooden handle onto the shaft. Clean the shaft with acetone(Fig.9). Let the shaft dry then squeeze some construction adhesive into the handle(Fig.9a) and push the shaft into the handle, checking that its straight(Fig.9b,9c). Let the glue set for 24 hours and then your scraper will be ready to use.