Material List:
4 pcs Pine legs 90x45x710mm
4 pcs Pine leg long rail supports 90x45x125mm
4 pcs Pine short rails 70x45x600mm
4 pcs Pine long rails 70x45x990mm
1 pce 15mm plywood shelf 1080x510mm
2 pcs Pine 40x40x300mm
4 pcs 60kg casters-Height 70mm
Please note. Watch the Youtube build video to better understand this tutorial.
STEP 1:
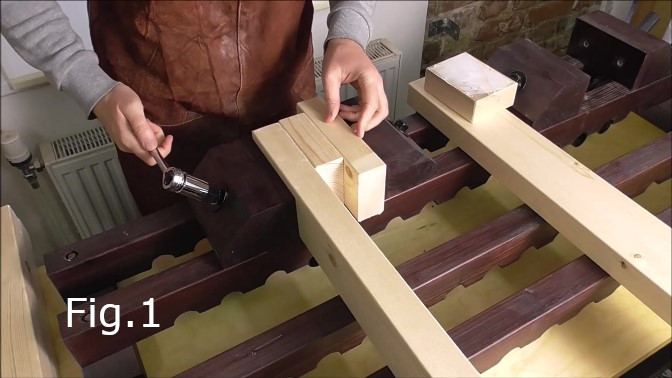
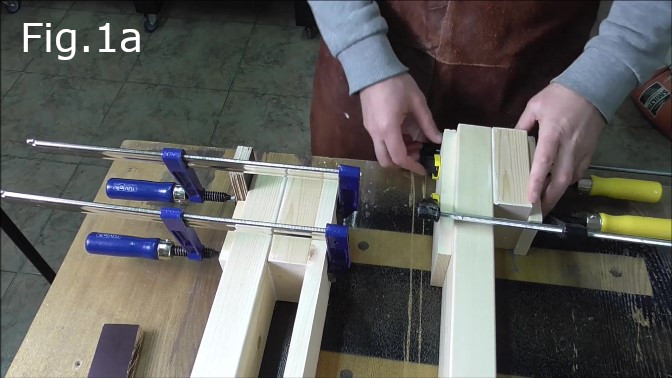
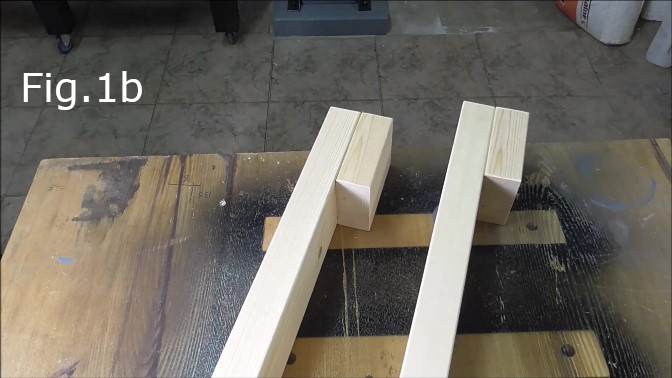
Once all the pieces in the material list are cut to size the first step is to glue the leg pieces together. Take the 90x45x710mm pine legs and on one end of each leg glue the 90x45x125mm long rail support pieces flush with the ends of the legs(Fig.1,Fig.1a). The end of the leg where these pieces are glued together will be the bottom of each of the legs to which the casters will be attached(Fig.1b). In most of my projects the wood glue I use is a waterproof PVA. When clamping make sure the ends and sides of both pieces of wood are flush. Leave the legs for 24 hours for the glue to set.
STEP 2:
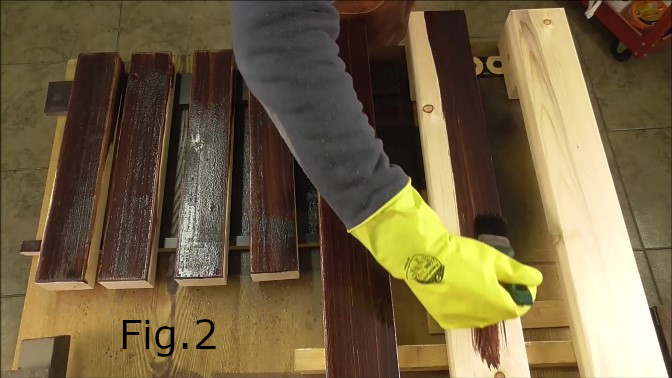
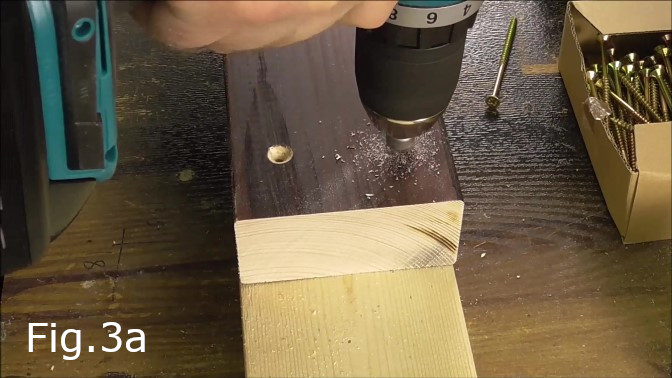
After the glued legs had set I stained all four with a wax stain(Fig.2). Unlike in my build video it is better to stain the legs after the holes for the wood screws have been drilled and countersunk(Fig.3a). So there is no bare wood showing around the screw holes.
STEP 3:
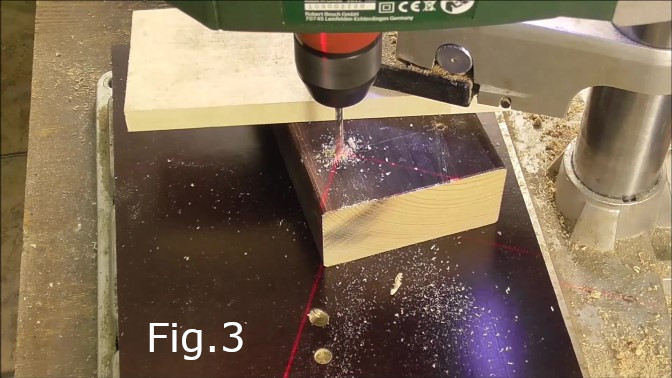
Next I drilled and countersank two holes in each leg for the top of the leg screws, 35mm from the top or skinny end of each of the four legs(Fig.3,Fig.3a).
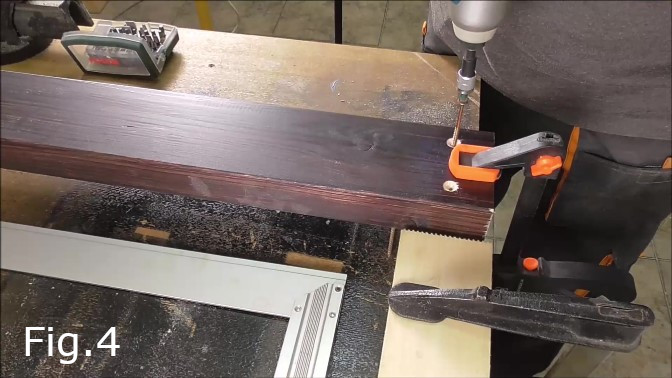
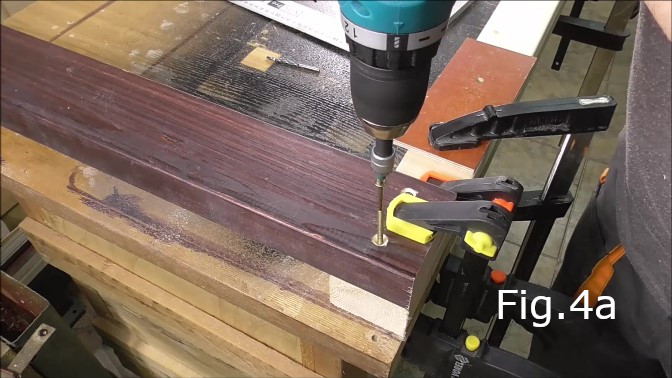
STEP 4:
Clamp a leg on top of each end of one of the 70x45x990mm long rails(Fig.4,Fig.4a) flush with the ends. Make sure the legs are at right angles to the long rail. Check with a large carpenters square. Once square screw both legs to the long rail(Fig.4,Fig.4a).
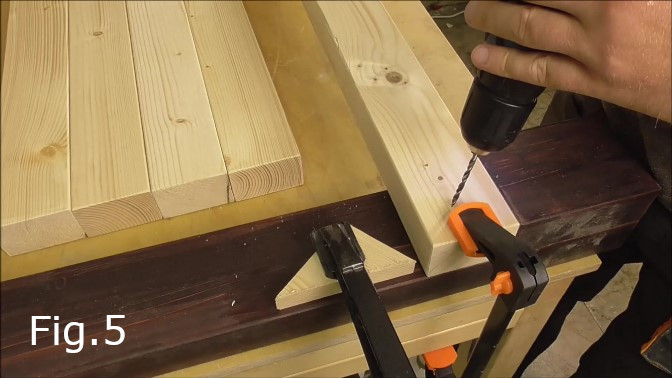
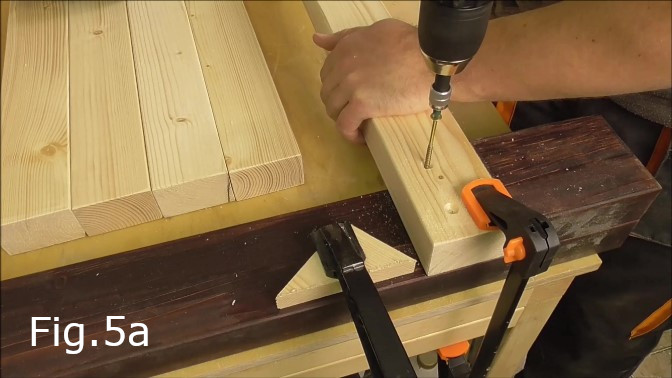
STEP 5:
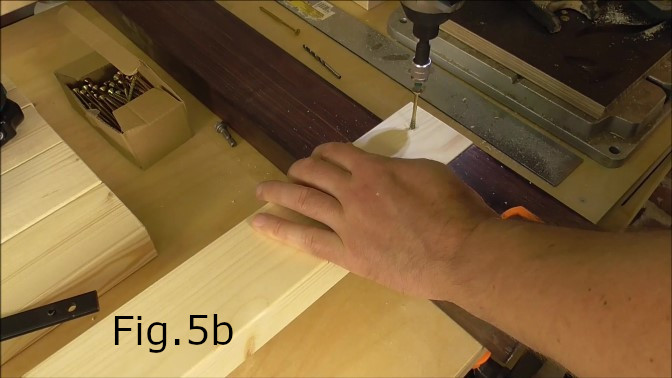
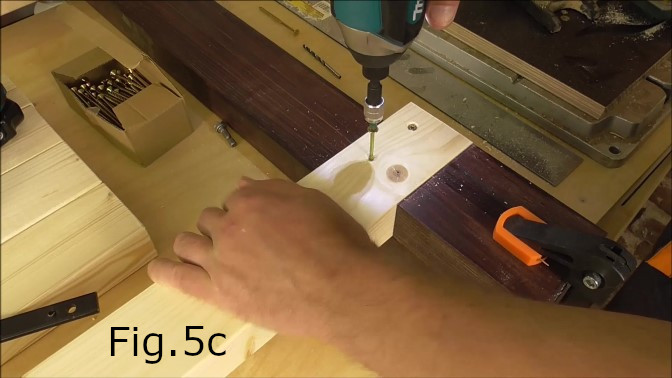
Turn the legs and screwed together long rail over so the legs are now underneath the long rail(Fig.5). Take another 70x45x990mm long rail and clamp it hard up against the bottom long rail supports(Fig.5,Fig.5a). making sure the outside edge of the legs and the ends of the long rail are flush. Drill two holes in each end of the long rail and countersink. Check for squareness before screwing the pieces together(Fig.5a,5b,5c). One side of the table is now effectively complete. Repeat steps 3,4 and 5 to assemble the legs and long rails for the other side of the table.


STEP 6:
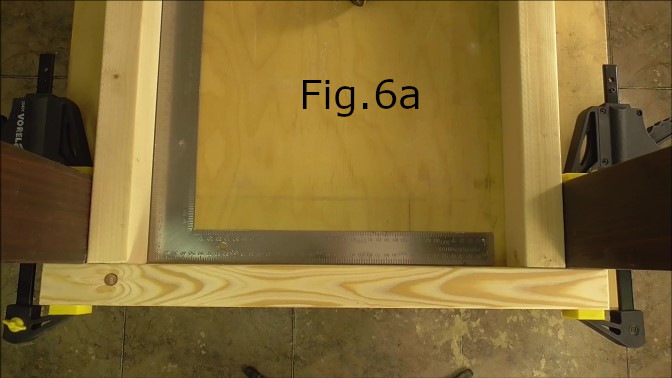
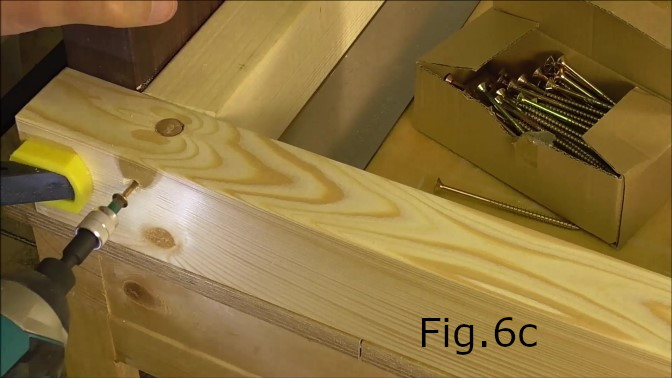
Clamp the previously assembled legs and long rails upside down onto a level work surface(Fig.6). Clamp a 70x45x600mm short rail on each end(Fig.6,Fig.6a) making sure the ends of the short rails are flush with the outside edge of the legs and the frame corners are square. Once clamped in place drill two holes in a vertical alignment into in each side of the short rails so that the screws will go into the ends of the long rails(Fig.6b,6c,6d). Countersink the holes and screw the pieces together.

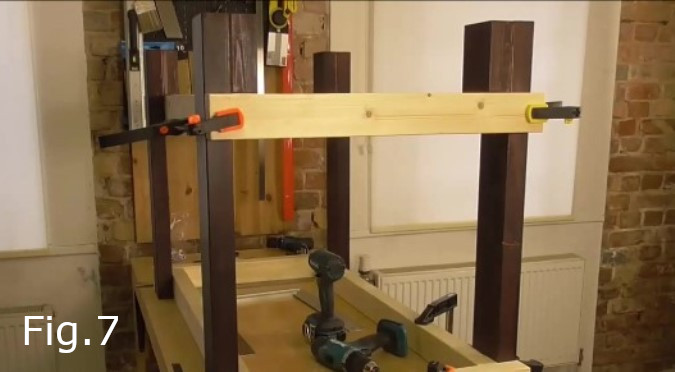
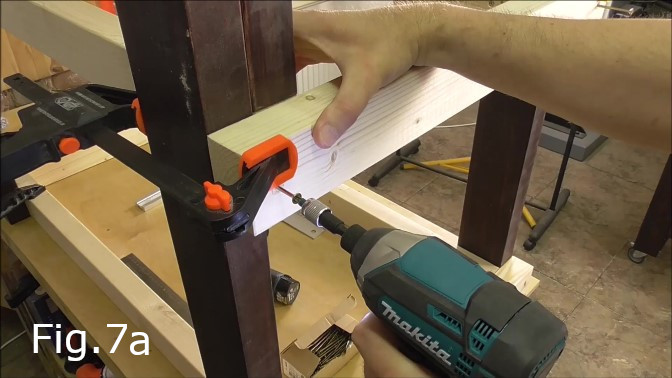
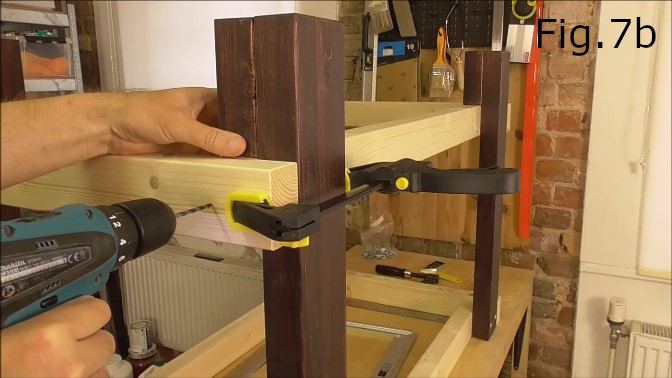
STEP 7:
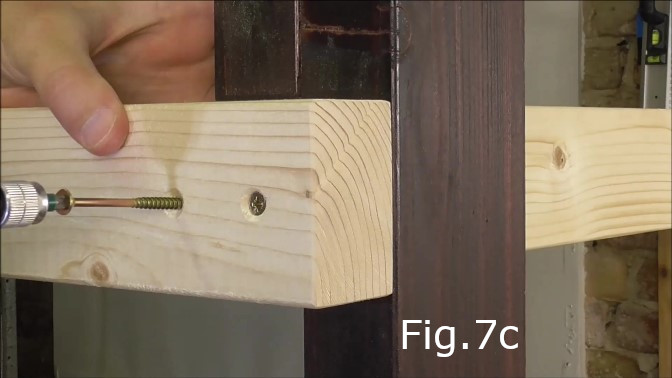
Next clamp the remaining short rails to the legs. These rails will be the bottom short rails. When clamping the rails make sure the ends are flush with the outside edge of the legs and flush with the top and bottom edges of the long rails(Fig.7,Fig.7c). Check the legs for squareness. Drill two holes at each end of the short rails in a horizontal alignment(Fig.7c), so that one screw will fix the short rail to the leg and one screw attaches the short rail to the end of each of the bottom long rails. Countersink the holes and screw the short rails in place once the frame is square and clamped.
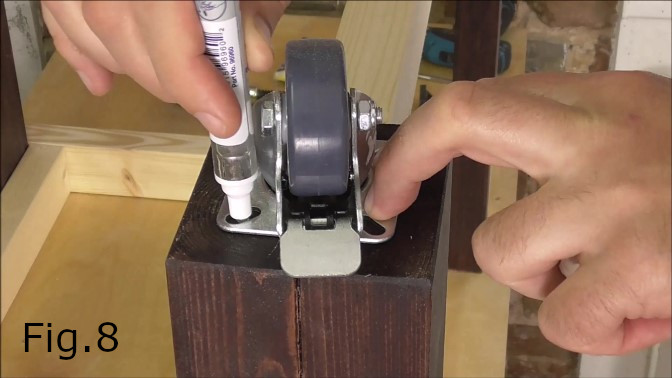
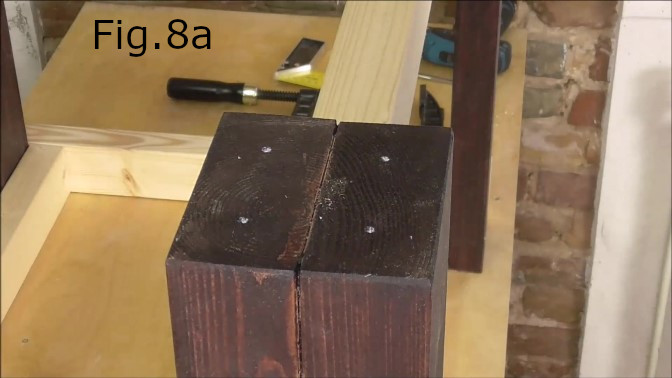
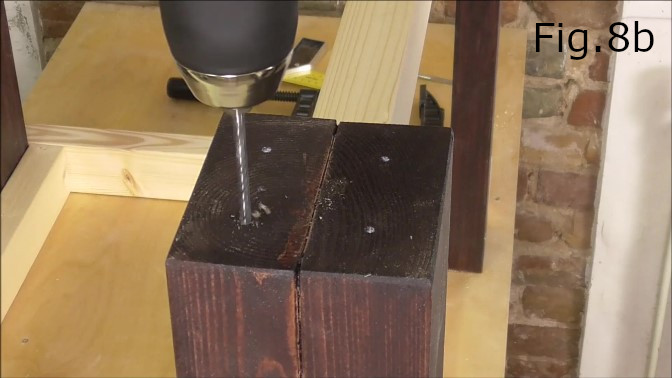
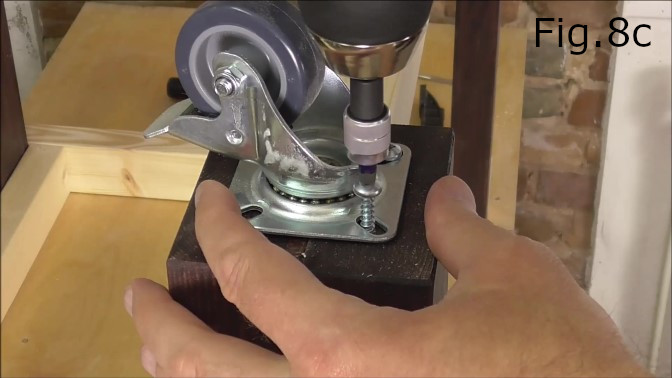
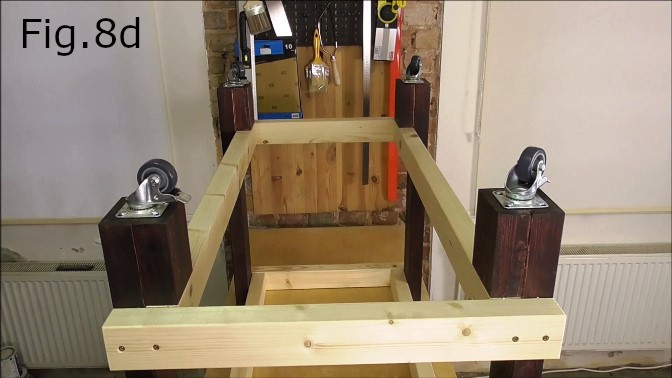
STEP 8:
Attach the casters to the legs. Take one of the casters and place it on the bottom of one of the legs as in Fig.8. Mark the screw hole locations for the caster with a light colored marker(Fig.8). Do this for each of the four legs. The bottom of the legs should now look like Fig.8a. Drill the holes in each leg using a drill bit with a smaller diameter than your screws(Fig.8b). Screw the casters in place(Fig.8c). The table should now look like Fig.8d.
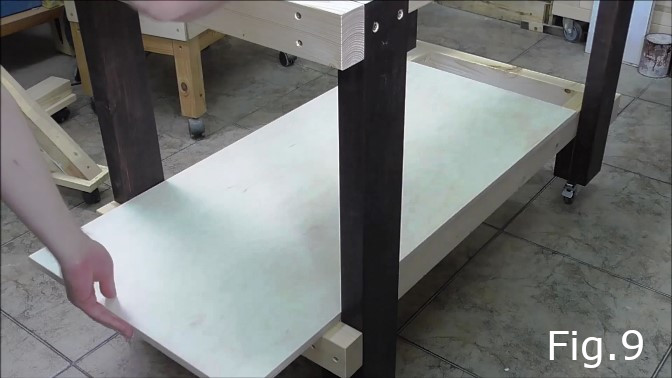
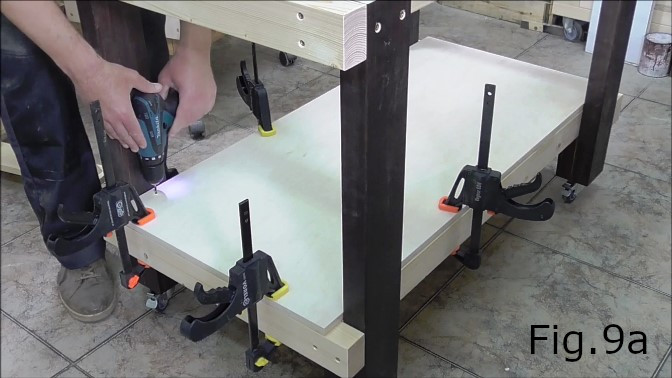
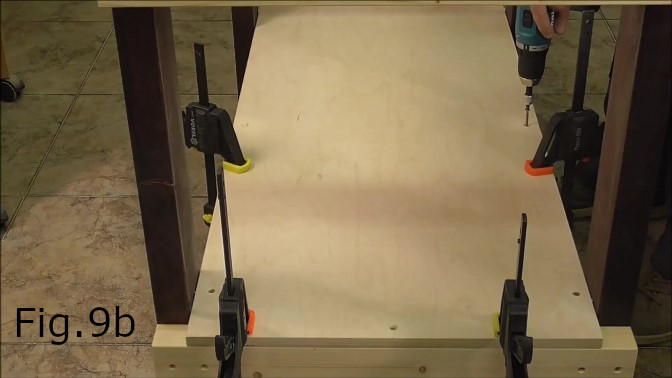
STEP 9:
Remove the table frame from your workbench and place it right side up on the floor(Fig.9). Take the 15mm plywood shelf 1080x510mm and slide it into place on the bottom long rails(Fig.9). Make sure the plywood sheet is flush with the ends and clamp in place(Fig.9a). Drill and screw in place using 35 or 40mm screws(Fig.9a,9b).
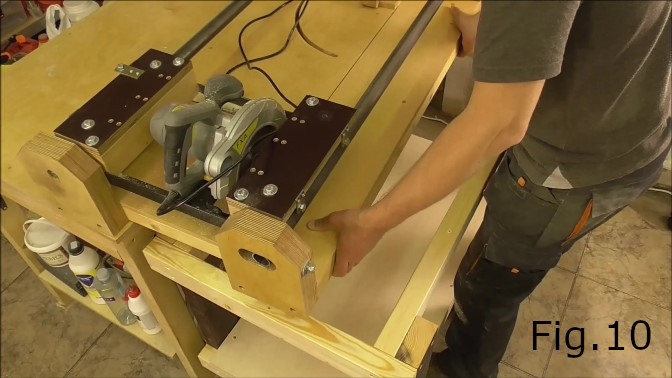
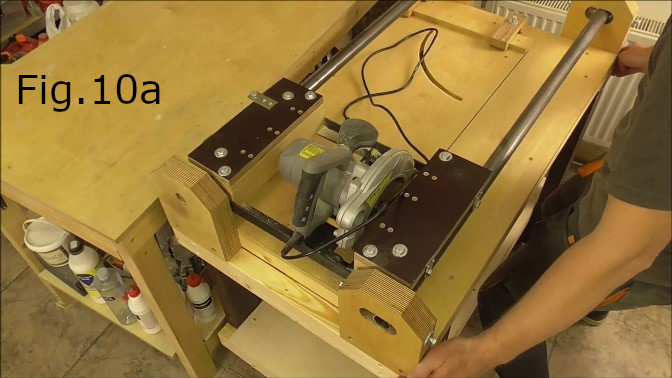
STEP 10:
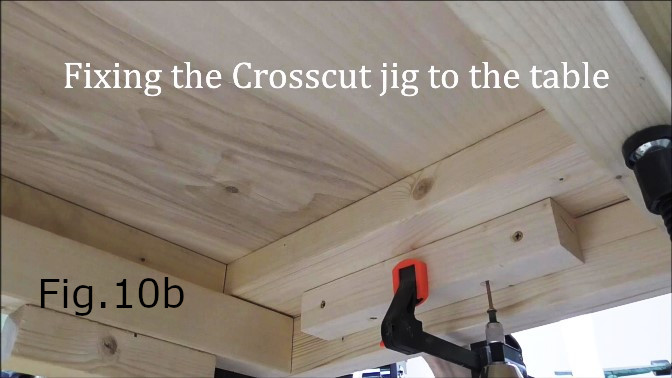
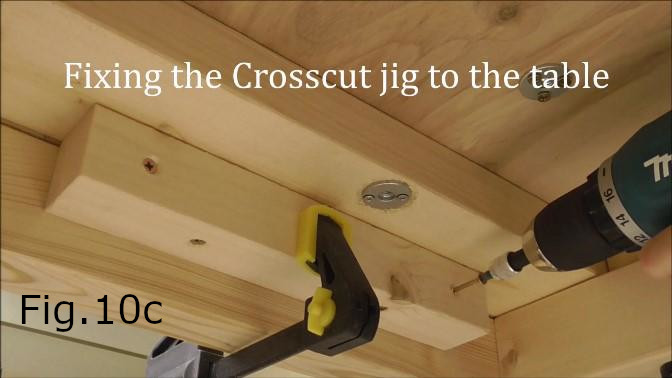
Attach the crosscut jig to the table. Place the Crosscut jig on a workbench the same height or taller than the crosscut jig table frame. Wheel the table over next to your workbench. Slide the crosscut jig onto the table frame(Fig.10,Fig.10a). Make sure the jig is flush with the table and clamp the jig down to the table frame. Take the 40x40x300mm pieces and clamp them to the table short rails underneath the jig, one at each end of the table as in Fig.10b and 10c. Make sure the 40x40mm pieces are hard up against the underside of the crosscut jig. Screw two screws through each of the 40×40’s into the underside of the crosscut jig(Fig.10b). Next screw two screws through each of the 40×40’s into the table short rails(Fig.10c).
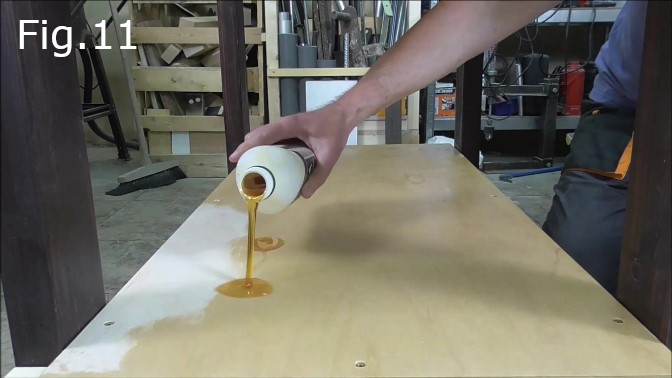
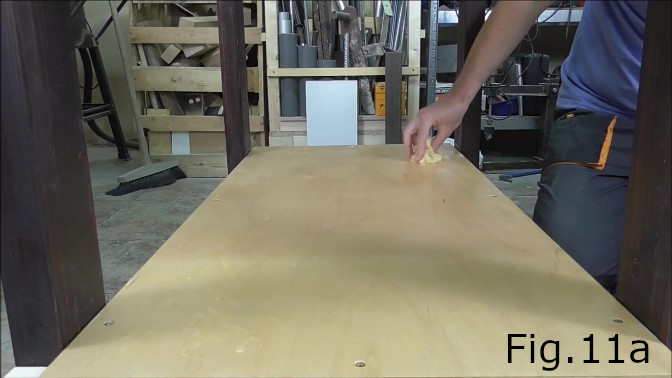
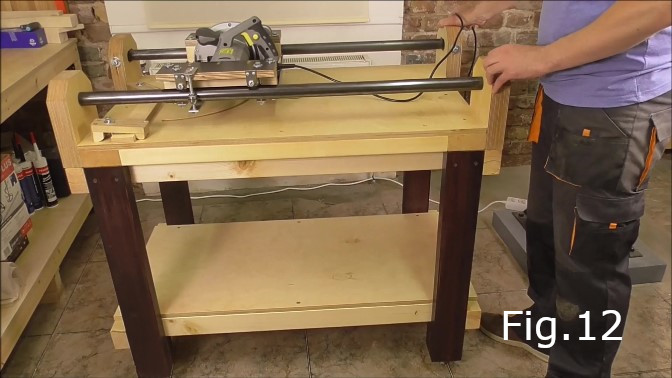
STEP 11:
To finish I applied two coats of linseed oil to the bare plywood and pine surfaces(Fig.11 and Fig.11a). After the linseed oil is applied your Crosscut Jig table should look like Fig.12.